

How to Read a Tape Measure in Fractions: Quick Answer
Reading a tape measure in fractions means identifying the small tick marks between whole inches. A standard tape measure divides each inch into 16 equal parts, creating marks for 1/16″, 1/8″, 1/4″, and 1/2″ increments. The longest marks represent half-inches, medium marks show quarter-inches, shorter marks indicate eighth-inch intervals, and the shortest marks denote sixteenth-inch divisions. Start at zero, count the full inches first, then identify which fractional mark your measurement ends at. Most construction and woodworking projects require accuracy to at least 1/16″ for proper fit and function.

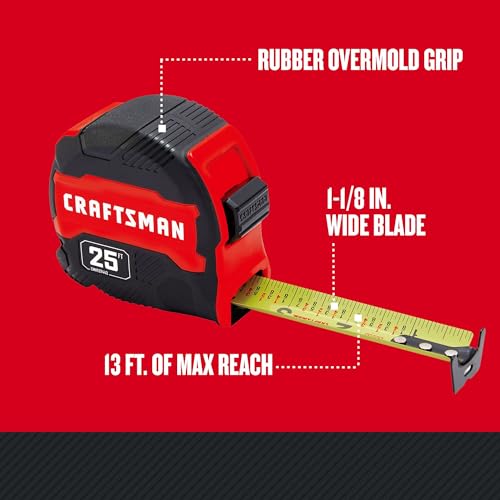
CRAFTSMAN 25-Ft Tape Measure with Fraction Marketing, Retractable, Manual-Locking Blade (CMHT37443S)
- 13 ft. Of reach*: allows for easy measurements when working alone (*based on maximum extension of average professional user)
- Compact size: easy to grip and store in any tool belt
- Easy grip design: extensive rubber overmold provides a comfortable grip and impact resistance
- Easy read fractions: fractions printed on the blade in alternating colors and heights for quick, easy measurements
- Includes: (1) CMHT37443S Tape Measure



As an Amazon Associate we earn from qualifying purchases. Product prices and availability are accurate as of the date/time indicated.
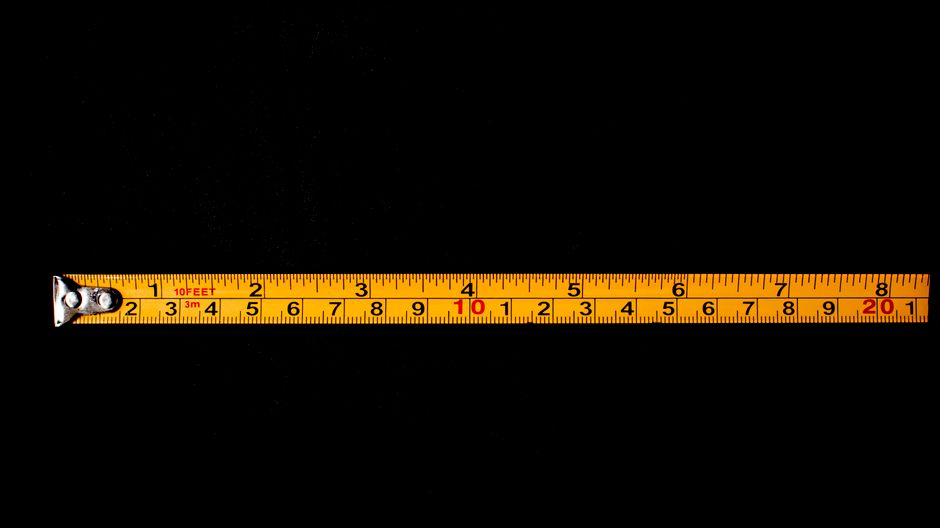
Understanding tape measure fractions is essential for DIY projects, home renovation, and professional construction work. Whether you’re measuring for furniture assembly, trim work, or structural components, fractional accuracy prevents costly mistakes. Modern tape measures follow standardized marking systems that remain consistent across brands. Learning this skill takes minutes but saves hours of frustration and rework on job sites.
What Are the Standard Fractional Divisions on a Tape Measure?
A standard 16-foot tape measure divides each inch into 16 equal segments. This creates four different fractional marks that decrease in length as they represent smaller fractions. Understanding the visual hierarchy of these marks helps you quickly identify measurements without counting individual ticks.
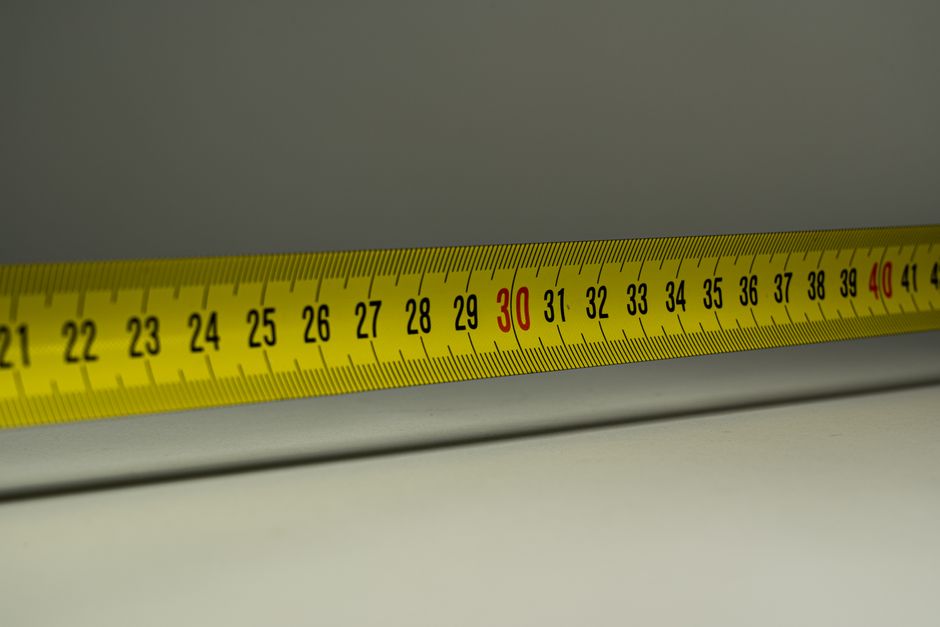
- 1/2″ marks: longest marks, appear at the middle of each inch
- 1/4″ marks: medium-length marks, appear at quarter-inch intervals
- 1/8″ marks: shorter marks, appear between quarter-inch points
- 1/16″ marks: shortest marks, the smallest fractional divisions on the tape
How Mark Height Helps Identification
The physical height of each mark on the tape serves as your visual guide. Longer marks are easier to spot from a distance and represent larger fractions. Shorter marks require closer inspection but provide the most precise measurements. Color coding on some tape measures (red for 16-inch centers, black for standard) adds another identification layer.
Most tape measures use a consistent pattern: the inch numbers appear in large print above the 1/2″ mark. This positioning makes it simple to locate whole inches and then narrow down to fractional measurements. Professional-grade tape measures often include additional markings for stud spacing and other construction standards.
Key Takeaway: Mark height directly correlates to fraction size, making visual identification quick and intuitive.
How Do You Identify Each Fractional Increment Accurately?
Identifying fractional increments requires understanding the mathematical relationship between marks. Since one inch contains 16 equal parts, each successive mark represents a specific fraction of that inch. Learning to count marks systematically prevents errors and builds measurement confidence.
The Counting Method for Fractional Identification
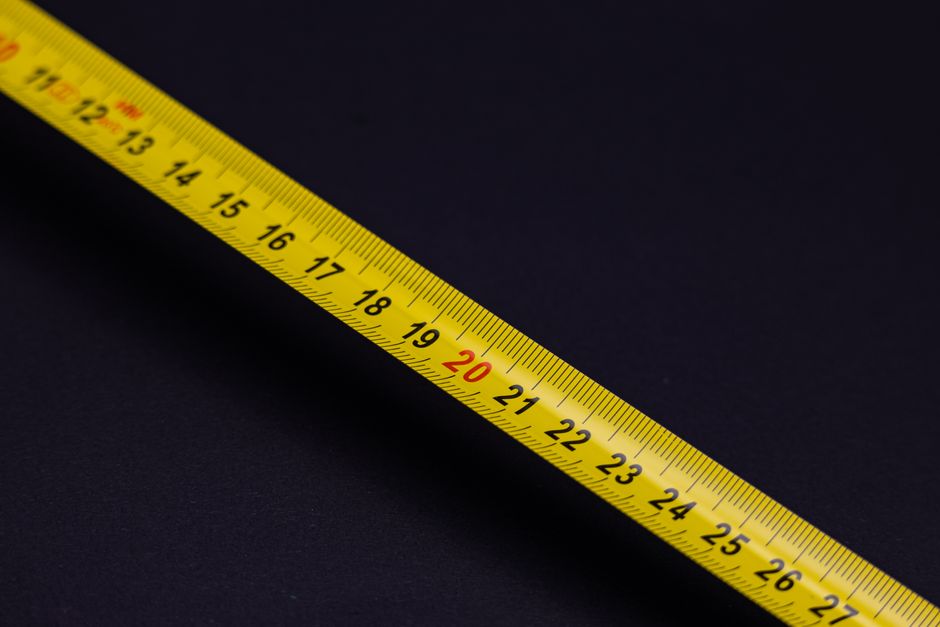
Start from the nearest whole inch mark and count forward. From one inch to the next inch, count 16 small marks total. The 8th mark represents 1/2 inch, the 4th and 12th marks represent 1/4 inch and 3/4 inch respectively. This pattern repeats consistently across the entire tape measure.
For example, if you’re measuring and the tape stops between 5 and 6 inches, count the marks after the 5-inch line. If you reach the 8th mark, that’s 5 and 1/2 inches. If you stop at the 4th mark, you’ve measured 5 and 1/4 inches. This counting method works regardless of your starting point on the tape.
- Odd-numbered marks (1, 3, 5, 7, 9, 11, 13, 15) represent 1/16″ increments
- Even-numbered marks at positions 2, 6, 10, 14 represent 1/8″ increments
- Marks at positions 4 and 12 represent 1/4″ increments
- Mark at position 8 represents 1/2″ increment
Using Visual Landmarks
Experienced craftspeople use visual landmarks rather than counting. The 1/2″ mark is unmistakable—it’s the tallest fractional mark between inches. From there, you can quickly estimate quarter-inch and eighth-inch positions. This skill develops naturally with practice and speeds up measurement significantly.
Key Takeaway: Systematic counting combined with visual landmarks creates fast, accurate fractional measurements.
What Common Mistakes Should You Avoid When Reading Fractions?
Even experienced users make tape measure errors that compound through projects. Understanding common mistakes prevents inaccurate cuts, misaligned installations, and wasted materials. Most errors stem from misidentifying mark heights or starting from the wrong reference point.
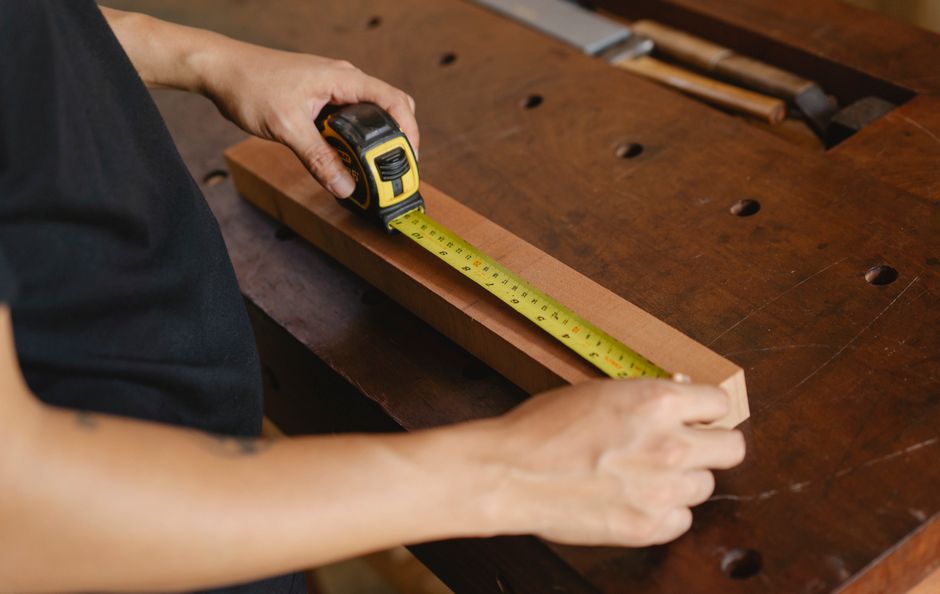
- Starting measurement at the tape’s edge instead of the zero mark causes systematic errors
- Confusing 1/8″ marks with 1/16″ marks due to similar heights
- Forgetting to account for tape measure thickness when measuring inside dimensions
- Reading the tape upside down, reversing fractional positions
- Not accounting for hook movement or slack in the tape blade
Preventing Measurement Errors
Always verify your measurement twice before cutting or drilling. Mark your measurement with a pencil and double-check the fractional value. Use the same tape measure consistently when possible, as different brands sometimes have slight variations in mark positioning or clarity.
When measuring inside spaces, add the tape measure’s thickness to your reading. Most tape measures are approximately 1/8″ thick, which affects precision in tight spaces. For critical measurements, consider using a ruler or digital caliper instead of a tape measure.
Key Takeaway: Double-checking measurements and understanding tape thickness prevents costly mistakes.
How Can You Practice Reading Tape Measures Effectively?
Skill development requires deliberate practice with immediate feedback. Start with simple measurements and progress to complex fractional readings. Regular practice builds muscle memory and visual recognition that makes accurate measurements automatic.
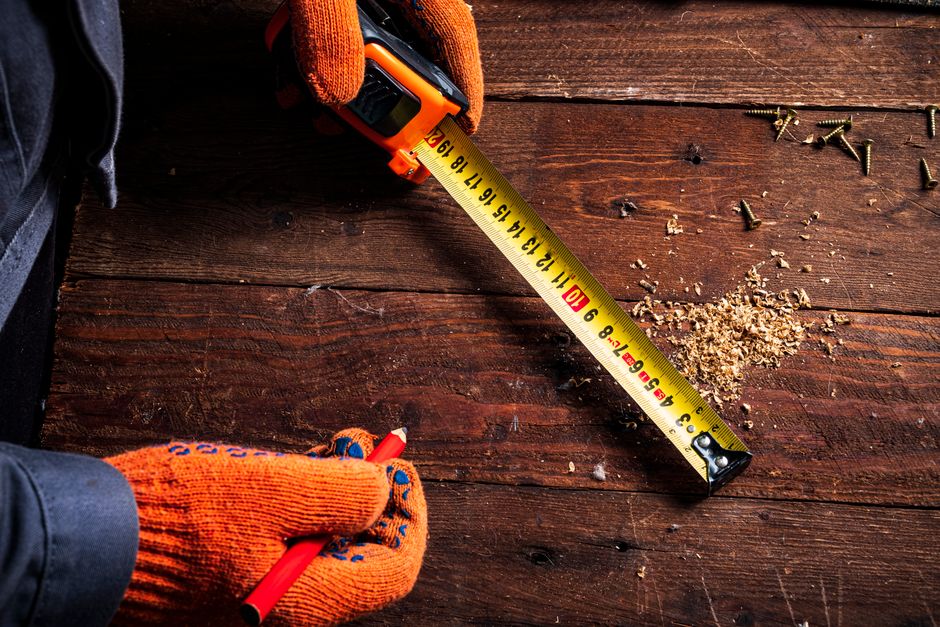
Practical Training Exercises
Begin by measuring common household items with known dimensions. Measure the width of a standard door (36 inches), the height of a typical chair seat (18 inches), or the thickness of a book. Compare your tape measure reading to the actual known dimensions to verify accuracy.
Next, practice identifying specific fractions without measuring anything. Hold a tape measure and point to random marks, naming the fractional value. Have someone verify your answers. This builds rapid recognition without the complexity of actual measurement scenarios.
- Measure 10 household items and verify accuracy against known dimensions
- Identify 20 random marks on a tape measure without counting
- Practice measuring to specific fractions (find 3 and 5/8 inches, then 7 and 3/16 inches)
- Measure the same object three times and compare results for consistency
- Use a tape measure alongside a ruler to cross-check fractional readings
Progressive Difficulty Levels
Start with 1/4″ and 1/2″ fractions, then add 1/8″ measurements. Finally, master 1/16″ increments. This progression prevents overwhelming yourself and builds confidence gradually. Most DIY projects only require accuracy to 1/4″ or 1/8″, so prioritize these fractions first.
Key Takeaway: Structured practice with known measurements builds reliable tape reading skills quickly.
What Tools Complement Tape Measure Fractions for Precision Work?
While tape measures are versatile, complementary tools provide additional precision for specialized tasks. Understanding when to use alternative measuring devices prevents errors and improves project outcomes. Different tools serve different purposes in construction and woodworking.
- Folding rulers: provide rigid measurement without tape sag or stretch
- Digital calipers: measure to 1/100″ for extremely precise fractional work
- Laser measuring devices: eliminate parallax errors and human reading mistakes
- Speed squares: combine measurement with angle marking for trim work
- Combination squares: measure and mark simultaneously with built-in level
When to Use Complementary Tools
For interior measurements where tape sag affects accuracy, use a folding ruler or rigid straightedge. When precision exceeds 1/16″ tolerance, switch to digital calipers or laser measures. For work requiring both measurement and marking, combination squares save time and reduce errors. Understanding tool strengths prevents frustration and improves efficiency.
Laser measuring devices have become affordable and reliable for 2026, offering accuracy to 1/8″ without the parallax errors common with tape measures. For high-precision woodworking or furniture assembly, digital calipers provide measurement accuracy to 1/100″. Most DIY projects, however, remain well within tape measure accuracy ranges.
Key Takeaway: Complementary tools enhance precision for specialized tasks beyond tape measure capabilities.
How Do You Apply Fractional Measurements to Common Projects?
Real-world application of fractional tape reading differs slightly across project types. Understanding project-specific requirements prevents over-engineering or under-measuring. Most projects fall into categories with established tolerance standards.
Woodworking and Furniture Assembly
Woodworking projects typically require accuracy to 1/16″ for proper fit and finish. Measure twice, cut once remains the golden rule. When assembling furniture, fractional accuracy ensures drawers slide smoothly and doors close properly. Furniture assembly often involves precise measurements for hardware placement, making tape measure skill essential.
For joinery work, tolerance to 1/32″ improves joint quality, though tape measures typically only provide 1/16″ precision. Use a combination square with a ruler for marking, then verify dimensions before final assembly. This approach catches errors before permanent fastening.
Home Renovation and Trim Work
Trim work and molding installation typically tolerates 1/8″ variation without visual impact. Brad nailers for trim work require accurate measurements for seamless joints. Measure wall lengths, door frames, and window openings to the nearest 1/8″ for trim pieces that fit properly and look professional.
For drywall and framing work, 1/4″ tolerance is typically acceptable. Studs spaced 16 inches on center allow some variation without structural impact. Always measure the actual wall rather than assuming standard dimensions, as older homes frequently deviate from nominal measurements.
- Woodworking: measure to 1/16″ for joints and critical dimensions
- Trim work: measure to 1/8″ for molding and finish carpentry
- Framing: measure to 1/4″ for structural components and rough openings
- Plumbing: measure to 1/4″ for rough-in locations and fixture placement
- Electrical: measure to 1/4″ for outlet and switch positioning
Key Takeaway: Different projects require different precision levels; match your accuracy to project requirements.
Recommended Products
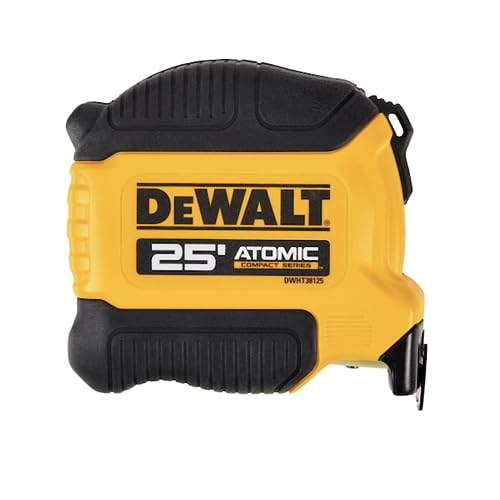
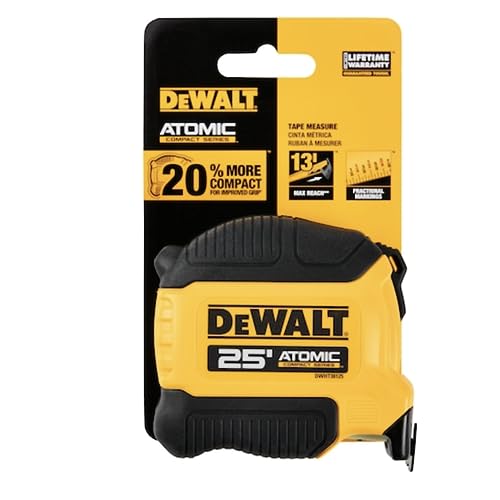
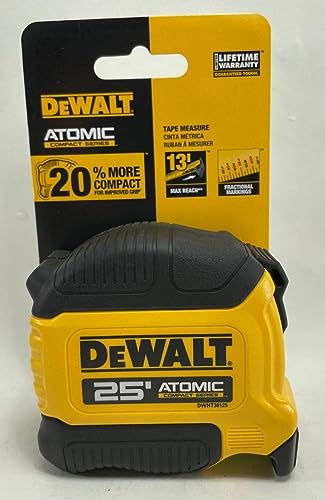
DEWALT Atomic Compact Series 25 ft. Tape Measure (DWHT38125S)
- 13 Ft. Max Reach* - Straighter and stronger for improved efficiency
- 20% More Compact Grip** - For improved ergonomics and control
- Integrated Finger Brake - For improved blade control
- Fractional blade graphics for quick and easy measuring
- Durable blade coating for longer blade life

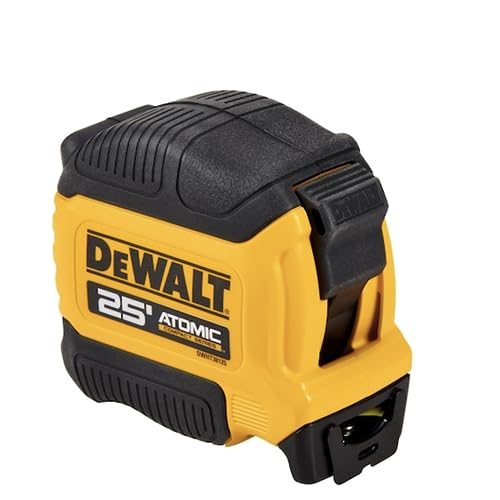



As an Amazon Associate we earn from qualifying purchases. Product prices and availability are accurate as of the date/time indicated.

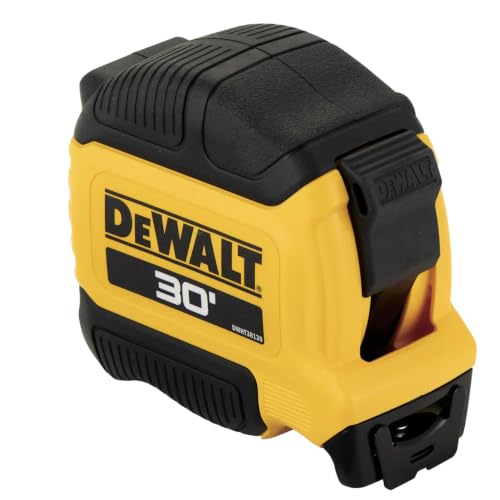
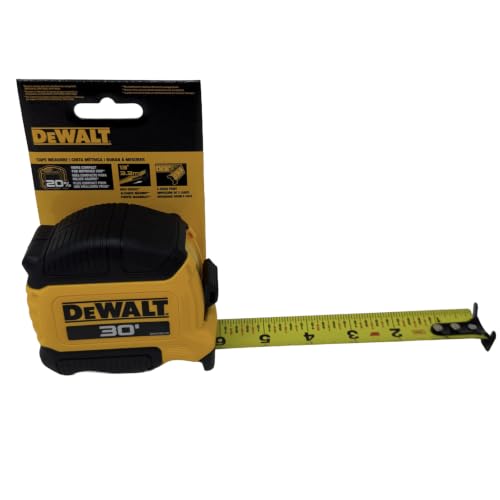
DEWALT Atomic 30ft Compact Tape Measure - Professional Grade
- 20% more compact grip**: For improved ergonomics and control
- Integrated finger brake: For improved blade control
- Fractional blade graphics for quick and easy measuring
- Durable blade coating for longer blade life




As an Amazon Associate we earn from qualifying purchases. Product prices and availability are accurate as of the date/time indicated.
Frequently Asked Questions
Why does my tape measure show 16 marks instead of other divisions?
The 16-division system (creating 1/16″ increments) became the construction industry standard because it divides evenly into common fractions used in building. One inch divides into halves, quarters, eighths, and sixteenths—all useful fractions. This system has remained consistent for over a century, making it universal across tools and trades.
Can I use a tape measure for measurements requiring 1/32″ accuracy?
Standard tape measures cannot reliably measure to 1/32″ accuracy. The marks are too close together for consistent visual identification. For measurements requiring 1/32″ precision, use digital calipers, precision rulers, or laser measuring devices designed for fine tolerances.
What’s the difference between a 16-foot and 25-foot tape measure for fractional readings?
The fractional markings are identical on both lengths. The only difference is total reach. A 25-foot tape measures longer distances but reads fractions exactly the same way. Choose tape length based on your typical measurement needs, not fractional precision.
How do I handle fractional measurements that fall between marked divisions?
If your measurement falls between marks, estimate to the nearest 1/16″ mark. Most projects tolerate this small variation. For critical measurements, round up or down depending on whether oversized or undersized is acceptable for your application.
Are digital tape measures easier to read than traditional ones?
Digital tape measures display fractional values numerically, eliminating visual interpretation. They’re easier for beginners and reduce reading errors. However, they’re more expensive and require batteries. Traditional tape measures work reliably without power and remain the standard on job sites.
Why do some tape measures have red marks at 16-inch intervals?
Red marks at 16-inch intervals indicate standard stud spacing in construction. This helps framers quickly identify wall stud locations without calculation. These marks don’t affect fractional reading but provide useful reference points for construction work.
How Can You Master Tape Measure Fractions for Professional-Quality Results?
Mastering fractional tape reading transforms your DIY and professional capabilities. Consistent practice combined with understanding mark hierarchy creates reliable measurement skills. Most people achieve competency within hours of focused practice, then build speed and confidence through regular use.
Start with simple projects requiring only 1/4″ and 1/2″ accuracy, then progress to work demanding 1/16″ precision. Use complementary tools for specialized tasks while building tape measure confidence. Remember that most measurement errors come from rushing rather than inability—take time to read carefully and verify twice.
By July 2026, tape measure technology remains fundamentally unchanged from previous decades. Learning this skill provides lasting value applicable to countless projects. Whether you’re assembling furniture, installing trim, or framing structures, fractional tape reading mastery ensures professional results and prevents costly mistakes that waste time and materials.
Key Takeaway: Systematic practice and understanding mark hierarchy enable professional-quality measurements on all projects.







Write Your Review
No reviews yet. Be the first to share your experience!