

How to Drive a Nail Without Bending It: Quick Answer
Driving a nail without bending requires proper hammer technique, the right nail size for your material, and a steady hand. Start by holding the nail upright with your non-dominant hand, use a claw hammer with controlled strikes, and maintain consistent vertical alignment throughout. The most common cause of bent nails is striking at an angle rather than straight down, combined with using nails that are too thin for the material. Success depends on three factors: selecting the correct nail gauge, positioning it perfectly vertical, and delivering precise hammer blows perpendicular to the surface. With practice, you’ll develop the muscle memory needed for clean, straight nail drives every time.
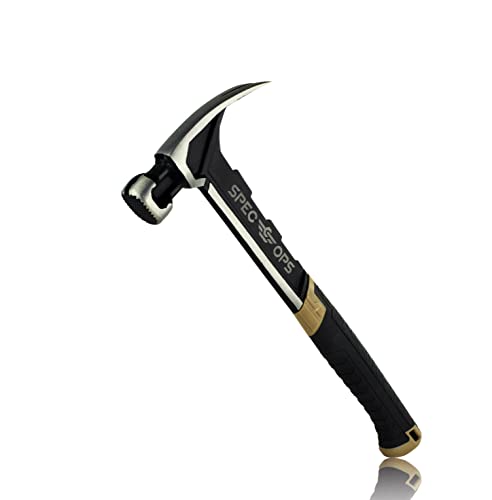
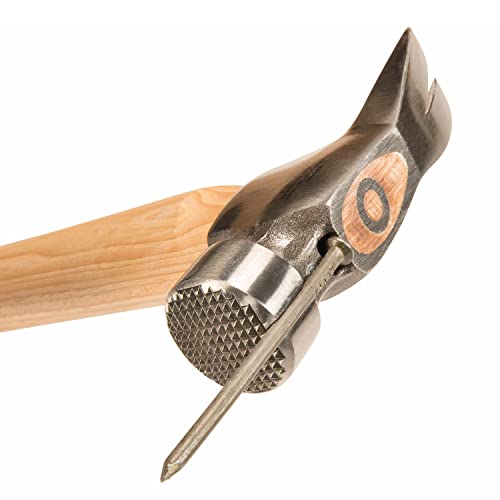
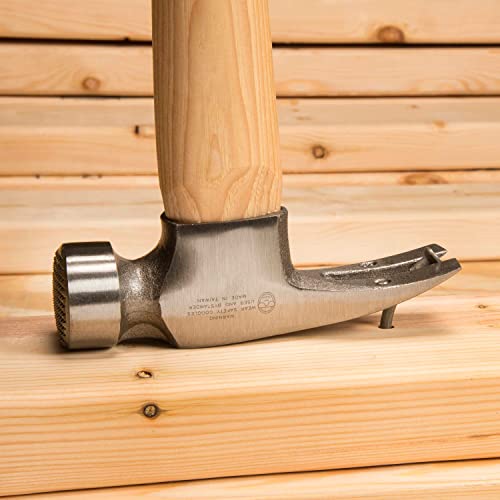
Spec Ops Tools Framing Hammer for Carpentry & Demolition, Magnetic Nail Holder, Rip Claw, Milled Face 22 Oz
- 25% lighter head for sniper-controlled swing
- Ballistically balanced for maximum striking power
- Shock-absorbing, MOA grip for precision accuracy and less sting
- Magnetic nail starter for rapid nail driving
- Compatible with SRS retention lanyards for added safety
- Versatile rip claw for demo, nail removal, and splitting
- Heat-treated, milled face design for improved angled nail drive
- 100’ drop-tested to ensure durability on the toughest jobsites
- Limited lifetime warranty


As an Amazon Associate we earn from qualifying purchases. Product prices and availability are accurate as of the date/time indicated.
Nail bending frustrates both beginners and experienced DIYers. Whether you’re hanging pictures, building shelves, or assembling furniture, bent nails waste time and materials. Understanding the mechanics behind proper nail driving transforms your results dramatically. This guide covers everything from choosing the right nail to mastering hammer technique and troubleshooting common mistakes.
What Type of Nail Should You Choose to Prevent Bending?
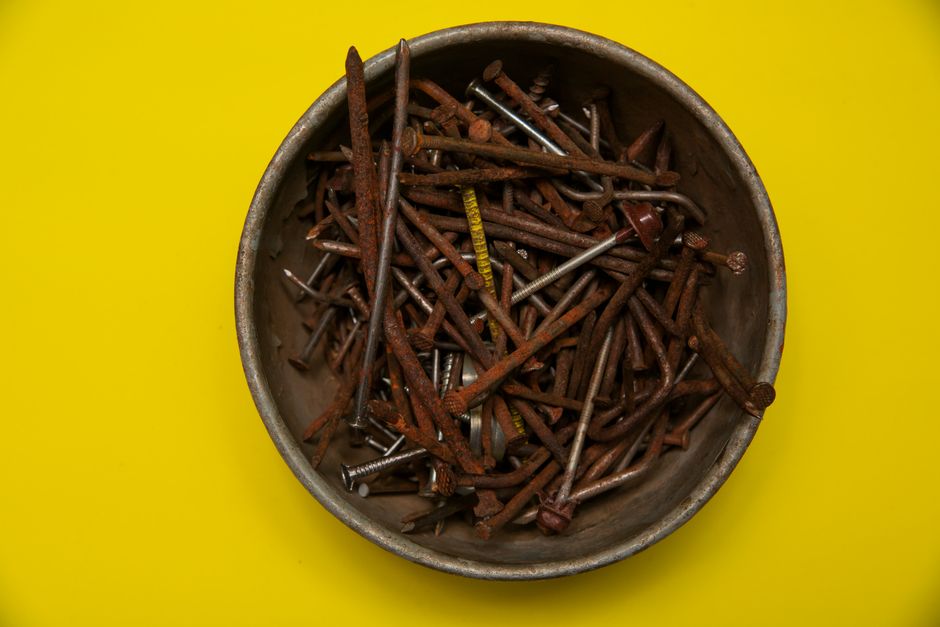
Selecting the correct nail is your first line of defense against bending. Nail diameter, length, and material all influence whether a nail bends during installation. A nail that’s too thin for your material will flex under hammer pressure. Conversely, a nail that’s too short may not grip properly and will bend when driven hard.
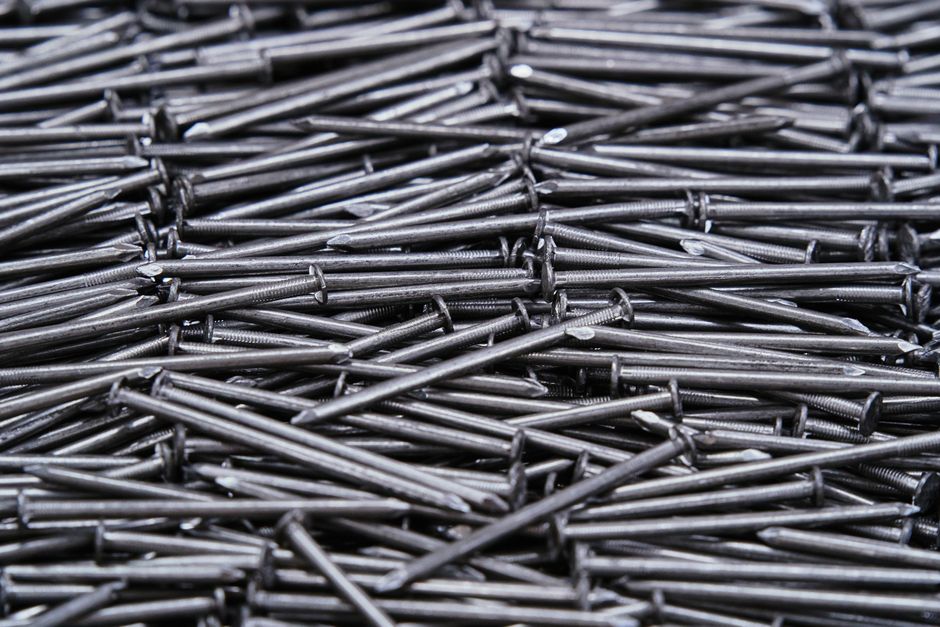
Nail size is measured by penny weight, indicated by the letter “d” (16d, 10d, 8d, etc.). This measurement originated historically but now indicates both length and gauge. A 16-penny nail is 3.5 inches long with a thicker diameter than a 10-penny nail at 3 inches. For most household projects, 10d to 16d nails work well in softwood and standard lumber.
Matching Nail Gauge to Material Type
- Softwood (pine, fir): Use 10d to 16d nails with standard gauge for easy penetration.
- Hardwood (oak, maple): Choose 12d to 20d nails with thicker gauge to resist bending.
- Drywall: Use specialized drywall nails with larger heads to prevent pulling through.
- Trim work: Select finishing nails or brad nails with smaller diameters for clean results.
- Concrete/masonry: Use hardened concrete nails or switch to anchors and screws instead.
Material density directly affects nail bending. Hardwoods require thicker nails because they resist penetration more than softwoods. When a nail encounters resistance without adequate gauge, it flexes sideways instead of driving straight. Always match your nail selection to the specific material you’re working with.
Key Takeaway: The correct nail size and gauge for your material prevents most bending problems before you even pick up a hammer.
How Do You Hold a Nail for Straight Driving?
Proper nail positioning determines whether your hammer strikes hit straight or at an angle. Hold the nail between your thumb and index finger, gripping it near the head. Position your fingers so they’re clear of the hammer’s swing path but close enough to stabilize the nail. Your grip should be light enough to release quickly when the nail is partially set.
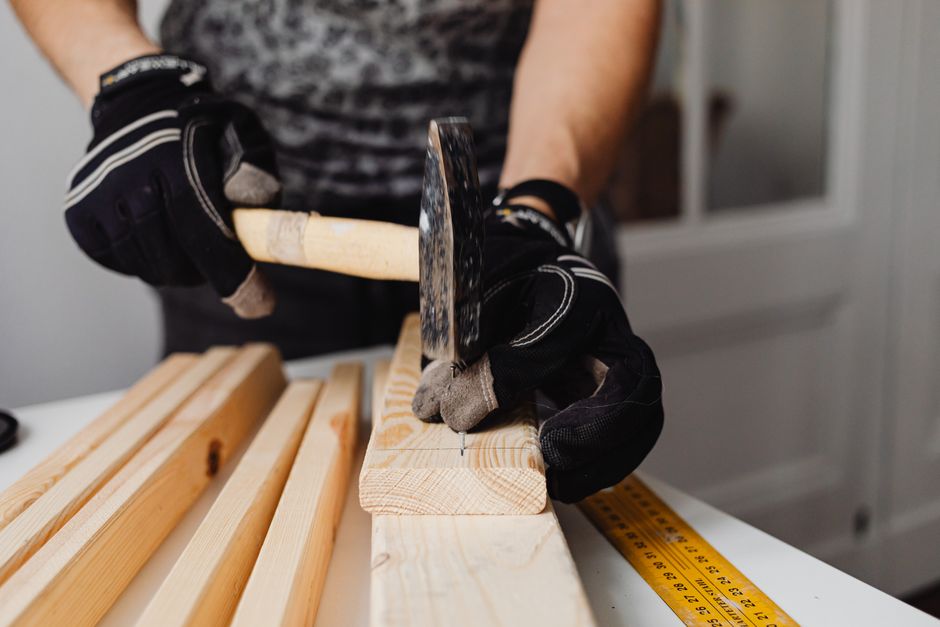
The nail must remain perfectly vertical throughout the initial strikes. Even a slight angle compounds with each hammer blow, causing progressive bending. Many people position the nail at a slight angle without realizing it, thinking they’re straight. Check your alignment by viewing the nail from two perpendicular angles before striking.
Step-by-Step Nail Positioning
- Place the nail tip on your target spot at a 90-degree angle to the surface.
- Hold the nail shaft between thumb and forefinger, gripping near the head.
- Keep your fingers relaxed but steady, avoiding tension that causes trembling.
- Verify vertical alignment by checking from the front and side simultaneously.
- Strike the nail head gently two to three times to set it partially into the material.
- Remove your fingers once the nail stands independently (usually after 2-3 strikes).
Once the nail is set about one-quarter inch into the material, it will stand alone. At this point, remove your hand completely and switch to full hammer strikes. This two-phase approach—light positioning strikes followed by driving strikes—dramatically improves accuracy and prevents finger injuries.
Key Takeaway: Light initial strikes to set the nail vertically are more important than powerful strikes once it’s positioned.
What Hammer Technique Prevents Nails from Bending?
Hammer technique separates professionals from amateurs. Your strike must be perpendicular to the surface, with the hammer face parallel to the nail head. A claw hammer with a flat striking surface works best for standard nails. The hammer should move in a straight vertical line, not in an arc that angles the blow.
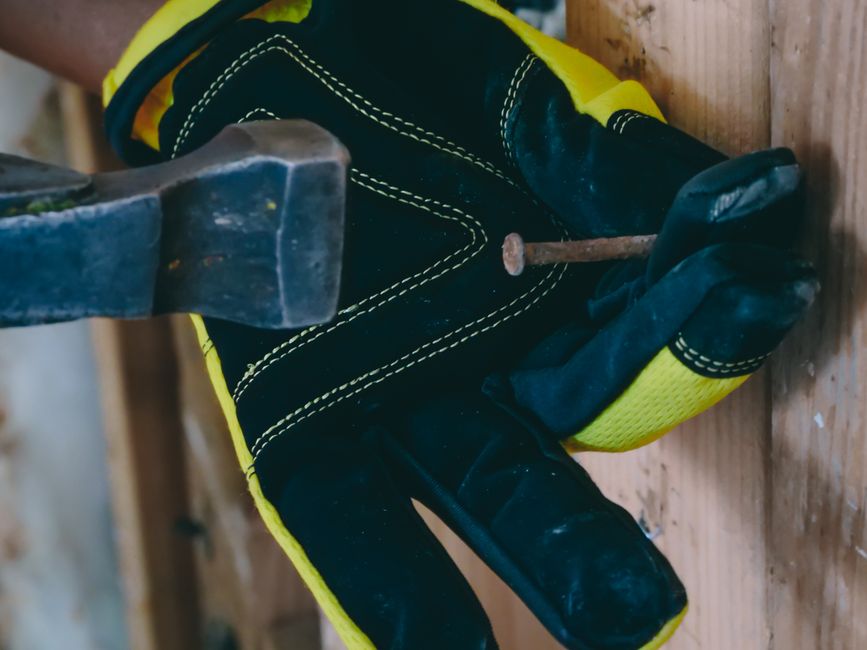
Many people swing hammers with an arc motion, like throwing a baseball. This causes the hammer face to strike at an angle, deflecting the nail sideways. Instead, use a controlled vertical motion with your wrist and elbow working together. The hammer should accelerate straight down and through the nail head, not curve or twist during impact.
Proper Hammer Swing Mechanics
- Keep your wrist straight and aligned with your forearm throughout the swing.
- Use your elbow and shoulder to generate power, not wrist rotation.
- Strike with the center of the hammer face, not the edge or corner.
- Maintain consistent hammer speed from start to finish of each swing.
- Follow through naturally after impact without twisting or jerking the hammer away.
Hammer weight matters too. A 16-ounce claw hammer suits most household projects. Heavier hammers (20 ounces) require more control but need fewer strikes. Lighter hammers (12 ounces) demand more strikes but give better control for delicate work. Choose based on your strength and the nail size you’re driving.
Strike consistency is crucial. Each blow should have similar force and direction. Inconsistent strikes cause the nail to shift slightly with each impact, creating a cumulative bending effect. Practice delivering five to eight uniform strikes before the nail is fully set. This rhythm develops muscle memory that transfers to every project.
Key Takeaway: Vertical hammer motion with consistent force is more important than hammer weight or speed.
How Do You Recover From a Partially Bent Nail?
Sometimes nails bend despite your best efforts. Early intervention saves the project. If a nail starts bending, stop immediately and assess the situation. A nail bent at a severe angle should be removed and replaced. A nail bent only slightly might be straightened and driven deeper.
To remove a bent nail, use the claw of your hammer. Position the claw under the nail head and rock the hammer back slowly. For stubborn nails, place a block of wood under the hammer head for leverage. This protects your work surface from damage. Once removed, discard the bent nail and start with a fresh one.
Nail Removal and Replacement Process
- Stop striking immediately when you notice bending; continuing makes it worse.
- Position the hammer claw under the nail head, gripping the shaft securely.
- Rock the hammer back gradually, applying steady upward pressure without jerking.
- Use a wood block under the hammer head for leverage on resistant nails.
- Once removed, discard the bent nail and select a fresh one of the same size.
- Inspect the hole for damage; enlarge slightly if necessary before re-driving.
Prevention is always better than correction. Bent nails indicate something went wrong—either your technique, nail selection, or material assessment. Review what caused the bend and adjust your approach for the next nail. This continuous improvement mindset accelerates your skill development.
Key Takeaway: Remove bent nails immediately rather than trying to force them deeper, which causes worse damage.
What Are Common Mistakes That Cause Nail Bending?
Understanding common mistakes helps you avoid them. The most frequent error is angled hammer strikes. Even a five-degree angle compounds over multiple strikes, creating visible bending. The second mistake is using nails that are too thin for the material. Thin nails flex easily under resistance, especially in hardwoods.
Inconsistent striking is another culprit. Varying hammer force and angle between strikes destabilizes the nail. Additionally, many people hold the nail at a slight angle without realizing it, thinking they’re vertical. Verification from multiple viewing angles catches this mistake before it becomes a problem.
Top Nail Bending Mistakes and Fixes
- Angled hammer strikes: Practice vertical motion; use a mirror to check your technique.
- Wrong nail size: Match nail gauge to material density; test on scrap wood first.
- Holding nail at an angle: Verify vertical alignment from front and side views before striking.
- Inconsistent striking force: Develop rhythm by practicing on scrap materials until strikes feel uniform.
- Gripping nail too tightly: Use light grip near the head; tension causes hand trembling that destabilizes the nail.
- Striking too hard initially: Start with light positioning strikes; save power for once the nail is set.
Environmental factors also play a role. Wet or green wood is harder to drive nails into, increasing bending risk. Pre-drilling pilot holes in hardwoods reduces resistance dramatically. Using lubricants like soap or wax on nail shafts decreases friction and bending likelihood. These simple tricks prevent frustration on challenging materials.
Key Takeaway: Most nail bending results from technique errors rather than material problems; focus on consistent, vertical hammer strikes.
When Should You Use Alternative Fastening Methods Instead of Nails?
Some situations call for fasteners other than traditional nails. Screws provide superior holding power and adjustability. Nails work well for trim, framing, and temporary assemblies. Screws excel at permanent joints and projects requiring adjustments. Understanding when to switch fastening methods saves time and frustration.
For delicate trim work, consider brad nails or finishing nails instead of standard nails. These smaller fasteners have less bending risk and leave minimal marks. For heavy-duty applications like deck building, use galvanized or stainless steel nails that resist rust and bending better than standard nails. Material choice matters as much as nail size.
Fastening Method Selection Guide
- Standard nails: Framing, rough construction, temporary assemblies in softwood.
- Finishing nails: Trim work, baseboards, crown molding where appearance matters.
- Brad nails: Delicate trim, thin materials, projects requiring invisible fasteners.
- Screws: Permanent joints, hardwoods, projects requiring future adjustments or disassembly.
- Concrete nails: Fastening to masonry; use hardened steel to prevent bending.
- Galvanized/stainless nails: Outdoor projects, wet environments where rust resistance is critical.
Power tools like nail guns and brad nailers eliminate many bending problems by delivering consistent, perpendicular strikes automatically. For high-volume projects, these tools save time and frustration. However, hand-driving skills remain essential for detail work and situations where power tools aren’t practical. Learn both methods for maximum versatility.
If you’re frequently struggling with bent nails, consider upgrading to screws for your projects. Screws offer superior holding power and eliminate bending issues entirely. For more information on proper tool selection, see our guide on how to choose the right screwdriver for the job in 2026.
Key Takeaway: Choose fastening methods based on project requirements; screws work better than nails in many situations.
What Practical Techniques Improve Your Nail Driving Success Rate?
Mastering nail driving requires practice and specific techniques. Start with scrap wood to develop muscle memory before working on finished projects. This low-stakes practice builds confidence and skill. Experiment with different hammer weights and nail sizes to discover what feels most natural for your strength and style.
Create a consistent pre-strike routine. Always verify nail alignment, check hammer positioning, and take a breath before striking. This ritualistic approach trains your body to execute the same motion repeatedly, improving accuracy. Consistency beats raw power every time.
Actionable Steps for Better Nail Driving
- Practice on scrap wood for 10-15 minutes before each project to warm up your technique.
- Select the correct nail size and gauge for your specific material before starting.
- Position the nail vertically, verifying alignment from two perpendicular angles.
- Strike gently 2-3 times to set the nail, then remove your hand completely.
- Deliver 5-8 uniform strikes with consistent force and vertical motion.
- Stop when the nail is flush with the surface; don’t over-strike and damage the material.
- Remove any bent nails immediately rather than attempting to force them deeper.
- Review each bent nail to identify the cause and adjust your technique accordingly.
Keep your hammer clean and in good condition. A hammer with a chipped or worn face won’t strike consistently. Inspect the head regularly and replace the hammer if damage appears. A quality hammer is a worthwhile investment that lasts decades with proper care.
Consider using a nail punch for finishing work. This tool drives the nail head below the surface without striking the surrounding material. It’s particularly useful for trim work where the hammer head might damage the wood. A nail punch costs under ten dollars and prevents countless frustrations.
Key Takeaway: Practice, consistency, and proper tool maintenance transform nail driving from frustrating to reliable.
How Does Material Type Affect Nail Bending Risk?
Different materials present different challenges. Softwoods like pine and fir accept nails easily, reducing bending risk. Hardwoods like oak and maple resist penetration, increasing bending likelihood. Understanding your material’s properties helps you adjust your technique and nail selection accordingly.
Wet or green wood is significantly harder to drive nails into than dry wood. The moisture content increases resistance, making bending more likely. Allow wet wood to dry before nailing when possible. If immediate fastening is necessary, use larger gauge nails and expect to exert more force. Pre-drilling pilot holes becomes essential in wet hardwoods.
Material-Specific Nail Driving Strategies
- Softwood: Standard 10d-16d nails work well; light to moderate hammer force suffices.
- Hardwood: Use 12d-20d nails with thicker gauge; pre-drill pilot holes to reduce resistance.
- Wet/green wood: Select larger gauge nails; pre-drill and apply lubricant to nail shafts.
- Plywood/composite: Use ring-shank or spiral nails for better grip; standard nails may pull out.
- Pressure-treated lumber: Use galvanized nails to prevent chemical reaction; pre-drill to reduce splitting.
Plywood and composite materials require special consideration. These materials don’t grip nails as firmly as solid wood. Ring-shank nails, which have ridges along the shaft, provide superior holding power in these materials. Spiral nails work similarly. For critical applications, screws are preferable to nails in composite materials.
If you’re working with pressure-treated lumber, use galvanized or stainless steel nails. Standard nails react chemically with the treatment chemicals, causing corrosion and potential joint failure. This material-specific knowledge prevents costly mistakes and ensures project longevity.
Key Takeaway: Material properties determine nail selection and technique; match your approach to the specific wood type.
Recommended Products
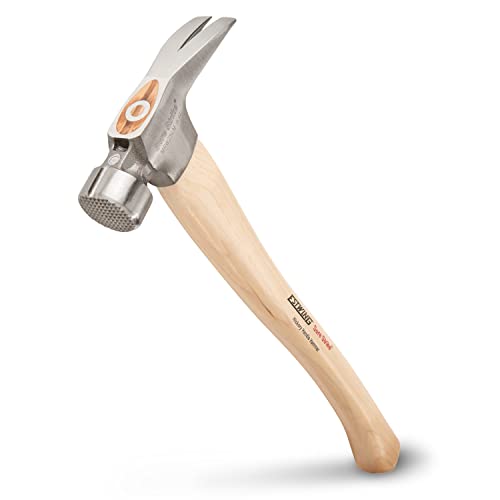
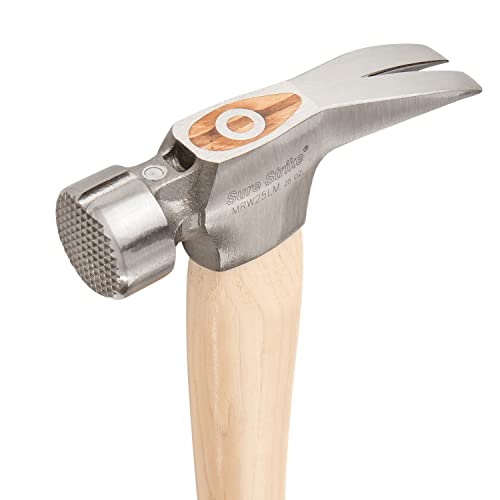
ESTWING Sure Strike California Framing Hammer, 25 oz Rip Claw, MRW25LM
- FORGED STEEL HEAD – Engineered and produced under extremely high, yet accurate, pressure for maximum strength and durability for a lifetime of hard work.
- GENUINE HICKORY HANDLE – Crafted from genuine hickory, this handle delivers a lightweight feel that conforms to the user's grip, ensuring maximum comfort and control during use, making it a preferred choice for both professionals and hobbyists.
- THE FINEST STRIKING TOOLS SINCE 1923 – With a legacy over 100 years, Estwing has been committed to engineering the world’s most trusted striking tools, focusing on durability, functionality, and longevity to meet the needs of professionals and DIY enthusiasts alike.


As an Amazon Associate we earn from qualifying purchases. Product prices and availability are accurate as of the date/time indicated.

WORKPRO 4-Piece Nail Punch and Center Punch Set
- Comprehensive Punch Set: This punch tool set includes 1/32", 1/16", 3/32" Nail Setters and 1/32" Center Punch.
- Premium Materials for Durability: Made from Cr-V with Black oxide finish, our nail punches have enhanced durability and corrosion resistance. They ensure long-lasting reliability in any workshop or job site.
- Antislip Grip: The knurling on the grips prevents slipping when in use, ensuring an easy grip and hold, providing better control while working with less effort.
- Efficient Punch Tool: Our Nail punches excel in driving nails precisely into wooden materials, allowing you to achieve a smooth and professional finish. The center punch can be used for accurate marking to start drills.
- Wide Application: Whether you need to drive nails or mark a spot, this set ensures you always have the right tool at hand. Indispensable tools for woodworking enthusiasts, carpenters, and DIYers to work with trim carpentry, on furniture projects, etc.


As an Amazon Associate we earn from qualifying purchases. Product prices and availability are accurate as of the date/time indicated.
Frequently Asked Questions
Why does my nail keep bending even when I hold it straight?
Bending despite straight positioning usually indicates angled hammer strikes or undersized nails. Check your hammer motion—it should be perfectly vertical, not curved. Verify you’re striking the nail head center, not the edge. If your technique is correct, try a larger gauge nail for your material. Practice on scrap wood to diagnose the exact cause before continuing your project.
Is it better to use a heavy or light hammer for driving nails?
A 16-ounce claw hammer suits most household projects. Heavier hammers (20 ounces) require more control but need fewer strikes. Lighter hammers (12 ounces) demand more strikes but offer better control for delicate work. Choose based on your strength and nail size. What matters most is consistent technique, not hammer weight. Practice with different weights to find what feels natural for your style.
Should I pre-drill holes before driving nails?
Pre-drilling isn’t necessary in softwoods for standard nails, but it’s beneficial in hardwoods and pressure-treated lumber. Pilot holes reduce resistance, decrease bending risk, and prevent splitting. For finish work and trim, pre-drilling is standard practice. For rough framing in softwood, it’s optional. Consider pre-drilling if you’re experiencing bent nails despite proper technique.
What’s the difference between finishing nails and standard nails?
Finishing nails have smaller diameters and nearly invisible heads, making them ideal for trim and visible work. Standard nails have larger heads and gauges, providing better holding power for structural applications. Finishing nails bend more easily due to their thinner gauge, requiring lighter hammer force and more careful technique. Choose finishing nails for appearance-critical work and standard nails for structural strength.
Can I straighten a bent nail and re-drive it?
Straightening bent nails is possible but not recommended. Metal work-hardens when bent, making it brittle and prone to breaking during re-driving. Discard bent nails and use fresh ones instead. The cost savings isn’t worth the frustration and potential damage. Always keep spare nails on hand for projects to avoid this temptation.
What lubricant can I use to make nails easier to drive?
Soap, wax, or specialized nail lubricants reduce friction and make driving easier, especially in hardwoods and pressure-treated lumber. Coat the nail shaft lightly before driving. This simple trick decreases resistance and bending likelihood significantly. Bar soap works well for this purpose and costs pennies. Apply sparingly to avoid making the nail too slippery to grip.
How Can You Master Nail Driving in 2026 and Beyond?
Mastering nail driving combines proper technique, material knowledge, and consistent practice. Start by selecting the correct nail size and gauge for your specific material. Position the nail vertically, using light positioning strikes before full-force driving strikes. Execute perfectly vertical hammer motion with consistent force. Remove bent nails immediately and learn from each mistake to improve your technique.
Your success depends on understanding that nail bending results primarily from technique errors, not material problems. Most people can eliminate bent nails within a few hours of focused practice. Start with scrap wood to build muscle memory, then apply these skills to your actual projects. As your confidence grows, you’ll tackle more ambitious projects with reliable results.
Remember that professional results come from mastering fundamentals, not from expensive tools or special tricks. A quality claw hammer, proper nail selection, and consistent vertical technique solve 95% of nail-bending problems. For specialized work like trim installation, consider upgrading to brad nailers or finishing tools. For general carpentry and construction, hand-driving skills remain invaluable and worth developing thoroughly.
If you find yourself frequently struggling with fastening, explore alternative methods. Our guides on how to use a brad nailer for trim work in 2026 and how to choose the right screwdriver for the job in 2026 offer complementary techniques. Every tool and method has appropriate applications. Develop versatility by mastering multiple fastening approaches, and you’ll handle any project with confidence and professional-quality results.







Write Your Review
No reviews yet. Be the first to share your experience!