

What Is a Brad Nailer and Why Is It Perfect for Trim Work?
A brad nailer is a pneumatic or cordless power tool that drives thin, small-gauge nails called brads into wood and other materials. Brad nails typically range from 18 to 23 gauge and are 5/8 inch to 2 inches long. These tiny fasteners leave minimal visible holes, making them ideal for delicate trim, molding, and finishing work. Unlike finish nailers or standard nail guns, brad nailers deliver less splitting and surface damage on thin wood pieces.
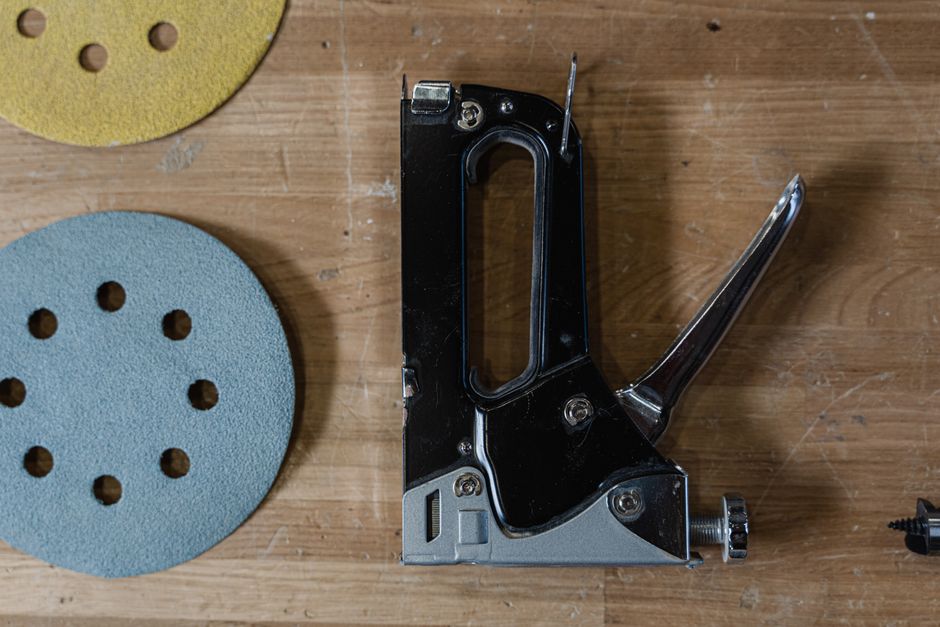
Trim work demands precision and finesse. Brad nailers excel because they hold lightweight trim pieces securely without the impact force of larger nail guns. Professionals and DIY enthusiasts rely on brad nailers for crown molding, baseboards, door casings, and cabinet trim. The tool’s compact design lets you access tight corners and narrow spaces that larger equipment cannot reach. This makes brad nailers indispensable for achieving professional-quality results.
Key Takeaway: Brad nailers are lightweight, precise tools designed specifically for trim work where surface appearance and wood integrity matter most.
How Do You Choose the Right Brad Nailer for Your Trim Project?
Brad nailers come in two main power sources: pneumatic (air-powered) and cordless (battery-powered). Pneumatic models are lightweight, affordable, and ideal for sustained work sessions. However, they require an air compressor and hose setup. Cordless brad nailers offer mobility and convenience without compressor dependency, though they may have battery runtime limitations.
Consider these key factors when selecting your brad nailer:
- Power source preference: pneumatic for budget-friendly sustained use, cordless for convenience and portability.
- Brad nail length compatibility: ensure the tool accepts your project’s nail specifications (typically 5/8″ to 2″).
- Magazine capacity: larger magazines reduce reload frequency during long trim runs.
- Depth adjustment: adjustable settings prevent over-driving nails into delicate trim surfaces.
- Ergonomic design: lightweight construction reduces hand fatigue during extended work sessions.
Quality brad nailers from reputable manufacturers offer precision engineering and durability. Check user reviews and manufacturer specifications before purchasing. If you’re new to power tools, cordless models provide the easiest learning curve with straightforward operation. For professional contractors, pneumatic systems offer superior cost-per-use economics over many projects.
Key Takeaway: Choose between pneumatic and cordless based on your work environment, budget, and frequency of use.
What Are the Essential Steps to Prepare Your Brad Nailer for Trim Work?
Before driving a single nail, proper setup is critical for safe and effective operation. Start by reading your specific tool’s manual—each brad nailer has unique features and safety requirements. Inspect the tool for damage, check that the nose piece is secure, and verify the magazine functions smoothly. For pneumatic models, ensure your air compressor delivers the correct pressure (typically 70-120 PSI) as specified in your manual.
Loading and Testing Your Brad Nailer
Load brad nails into the magazine following your tool’s instructions. Most brad nailers have a simple spring-loaded magazine that slides open. Insert a strip of nails, align them properly, and close the magazine until it clicks. Test fire the nailer into scrap wood before beginning your trim project. This confirms proper operation and helps you adjust the depth setting for your specific trim thickness.
- Load nails carefully to prevent jams and misfires during operation.
- Test fire on scrap wood to confirm the nailer drives nails to proper depth.
- Adjust the depth setting so nail heads sit slightly below the trim surface.
- For cordless models, charge the battery fully before starting extended work.
Depth adjustment is crucial for trim work. Too shallow and nails won’t hold securely. Too deep and you’ll create unsightly dimples requiring filler and sanding. Spend time adjusting on scrap pieces matching your trim wood species and thickness. This investment in preparation prevents costly mistakes on your actual project.
Key Takeaway: Proper loading, testing, and depth adjustment ensure your brad nailer performs reliably throughout your trim installation.
How Do You Master the Technique for Driving Brad Nails Precisely?
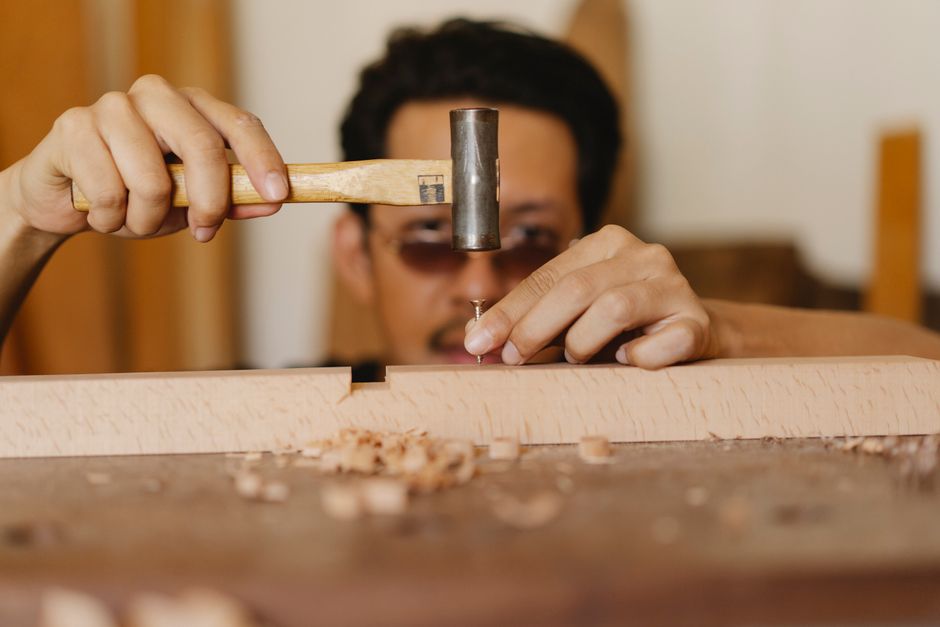
Holding the brad nailer correctly is fundamental to accuracy and safety. Grip the tool firmly with your dominant hand, keeping your index finger on the trigger. Position your other hand to stabilize the trim piece being nailed. Never place your non-trigger hand in line with the nail exit point—always keep hands clear of the firing direction. Maintain a 90-degree angle between the nailer nose and the trim surface for perpendicular nail entry.
Proper Grip and Positioning Techniques
Stand with a stable, balanced stance. Your body position should allow smooth movement across the trim without overreaching or straining. For horizontal trim like baseboards, hold the nailer at waist height. For vertical trim like casings, position it at chest or shoulder height depending on the work area. This ergonomic positioning reduces hand fatigue and improves control during extended sessions.
Press the nailer nose firmly against the trim before pulling the trigger. This contact is essential—firing without proper contact risks misfires and safety issues. Apply steady, even pressure. Avoid jerky or aggressive movements that can deflect the nail or damage the trim surface. Think of the process as a controlled, deliberate action rather than a quick strike.
- Maintain a firm, stable grip with your dominant hand on the trigger.
- Keep your non-trigger hand away from the nail exit path.
- Press the nose firmly against the trim before firing.
- Use steady, even pressure throughout the nailing process.
- Space nails according to your trim type: typically 8-12 inches apart for baseboards.
Key Takeaway: Proper grip, positioning, and steady pressure ensure accurate nail placement and professional-looking trim results.
What Safety Precautions Must You Follow When Operating a Brad Nailer?
Safety is non-negotiable when operating any power tool. Always wear safety glasses to protect your eyes from debris and flying nail fragments. Hearing protection is recommended, especially during extended use sessions. Keep your work area clean and well-lit to maintain visibility and prevent tripping hazards. Never operate a brad nailer while tired, distracted, or under the influence of substances that impair judgment.

Critical Safety Rules for Brad Nailer Operation
Never point the nailer at yourself, other people, or animals. Treat every brad nailer as if it’s loaded and ready to fire. Keep your finger off the trigger until you’re ready to drive a nail. Never leave a running nailer unattended, and always disconnect the air hose (pneumatic) or remove the battery (cordless) before leaving the work area. Store the tool safely when not in use—refer to our guide on how to store power tools safely in a garage for best practices.
- Wear safety glasses and hearing protection during operation.
- Never point the nailer at people, animals, or yourself.
- Keep your finger off the trigger until ready to fire.
- Disconnect power before changing nails, clearing jams, or performing maintenance.
- Inspect the tool regularly for damage or wear.
- Follow the manufacturer’s specific safety instructions for your model.
If a nail jams or the tool misfires, stop immediately. Disconnect power and inspect the magazine and nose piece. Never attempt to force a jammed nail or disassemble the tool yourself. Contact the manufacturer or a qualified technician for repairs. Proper maintenance and safety consciousness prevent injuries and extend your tool’s lifespan.
Key Takeaway: Consistent safety practices protect you and others while ensuring your brad nailer operates reliably for years.
How Do You Install Different Types of Trim Using a Brad Nailer?
Different trim applications require slightly different techniques and nail spacing. Crown molding demands careful angle positioning and multiple nails to support the weight and leverage. Baseboards need nails driven into wall studs when possible for maximum holding power. Door and window casings require precise spacing to prevent warping and ensure visual symmetry. Understanding these variations helps you achieve professional results on any trim project.
Crown Molding Installation Techniques
Crown molding presents unique challenges due to its angled profile and weight. Position the nailer to drive nails through the thicker, stronger portions of the molding into wall studs behind. Use 1.5-inch brads for most crown molding applications. Space nails 10-12 inches apart along studs, and add additional nails between studs for extra support. Maintain consistent pressure and angle throughout installation to keep the molding aligned and prevent sagging.
Baseboard and Casing Installation
Baseboards sit at floor level where they endure more stress and visibility. Drive nails into wall studs whenever possible, spacing them 16 inches apart (matching standard stud spacing). Use 1.25-inch brads for standard baseboards. For door and window casings, space nails 8-10 inches apart around the perimeter. Ensure the casing remains square and plumb throughout installation by checking frequently with a level.
- Crown molding: 1.5-inch brads, 10-12 inch spacing, nail into studs for support.
- Baseboards: 1.25-inch brads, 16-inch spacing (stud locations), multiple nails per wall section.
- Door casings: 1-inch brads, 8-10 inch spacing, ensure square corners and plumb alignment.
- Window casings: 1-inch brads, 8-10 inch spacing, maintain consistent reveal distances.
- Cabinet trim: 5/8-inch brads, 6-8 inch spacing, use for delicate decorative pieces.
Key Takeaway: Different trim types require specific nail sizes, spacing, and positioning strategies for optimal strength and appearance.
What Common Mistakes Should You Avoid When Using a Brad Nailer?
Even experienced users make mistakes that compromise trim quality. Over-driving nails creates dimples and surface damage requiring extensive filler and sanding. Under-driving nails fail to secure trim properly, leading to loose, rattling pieces. Inconsistent spacing creates visually apparent patterns that look unprofessional. Failing to locate studs results in weak fastening that won’t support trim weight long-term.
Another common error is using incorrect nail sizes for specific trim types. Using nails too long for delicate trim can split the wood or protrude through the back. Too-short nails fail to provide adequate holding power. Inconsistent pressure and angle cause nails to bend or drive at angles, weakening the connection. Finally, rushing the work without proper measurements and layout leads to crooked, misaligned trim that requires removal and reinstallation.
- Over-driving nails: creates dimples requiring filler; adjust depth setting downward.
- Under-driving nails: fails to secure trim; adjust depth setting upward.
- Inconsistent spacing: looks unprofessional; mark nail locations before firing.
- Ignoring stud locations: weak fastening; use a stud finder for baseboard installation.
- Wrong nail size: can split wood or fail to hold; verify specifications for trim type.
- Rushing the work: causes alignment and appearance issues; take time for measurements.
Key Takeaway: Avoiding common mistakes requires attention to detail, proper setup, and patience throughout the installation process.
How Do You Finish and Inspect Your Brad Nailer Trim Work?
After driving all nails, inspect your work carefully. Look for any nails that sit too high above the surface or too deep, creating dimples. Check that all trim pieces are properly aligned, straight, and securely fastened. Run your hand along the trim surface to feel for any protruding nails or rough spots. If brad holes are visible, fill them with paintable wood filler matching your trim color.
Filling and Final Finishing Steps
Apply wood filler to any visible nail holes using a putty knife. Overfill slightly, then sand flush once the filler dries completely. For stained trim, use color-matched wood filler or stain-based fillers to minimize visibility. For painted trim, standard paintable filler works well. Sand all filled areas smooth with 120-grit sandpaper. Apply primer and paint according to your trim finish specifications.
Inspect the entire installation one final time before finishing. Ensure all joints are tight and properly mitered if applicable. Check that trim is level, plumb, and properly aligned with surrounding surfaces. Verify that no nails are visible or protruding. Once satisfied with the installation, proceed with painting, staining, or sealing according to your project plan.
- Fill visible nail holes with color-matched wood filler.
- Sand filled areas smooth once filler dries completely.
- Check that all trim is straight, level, and properly aligned.
- Verify all nails are driven to proper depth without dimpling.
- Apply primer and finish coats according to your trim specifications.
Key Takeaway: Proper finishing and inspection transform your brad nailer work into professional-quality trim that enhances your space.
What Maintenance Keeps Your Brad Nailer in Peak Condition?
Regular maintenance extends your brad nailer’s lifespan and ensures reliable performance. For pneumatic models, drain the air compressor tank weekly to remove moisture that can damage internal components. Clean the air filter regularly and check hose connections for leaks. For cordless models, charge batteries fully before storage and avoid overcharging, which degrades battery life. Store your nailer in a dry, temperature-controlled environment away from moisture and extreme heat.
Periodically clean the nail magazine and firing mechanism with compressed air to remove dust and debris. Lubricate pneumatic nailers according to manufacturer specifications—typically a few drops of pneumatic tool oil in the air inlet. Never use general-purpose machine oil, which can damage seals and valves. Inspect the nose piece and magazine for cracks or damage. Replace worn components promptly to maintain safety and performance.
- Drain pneumatic compressor tanks weekly to prevent internal corrosion.
- Clean air filters and check hose connections regularly for leaks.
- Charge cordless batteries fully before extended storage periods.
- Clean the magazine and firing mechanism with compressed air monthly.
- Lubricate pneumatic tools with pneumatic-specific oil as recommended.
- Inspect the entire tool regularly for cracks, damage, or wear.
Key Takeaway: Consistent maintenance prevents costly repairs and keeps your brad nailer performing reliably for years of trim work.
How Do You Troubleshoot Common Brad Nailer Problems?
Brad nailers occasionally encounter issues that prevent proper operation. Nail jams occur when brads bend or misalign in the magazine, stopping the firing mechanism. Disconnect power immediately and carefully remove the jammed nail using pliers. Inspect the magazine for damage or debris. Misfires happen when the tool fails to drive a nail despite trigger activation. Check that the tool is properly loaded, the nose piece is in contact with the work surface, and the depth setting is appropriate.
Weak driving force indicates insufficient air pressure (pneumatic models) or low battery charge (cordless models). Check your compressor pressure gauge and adjust if needed. For cordless models, recharge the battery or swap in a fresh one. Inconsistent nail depth suggests the depth adjustment needs recalibration. Test fire on scrap wood and adjust the setting incrementally until nails drive to the desired depth. If problems persist after troubleshooting, contact the manufacturer or a qualified technician for professional service.
- Nail jams: disconnect power, carefully remove jammed brad with pliers.
- Misfires: verify tool is loaded, nose is in contact, and depth is set correctly.
- Weak driving force: check air pressure (pneumatic) or recharge battery (cordless).
- Inconsistent depth: recalibrate depth setting using scrap wood test fires.
- Leaking air (pneumatic): check hose connections and replace damaged hoses.
- Battery issues (cordless): recharge fully or replace with new battery.
Key Takeaway: Most brad nailer problems have simple solutions achievable through basic troubleshooting and maintenance.
Frequently Asked Questions
What is the difference between a brad nailer and a finish nailer?
Brad nailers drive thinner, smaller nails (18-23 gauge) that leave minimal holes, ideal for delicate trim. Finish nailers use thicker 15-16 gauge nails with more holding power for heavier trim and baseboards. Choose brad nailers for fine finishing work and delicate trim where surface appearance matters most.
Can you use a brad nailer on hardwood trim?
Yes, brad nailers work on hardwood trim, but hardwoods are denser and require careful depth adjustment. Pre-drilling small pilot holes prevents splitting on very hard woods like oak or maple. Use appropriate brad nail lengths and test fire on scrap hardwood before beginning your project to ensure proper performance.
How do you prevent wood splitting when using a brad nailer?
Prevent splitting by using correct nail sizes for your trim thickness, avoiding nailing near wood edges, and pre-drilling pilot holes in hardwoods. Space nails appropriately (8-12 inches apart) to distribute stress. Ensure the brad nailer’s depth is set correctly—too much force increases splitting risk. Use brads appropriate for your wood species and thickness.
Is a pneumatic or cordless brad nailer better for trim work?
Pneumatic models are lighter, more affordable, and ideal for sustained professional work. Cordless models offer convenience and portability without compressor setup. Choose pneumatic for frequent use and professional applications; choose cordless for occasional projects and maximum mobility around your work area.
What nail length should you use for crown molding?
Use 1.5-inch brads for standard crown molding (3-4 inches wide). Longer nails provide better holding power for the weight and leverage of crown molding. Verify your specific molding dimensions and adjust nail length accordingly. Test fire on scrap molding before beginning installation.
How do you fix over-driven brad nails in trim?
Fill over-driven nail holes with color-matched wood filler using a putty knife. Overfill slightly, then sand smooth once dry. For stained trim, use stain-based filler to minimize visibility. For painted trim, standard paintable filler works well. Sand with 120-grit sandpaper and apply finish coats to complete the repair.
What Makes Brad Nailers Essential for Professional-Quality Trim Work?
Brad nailers have become indispensable tools for trim installation because they combine precision, control, and minimal surface damage. Unlike traditional hammer and nail methods, brad nailers drive fasteners consistently and reliably, reducing the risk of bent nails, dented surfaces, and misaligned trim. The small nail size and minimal hole diameter mean less filling and finishing work, saving time and materials. Whether you’re installing crown molding, baseboards, door casings, or decorative trim, a quality brad nailer delivers professional results that enhance your home’s appearance.
Mastering brad nailer techniques requires understanding your specific tool, practicing on scrap materials, and maintaining consistent technique throughout your project. Proper setup, correct nail selection, and attention to detail separate amateur results from professional-quality work. By following the techniques and safety practices outlined in this guide, you’ll confidently tackle any trim project with precision and confidence. Your investment in learning proper brad nailer operation pays dividends in beautiful, durable trim installations that last for years.
For related guidance on other power tools and techniques, explore our comprehensive guides on how to load a nail gun correctly and how to sand furniture with a random orbital sander to expand your DIY capabilities. With proper tools, knowledge, and practice, you’ll achieve trim work results that rival professional contractors.
Key Takeaway: Brad nailers are essential precision tools that enable professional-quality trim installation when used with proper technique and safety awareness.







Write Your Review
No reviews yet. Be the first to share your experience!