

How Can You Fix a Stripped Screw in Wood?
A stripped screw in wood occurs when the screw’s threads lose grip in the wood fibers, causing the fastener to spin without tightening. The quickest fix is using wooden toothpicks or wooden dowels to fill the stripped hole, then re-driving the screw. For larger holes, drill out the damaged area and install a wooden dowel or wooden plug, then drive a new screw. The best prevention method involves using the correct screw size, applying proper torque, and pre-drilling pilot holes. Most homeowners can resolve stripped screws in minutes using common tools like a drill, saw, and wooden dowels. Understanding why screws strip—excessive force, incorrect sizing, or driving at angles—helps prevent future problems. This guide covers every repair method from simple toothpick solutions to professional-grade dowel installations, ensuring you can handle stripped screws confidently regardless of project size or wood type.

Gulfmew 10 Pcs Wood Anchor, Fix Stripped Wood Screw Holes, Red
- Fix Stripped Wood Screw Holes in Seconds: wood anchor for screws is designed to quickly and easily repair stripped screw holes in wood, door hinge, fittings, fixtures, modern and antique furniture, door locks, anywhere a wood screw hole need repair
- Fits Screw Sizes 2 to 16: Door hinge screw holes repair kit has 9 sections to fixes multiple screw hole sizes, #2 to #16
- Innovative Design: Stripped screw hole repair kit designs with notched to fit screwdriver, rough texture on the surface to increase friction and scored for easy break-off; Side slit for expansion; Hold your fixtures securely in place
- Easy Installation: Screw hole filler can be fix stripped and worn wood screw holds in less than a minute; 1; Simply match anchor to fit screw size; 2; Screw anchor into existing hole 3; Snap off anchor at desired length 4; Use existing screw
- Wide Range of Applications: whether you are working on a DIY project or a professional job, stripped door hinge repair kit is suitable for various materials including soft wood, hard wood, concrete, block, brick, and tile, and more, not for use in drywall; Wood filler for screw holes kit is good for door hinge screw hole, cabinets and other fixtures securely


As an Amazon Associate we earn from qualifying purchases. Product prices and availability are accurate as of the date/time indicated.
Why Screws Strip in Wood
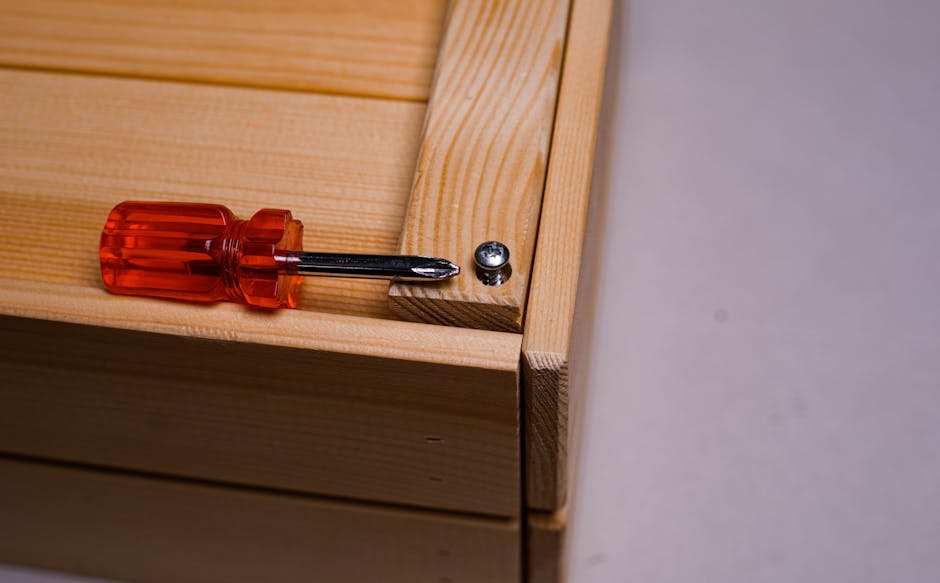
Stripped screws happen for several reasons. The most common cause is applying excessive force while driving the screw, which crushes wood fibers instead of compressing them. Using screws that are too large for the wood damages more material than the fastener can grip. Driving screws at an angle rather than perpendicular to the surface reduces contact area and increases stress on surrounding wood. Soft woods like pine and cedar strip more easily than hardwoods because their fibers compress rather than resist. Moisture content in wood also affects grip—wet wood fibers compress easily and lose holding power as they dry. Pre-drilling pilot holes prevents most stripping issues by creating a path for the screw and allowing wood fibers to compress evenly. When you understand these causes, you can both fix current problems and prevent future stripped screws in your projects.
What Are the Most Effective Methods to Remove and Replace a Stripped Screw?
Removing a stripped screw requires patience and the right technique. If the screw head protrudes above the wood surface, use a rubber band placed between the screwdriver tip and screw head to increase grip—the rubber fills gaps and prevents slipping. For screws flush with or below the surface, try a screw extractor tool, which has reverse threads that bite into the screw as you turn counterclockwise. If the head is completely damaged, carefully drill around the screw with a bit slightly smaller than the screw diameter, allowing the drill to gradually cut into the screw’s center. Once the screw is out, assess the hole damage before reinstalling.
The Toothpick Method for Small Stripped Holes
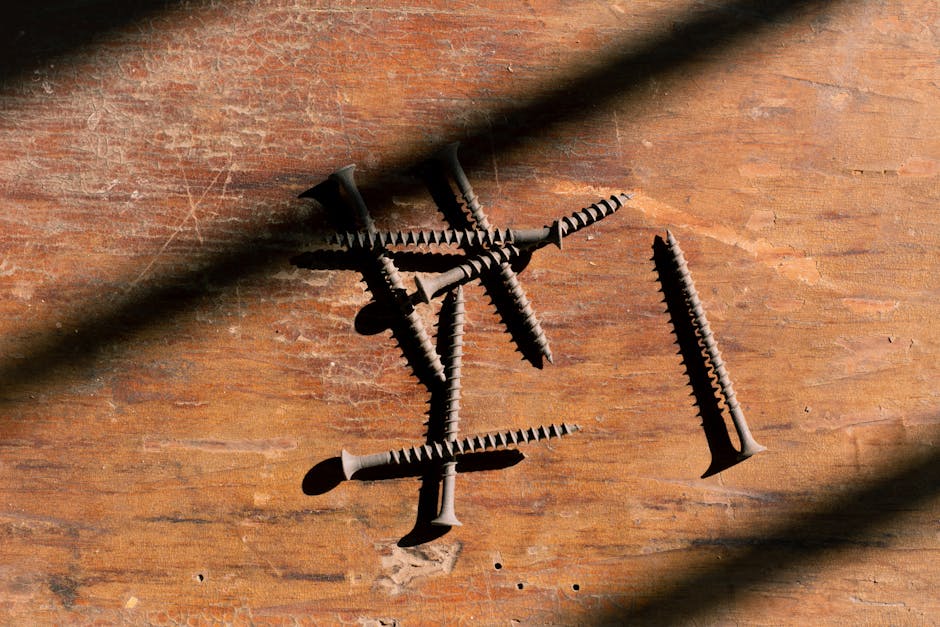
This simple technique works well for minor stripping in hardwoods and dense materials. Break wooden toothpicks or wooden matchsticks into pieces and insert them into the stripped hole, breaking them off flush with the surface. The wood fibers of the toothpicks provide new grip points for the screw. Apply wood glue to the toothpicks before insertion for stronger hold. Once the glue dries (typically 30 minutes to an hour), drive the original screw or a new screw of the same size back into the hole. The toothpicks compress slightly, creating friction that prevents spinning. This method works best for small screws in hardwoods and is ideal for furniture repair, picture frames, and decorative items where appearance matters. For larger screws or softer woods, this method may not provide sufficient holding power.
Wooden Dowel Replacement for Larger Holes
When toothpicks won’t work, wooden dowel installation is the professional standard. Select a dowel diameter slightly larger than the screw hole—typically 3/8 inch to 1/2 inch for standard wood screws. Drill out the damaged hole using a drill bit matching the dowel diameter, drilling straight through the screw hole and removing all compromised wood. Apply wood glue liberally inside the hole and insert the wooden dowel, tapping it in with a hammer until it’s flush with the surface. Allow the glue to cure fully (follow manufacturer instructions, typically 24 hours for maximum strength). Once cured, drill a new pilot hole through the dowel and drive your screw. This method provides permanent repair and actually strengthens the wood joint beyond the original installation.
How Do You Prevent Stripped Screws When Installing in Wood?
Prevention is always better than repair. Start by selecting the correct screw size for your project—the screw diameter should be roughly one-tenth the thickness of the material you’re fastening. Always pre-drill pilot holes before driving screws, especially in hardwoods and near wood edges. Pilot holes should be slightly smaller than the screw’s root diameter (the narrowest part of the threads). Use a power drill with adjustable speed settings rather than maximum RPM—slower speeds provide better control and reduce stripping risk. Apply steady, even pressure while driving; avoid forcing the screw if you feel resistance. For critical applications, use screws with larger diameters or screws designed for stripped holes, which have aggressive threads that grip better. Consider using wood screws with coarse threads in softwoods and fine-threaded screws in hardwoods. Learn detailed prevention techniques in our complete guide to driving screws without stripping them.
Choosing the Right Screw Type
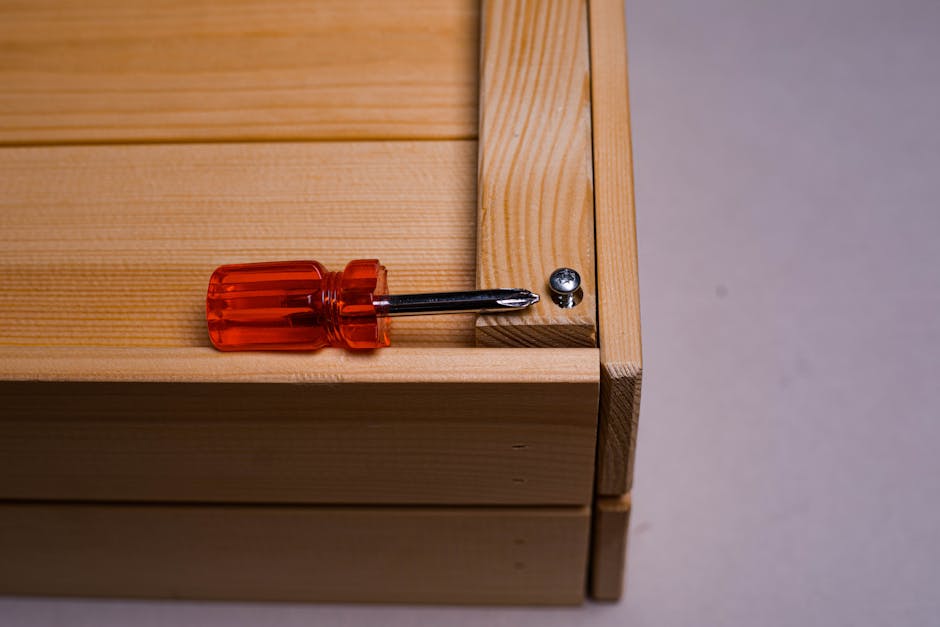
Different screw designs perform better in specific situations. Coarse-threaded wood screws work best in softwoods because the larger thread pitch grips the compressed wood fibers effectively. Fine-threaded screws work better in hardwoods where wood fibers don’t compress as much. Structural screws (also called log screws) have aggressive threads and larger diameters, making them excellent for heavy-duty applications and stripped holes. Pocket hole screws have fine threads and work well with pre-drilled holes and wood glue. Deck screws resist corrosion and have excellent holding power in outdoor applications. Choosing the correct screw type for your wood species and application significantly reduces stripping problems. When replacing stripped screws, consider upgrading to a larger diameter or different thread design that will hold better in your specific wood type.
How Do You Fix a Stripped Screw Using an Epoxy or Filler Method?
For situations where wooden dowels aren’t practical, epoxy-based solutions provide excellent results. Two-part epoxy wood filler can be mixed and packed into the stripped hole, creating a solid foundation for the screw. Mix epoxy according to manufacturer instructions and press it firmly into the hole using a putty knife or screwdriver. Allow it to cure fully (typically 24 hours) before drilling a pilot hole and driving the screw. Epoxy provides superior holding power compared to wood filler alone because it hardens to a plastic-like consistency that resists compression. For visible repairs, match the epoxy color to your wood finish. This method works particularly well for stripped holes in cabinet doors, furniture, and decorative pieces where appearance matters. Another option is using polyurethane construction adhesive mixed with sawdust to create a paste that fills the hole and hardens stronger than the original wood. These chemical solutions are ideal for emergency repairs and situations where wooden dowels would be visible.
Applying Epoxy for Maximum Holding Power
Clean out the stripped hole completely before applying epoxy, removing all loose wood fibers and dust. Use a wire brush or compressed air to ensure the hole is clean and dry. Mix only the amount of epoxy you need—it begins setting quickly and becomes difficult to work with. Apply epoxy generously to the hole walls using a small stick or screwdriver, ensuring complete coverage. Pack the epoxy tightly into the hole, removing air pockets that could weaken the repair. Once epoxy is cured and hardened, drill your pilot hole and drive the screw immediately. The epoxy provides permanent repair that won’t loosen over time like some temporary fixes. For added strength, apply wood glue to the screw threads before driving it into the epoxy-filled hole. This combination creates an incredibly strong joint suitable for load-bearing applications.
How Do You Fix a Stripped Screw Hole in Different Wood Types?
Different woods require different repair approaches. Softwoods like pine, cedar, and fir compress easily, so toothpicks and dowels work well but may need reinforcement with wood glue. Hardwoods like oak, maple, and walnut resist compression better, allowing for more aggressive repair methods. Plywood and particle board present special challenges because stripped holes go through veneers or composite layers—dowels work better than toothpicks because they provide structural support across multiple layers. MDF (medium-density fiberboard) is particularly prone to stripping because it has no grain structure; epoxy fillers work better than wooden dowels for MDF repairs. For engineered woods, consider using larger diameter screws or longer screws that penetrate deeper into solid material. When working with valuable hardwood furniture, wooden dowel repair is preferred because it maintains wood integrity and can be refinished seamlessly. For construction applications in softwoods, epoxy or larger structural screws provide better long-term holding power.
How Can You Apply Professional Repair Techniques for Stripped Screws?
Professional woodworkers use several advanced techniques for stripped screw repair. The helicoil method, borrowed from automotive repair, involves drilling out the hole to a specific size, installing a threaded metal insert (helicoil), then driving a screw into the insert. This method provides exceptional holding power and allows repeated removal and reinstallation without further stripping. Dowel plugs, which are pre-made wooden plugs with grain matching various wood species, provide seamless repairs in visible areas. Professionals also use marine epoxy for water-resistant repairs in outdoor applications and moisture-prone areas. For furniture restoration, professionals carefully match wood species and grain direction when installing dowel repairs, making the repair virtually invisible after finishing. Consider using a quality cordless drill with precise speed control to ensure accurate pilot hole drilling and prevent future stripping. These professional techniques take more time but provide repairs that last decades.
Using Helicoils for Maximum Durability
Helicoil inserts are small spiral metal coils that create new threads in enlarged holes. Drill out the stripped hole to the size specified by the helicoil kit (typically one or two sizes larger than the original screw). Install the threaded helicoil insert using the special installation tool included in the kit, screwing it into the enlarged hole until it’s slightly recessed. Drive your screw into the helicoil, which now provides durable threads that won’t strip. Helicoils are ideal for applications where screws will be repeatedly removed and reinstalled, such as access panels and removable components. They work in all wood types and provide holding power superior to the original installation. Helicoil kits are inexpensive and available at hardware stores for common screw sizes. This method is popular in professional woodworking, aerospace, and automotive applications where reliability is critical.
What Tools and Materials Do You Need for Stripped Screw Repair?
Basic repair requires minimal tools and materials. You’ll need a power drill with variable speed control, drill bits in various sizes, a screwdriver set (both Phillips and flathead), and wooden dowels or toothpicks. For more advanced repairs, add a screw extractor set, wood glue, epoxy filler, a putty knife, and sandpaper for finishing. A modern impact driver provides better control than traditional drills when driving screws into repaired holes. Safety equipment includes eye protection and work gloves. Having the right tools makes repairs faster and more successful. Quality drill bits are essential—dull bits create friction and heat that can damage wood and make repairs more difficult. Invest in a set of brad point drill bits for accurate pilot holes and spade bits for larger dowel holes. Keep wood glue, epoxy, and wooden dowels stocked in your workshop for quick repairs when needed.
How Do You Apply Wood Filler as a Quick Temporary Fix?
Wood filler provides a quick temporary solution when permanent repair isn’t immediately possible. Choose a wood filler color matching your wood type—natural, golden oak, dark walnut, or other finishes. Pack the filler firmly into the stripped hole using a putty knife, slightly overfilling to account for shrinkage. Allow it to cure according to manufacturer instructions (typically 2-4 hours). Sand the filled area smooth and flush with the surrounding wood surface. Once dry, you can drive a screw into the filled hole, though holding power is less than permanent repairs. Wood filler works best for small holes in softwoods and is ideal for cosmetic repairs where appearance matters more than holding strength. For visible areas, sand the repair smooth and apply matching stain or finish to blend seamlessly. However, wood filler alone should not be used for load-bearing applications or areas requiring strong holding power—combine it with wooden dowels or epoxy for better results. This method is perfect for quick fixes before guests arrive or when permanent repair must wait.
Recommended Products

30 Pack 6×14mm Short Expansion Screw Set for Cabinet Hinge Repair and Stripped Thread Restoration,Door Hinge Thread Repair Screws,Wall Anchors Screws Fit 6mm Holes for Tile Stone Wood Door
- 【Wide Compatibility】This door hinge screw hole repair kit fits ceramic tile, stone, wood, concrete, hollow walls, drywall and gypsum boards; ideal for cabinet hinges, closet/wardrobe doors, kitchen cabinets/cupboards, bathroom fixtures and wooden furniture hardware.
- 【Secure Hinge Repair】zzem screws for door hinge repair help restore worn, loose or stripped screw holes, reducing sagging, wobbling or falling hinges while keeping cabinet and furniture doors firmly fastened for daily use.
- 【Expansion Locking Hold】Each hinge repair screw & expansion anchor expands tightly inside the drilled hole to rebuild grip strength, deliver stable locking force and help prevent repaired hinge screws from loosening again.
- 【Durable Anti-Rust Build】Made from high-strength, corrosion-resistant material, these short expansion anchors and repair screws provide firm holding power for kitchens, bathrooms and other high-use areas exposed to frequent opening and closing.
- 【Easy 4-Step Installation】Drill a 6mm hole at least 15mm deep, insert the expansion anchor, tighten the hinge repair screw to expand it, then complete a secure cabinet door fastening repair in seconds without professional tools.


As an Amazon Associate we earn from qualifying purchases. Product prices and availability are accurate as of the date/time indicated.

Damaged Screw Extractor Set,Christmas Stocking Stuffers for Adults Men Him
- APPLY TO MOST DRILLS : 6 pieces screw extractors work with any drill and all the screw size or bolt (3-12mm), These extractor tools are used to reverse the damaged screw counterclockwise until it is released
- The DIY Tools for Men-Men won't know they need screw extractor set until they have one! This screw extractor set is GIFTS WRAP AVAILABLE, can be gifted to your loved ones as it reflects a fresh trend with fun and practical. Amazing and Unique tool gifts for men women. The must have stocking stuffers for men, gifts for dad, husband, father, him, guy teens, adult, Boyfriend, son on Birthdays, Christmas, Fathers Day or anniversary. Perfect Holiday Gifts Guide
- HIGH QUALITY - This damaged screw remover tool kit is made from High-Speed Steel H.S.S 4341# , which have high hardness of 63hrc, it's durable and easily to remove any damaged screws.
- EASY TO USE: Just two simple steps to get the job done - drill a hole with a cutting size using the right size screw extractor and easily remove the screw or bolt using the removal tool Hardness 63-65HRC: Titanium hardened steel material, more durable than most screw extractors on the market, better hardness and durability than others, buy with confidence and complete peace of mind
- Cool Gadgets for Men Dad Christmas Birthday Gifts for Men and Women - Men won't know they need screw extractor sets until they have one! Every screw has the potential to rust and break, which can create a situation where it cannot be removed. Owning it, there will be no anxiety about rusty screws. This screw extractor set is GIFTS WRAP AVAILABLE, can be gifted to your loved ones as it reflects a fresh trend with fun and practical. Amazing and unique tool gifts for men women. A must have stocking stuffer for men on birthdays, Christmas, Father's Day or anniversaries, a gifts for dads, husbands, fathers, him, adults, boyfriends, sons. The best and most practical and surprising Christmas gifts


As an Amazon Associate we earn from qualifying purchases. Product prices and availability are accurate as of the date/time indicated.
Frequently Asked Questions
Can you use a larger screw to fix a stripped hole?
Yes, using a larger diameter screw often works well. The larger screw’s threads grip fresh wood around the stripped area. Ensure the larger screw won’t damage surrounding material or protrude unsightly. Drill an appropriate pilot hole for the new screw size. This method is quick and effective for minor stripping but works best in hardwoods where wood density provides grip.
How long does wood glue take to cure before driving a screw?
Most wood glues cure to handling strength in 30 minutes to 1 hour, allowing you to drive a screw relatively quickly. However, maximum strength develops after 24 hours of curing. For critical applications, wait the full 24 hours before applying load. Epoxy typically requires 24 hours for full cure before installing screws, though some fast-set formulas cure in 5-10 minutes.
What’s the difference between wood dowels and toothpicks for repairs?
Toothpicks work for small screws in hardwoods and provide quick repairs. Wooden dowels (3/8 to 1/2 inch diameter) work better for larger screws, softer woods, and applications requiring stronger holding power. Dowels provide superior grip and structural integrity, making them the professional standard for permanent repairs. Choose toothpicks for minor fixes and dowels for serious damage.
Can you repair a stripped screw hole in particle board?
Yes, but particle board requires special techniques since it lacks grain structure. Wooden dowels work better than toothpicks because they provide structural support across composite layers. Epoxy fillers also work well in particle board. Larger diameter screws or helicoil inserts provide the strongest repairs. Avoid relying on wood glue alone in particle board—combine it with dowels or epoxy for adequate holding power.
How do you prevent stripped screws in outdoor wood projects?
Use corrosion-resistant screws (stainless steel or coated) in outdoor applications. Pre-drill pilot holes in all hardwoods and near wood edges. Apply wood sealant to holes before driving screws to reduce moisture absorption and wood swelling. Use structural screws with aggressive threads for better grip. Consider epoxy-coated screws for maximum durability. Marine epoxy provides water-resistant repairs if stripping occurs.
Is it better to use screws or nails in wood to avoid stripping?
Screws provide better holding power than nails and are less likely to strip if installed correctly. Nails don’t strip because they don’t rotate—they simply deform surrounding wood. However, screws hold better in most applications. For projects where stripping is a concern, use larger diameter screws, pre-drill pilot holes, and apply moderate pressure. Screws are superior for furniture, cabinetry, and applications requiring disassembly.
Is Fixing a Stripped Screw in Wood Worth Your Time and Effort?
Absolutely. Stripped screws are common problems that plague both professional woodworkers and DIY enthusiasts, but they’re entirely fixable with basic knowledge and inexpensive materials. The methods outlined in this guide—from simple toothpick solutions to professional dowel installations—can be completed in minutes to hours depending on the repair method and wood type. The cost is minimal; wooden dowels, wood glue, and epoxy fillers are inexpensive and often already available in home workshops. Learning these repair techniques prevents project delays and frustration. Understanding why screws strip helps you prevent future problems through proper installation techniques, correct screw selection, and appropriate pilot hole drilling. Whether you’re repairing furniture, assembling cabinetry, or completing construction projects, knowing how to fix stripped screws saves time and money compared to replacing entire components. The investment in learning these techniques pays dividends throughout your woodworking journey. Start with toothpick repairs for minor problems, progress to wooden dowels for serious damage, and consider professional techniques like helicoils for critical applications. With these skills in your toolkit, stripped screws will never derail your projects again.







Write Your Review
No reviews yet. Be the first to share your experience!