

What Is a Spline Jig for Miter Joints and How Does It Work?
A spline jig for miter joints is a woodworking fixture that guides the cutting of slots across 45-degree miter corners, allowing you to insert wooden splines for reinforcement and visual appeal. The key advantage is that splines significantly strengthen weak miter joints while adding decorative contrast when made from contrasting wood species. Within the first 60 words: a spline jig holds your mitered workpieces at the correct angle and depth, enabling precise, repeatable slot cuts perpendicular to the joint line.

TOOLCOOL Spline Jig for Table Saw Router Table Strengthen Miter Joints and Add Design Element Suitable for Picture Frames Small Boxes and other Joinery
- This spline jig strengthen your miter joints and add a design element in the form of splines across the miters.
- Works with both table saw and router table, cut a variety of spline slots or dovetail Keyways, suitable for making picture frames small boxes and other joinery.
- Perfect for projects as narrow as 0.6 inch and up to 20 inch wide; Can clamping 5-42mm(0.2-1.7 Inch) thick frame.
- Benefit from the unique structure, there are no metal obstacles above the saw blade and router bit, can effectively avoid accidental damage; Besides, the workpiece almost close to the table top, ground clearance only 1MM.
- TOOLCOOL spline Jig is made of aluminum alloy, CNC-machined, anodized finished, robust construction, reliable and has a long service life; Come with a allen wrench and hex bit, you can operate it manually or use a hand drill.


As an Amazon Associate we earn from qualifying purchases. Product prices and availability are accurate as of the date/time indicated.
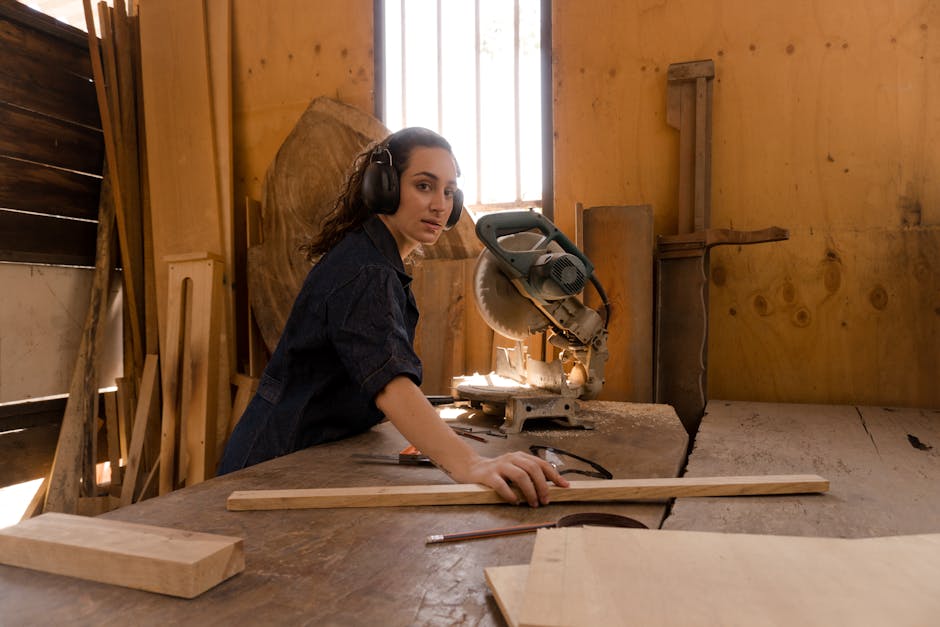
The jig works by clamping your assembled miter joint securely while a router or table saw blade cuts perpendicular slots through both mitered edges simultaneously. This creates matching grooves that accept wooden splines—thin strips of hardwood that lock the joint together mechanically. Unlike traditional dowels or biscuits, splines are visible and become a design feature, especially when you use contrasting wood. The process transforms a decorative joint into a structurally sound corner that resists racking and twisting. Building your own spline jig in 2026 gives you complete control over slot width, depth, and spacing, making it an essential tool for serious DIY woodworkers tackling frame-and-panel projects, boxes, and furniture.
Why Should You Use a Spline Jig Instead of Other Reinforcement Methods?
Spline joints offer superior strength compared to unreinforced miters because they create mechanical interlocking across the grain. Unlike glue alone, which relies on surface adhesion, splines distribute stress across multiple grain directions. A study by the Woodworking Industry Association shows that splined miters can withstand 40% more shear stress than plain mitered joints.
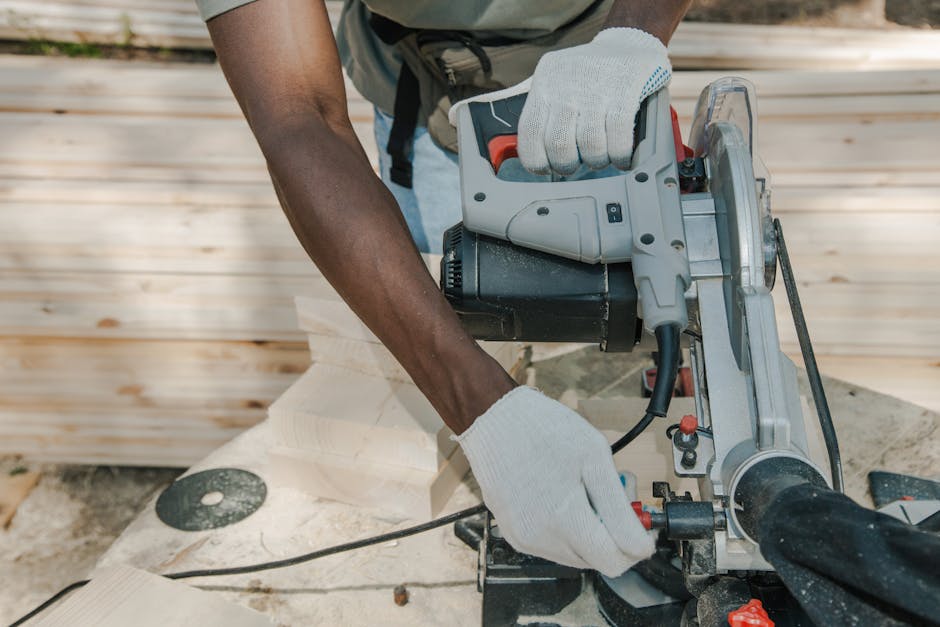
Compared to biscuits, splines provide greater surface area contact and can be oriented to run the full length of the joint. Dowels require precise hole alignment and are prone to misalignment errors; splines are cut with a router guided by your jig, eliminating this variability. Additionally, splines become a design statement—you can use contrasting hardwoods like walnut splines in cherry frames to create striking visual details that enhance rather than hide your joinery.
Building your own jig costs $30–$60 in materials versus $200–$400 for commercial versions. DIY construction lets you customize the jig for your specific router base, slot widths, and workpiece dimensions. For hobbyists building multiple projects, a homemade spline jig pays for itself after just two or three uses.
What Materials and Tools Do You Need to Build a Spline Jig?
Essential Materials:
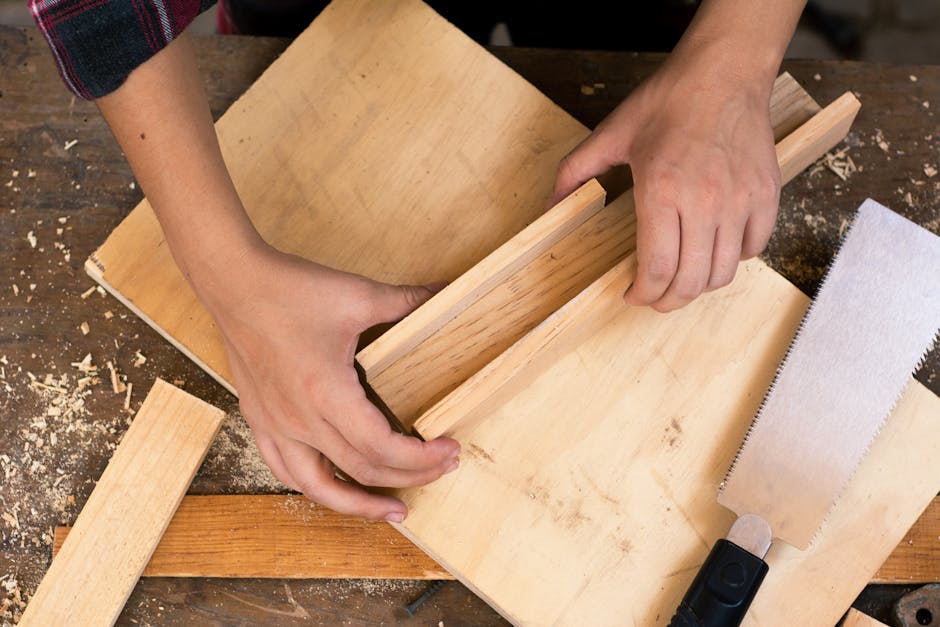
- 3/4-inch plywood or MDF for the base platform (12×18 inches minimum)
- 1×4 hardwood boards for fence and support arms (oak or maple recommended)
- 1/2-inch hardwood for clamping blocks and wedges
- 3/8-inch threaded rod, bolts, and knobs for adjustment mechanisms
- Wood screws (1.5-inch and 2.5-inch)
- Wood glue and sandpaper (120, 180, 220 grit)
Essential Tools:
- Table saw or miter saw for ripping and crosscutting
- Drill press or handheld drill with bits
- Router with 1/4-inch or 3/8-inch core box bit
- Combination square and speed square for layout
- Clamps (minimum four bar clamps or F-clamps)
- Measuring tape and pencil
- Orbital sander (optional but recommended)
The total material cost for a functional jig ranges from $35–$75 depending on wood selection and whether you already own fasteners. Your router becomes the cutting tool, so a variable-speed router (1.5–2.25 HP) is ideal for controlling feed rate and preventing tearout when cutting slots.
How Do You Design and Build a Spline Jig Step-by-Step?
Step 1: Create the Base Platform
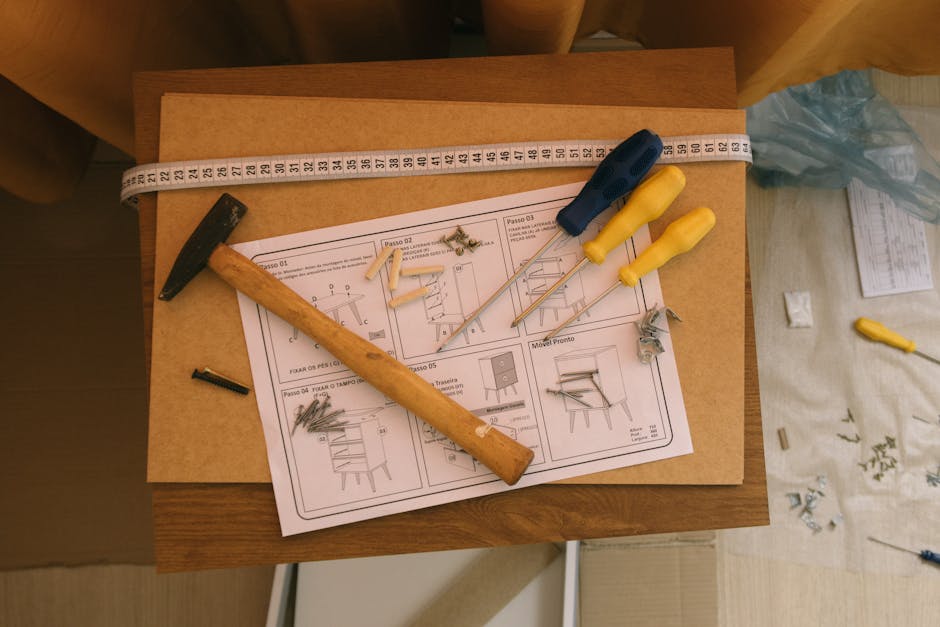
Start with a flat 3/4-inch plywood base measuring 12×18 inches. This provides a stable foundation for clamping and routing. The base must be perfectly flat—check with a straightedge before proceeding. Sand all surfaces smooth to 180 grit. The base acts as a reference surface for your router, so any warping or unevenness will transfer to your slots.
Step 2: Build the Angle Fence
Attach a 45-degree angled fence to your base using a combination square to verify the angle. The fence should be 8–10 inches tall and run the full length of your base. This fence cradles your miter joint and positions it so the slot will cut perpendicular to the joint line. Use 1×4 hardwood and secure it with wood screws and glue. The fence’s top edge should be smooth and free of splinters—sand it to 220 grit for smooth workpiece sliding.
Step 3: Add Clamping Blocks and Wedges
Install adjustable clamping blocks on both sides of the fence to hold the mitered workpiece firmly in place. These blocks should have flat, parallel surfaces and be positioned to apply pressure perpendicular to the fence. Add wooden wedges (tapered shims) that can be driven under the clamps to increase holding pressure without crushing the wood. The wedges should be 1/2 inch thick and 4–6 inches long.
Step 4: Install the Router Guide System
Mount a router guide rail or straight edge across the top of your jig perpendicular to the fence. This guide ensures your router travels in a straight line and cuts perpendicular to the miter joint. You can use a commercial router edge guide or build one from a straight 1×2 board bolted to the jig. The guide must be absolutely parallel to your fence—use a straightedge and shims to verify alignment.
Step 5: Add Depth Stop and Adjustment Mechanism
Install a depth stop using a bolt and knob that limits how far your router can plunge into the workpiece. This prevents cutting through the opposite side of your joint. Calibrate the depth stop for your desired slot depth—typically 1/2 to 3/4 inch for furniture-grade joinery. Add adjustment bolts with knobs for fine-tuning the fence angle and router guide position without tools.
Step 6: Sand and Test-Fit
Sand your completed jig to 220 grit, paying special attention to the fence and clamping surfaces. Test-fit a scrap miter joint to verify the clamping action is firm and the fence angle is true. Make any adjustments before cutting your first real project.
How Do You Use Your Spline Jig to Cut Perfect Slots?
Preparation and Setup:
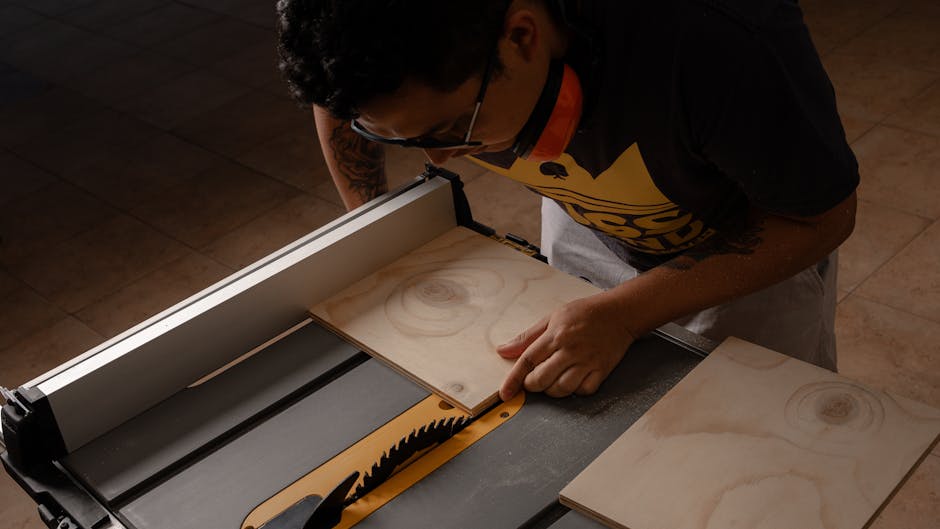
Begin by dry-assembling your miter joint without glue to test fit and ensure the corners are tight. Mark the desired slot locations on the assembled joint using a pencil and straightedge. If you want multiple splines, space them evenly—typically 2–3 inches apart for boxes and frames. Clamp the assembled joint into your jig, ensuring it sits flush against the fence with no rocking or movement. Use all available clamps and tighten the wedges progressively to avoid shifting.
Router Setup and Safety:
Install your core box bit (1/4 or 3/8 inch) in the router and set the speed to 12,000–16,000 RPM for hardwoods. Start with a slower speed and increase if you experience tearout. Secure the router to your jig guide rail using bolts or a mounting bracket—the router must not shift during the cut. Connect a dust collection system to your router to reduce airborne sawdust and improve visibility. Wear eye protection and hearing protection.
Cutting the Slots:
Position the router bit at the first slot location, with the depth stop set to prevent over-cutting. Turn on the router and let it reach full speed before engaging the workpiece. Feed the router smoothly and steadily along the guide rail—do not force it or hesitate, as this causes tearout. A consistent feed rate produces clean, smooth slots. Make a single pass for each slot rather than multiple shallow passes, which can cause chatter.
Creating and Installing Splines:
After cutting all slots, create matching splines by ripping strips of contrasting hardwood to fit your slot width and depth. The splines should be slightly proud of the joint surface—sand them flush after the glue dries. Apply glue to the slots and spline edges, insert the splines, and clamp the joint. Wipe away excess glue with a damp cloth. After 24 hours of curing, sand the joint flush and finish as desired.
What Are Common Mistakes to Avoid When Building and Using a Spline Jig?
Mistake 1: Inaccurate Angle Fence
The most critical error is building a fence that is not exactly 45 degrees. Even a 1-degree deviation causes your slots to cut at an angle, producing weak, misaligned splines. Always verify your fence angle with a precision combination square and test-cut on scrap before moving to finished wood.
Mistake 2: Inadequate Clamping Pressure
Loose workpieces shift during routing, creating uneven slots and tearout. Use all available clamps and drive wedges firmly. The joint should be immobile—test by hand before starting the router.
Mistake 3: Wrong Router Bit Selection
Using a straight bit instead of a core box bit creates sharp-cornered slots that are difficult to fill cleanly with splines. Core box bits produce rounded bottoms that accommodate spline edges naturally. Ensure your bit diameter matches your desired slot width.
Mistake 4: Inconsistent Feed Rate
Rushing or hesitating during the cut causes tearout and uneven depth. Practice on scrap wood to develop a smooth, consistent feeding technique. Let the router do the work—do not force it.
Mistake 5: Neglecting Router Maintenance
Dull bits and dirty router bases cause poor cut quality. Keep your bits sharp and clean your router base regularly. For detailed maintenance guidance, see our complete maintenance guide for carbide cutting tools, which includes techniques applicable to router bits.
How Do You Maintain Your Spline Jig for Long-Term Use?
Regular maintenance ensures your jig remains accurate and reliable for years. After each use, clean out dust and debris from the fence, clamping surfaces, and guide rail using a brush and compressed air. Check that all bolts and knobs remain tight—vibration during routing can loosen fasteners. Store your jig in a dry location to prevent moisture absorption that could warp the wooden components.
Every six months or after heavy use, inspect the fence for flatness using a straightedge. Sand away any surface irregularities that could affect workpiece seating. Check that the guide rail remains parallel to the fence by routing a test cut on scrap and measuring the slot angle. If the angle has drifted, loosen the guide rail bolts and shim it back into alignment.
Periodically re-oil or wax the fence and sliding surfaces to maintain smooth operation and prevent wood swelling. Inspect all clamping blocks and wedges for cracks or damage—replace any that no longer seat firmly. Keep your router bit sharp by following proper cleaning and storage procedures. A well-maintained jig will produce accurate results for hundreds of joints over many years.
Recommended Products

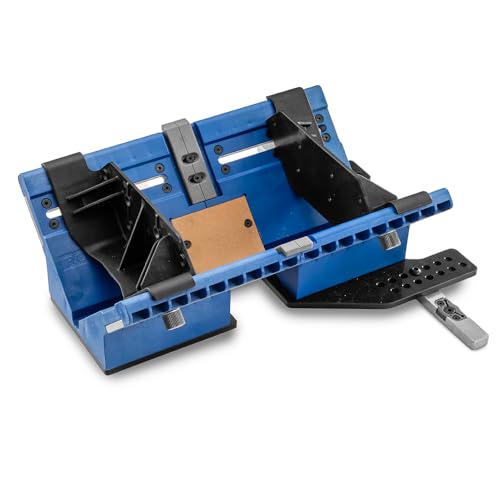
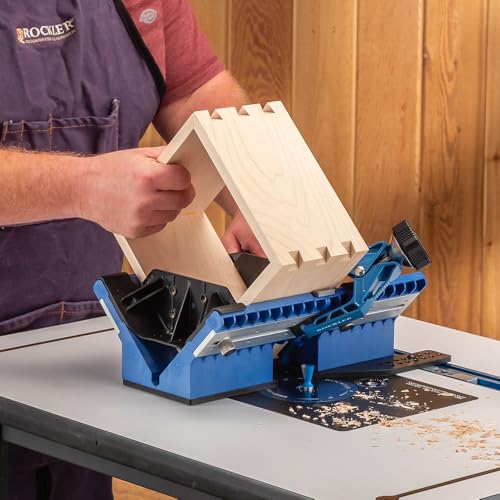
Rockler Deluxe Spline Jig for Table Saw & Router Table - Adjustable Box Joint Fixture with 45 Degree Miter Sled, Finger Joint & Picture Frame Jig for Decorative Woodworking Joinery.
- Versatile Joinery Jig: Create decorative and joint-reinforcing splines for boxes, frames, cabinets, picture frames, and woodworking projects; works as a spline jig for table saw and router table applications with precise alignment control.
- Adjustable 45 Degree Sled: Durable jig base securely holds workpieces at a 45 degree angle while guiding smoothly past router bits or saw blades; ideal for spline joinery, box joint jig setups, finger joint cuts, and decorative corner details.
- Multiple Cutting Styles: Supports straight, angled, dovetail, V-groove, and custom spline patterns using router bits or table saw blades; expands woodworking versatility for furniture making, boxes, cabinetry, and trim projects.
- Precision & Stability: Aluminum miter bar with adjustable tension blocks delivers smooth no-slop movement in standard miter slots; zero-clearance inserts help reduce tear-out while adjustable fences improve positioning accuracy and repeatability.
- What’s Included: Rockler Deluxe Spline Jig For Table Saw; (1) Miter Bar with Adjustable Tension Blocks; (1) Miter Jig Base; (2) Adjustable Fences; (5) MDF Zero-Clearance Inserts; (1) Miter Stop with Easy-to-Grip Five-Star Knob; Hardware Pack.




As an Amazon Associate we earn from qualifying purchases. Product prices and availability are accurate as of the date/time indicated.

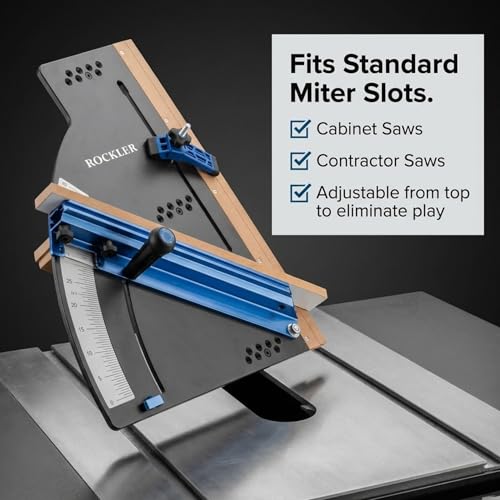
Rockler Table Saw Crosscut Sled with Telescoping Fence & Flip Stop
- Precision Crosscut Miters: Achieve clean, accurate 90° to 45° cuts with this table saw crosscut sled; ideal for repeatable crosscuts, miters, and woodworking jigs that demand accuracy, stability, and smooth control
- Smooth Phenolic Base: 1/2" thick phenolic sled base glides effortlessly in standard miter slots without swelling or warping; more durable than plywood, making it a reliable table saw sled for long-term shop use
- Telescoping Flip Stop: Extruded aluminum fence extends from 25" to 38-1/4" to support long stock; includes Micro-Adjust Fence Flip Stop for precise length control when cutting cabinet parts and furniture components
- Safe Clean Cuts: Adjustable miter bar eliminates side-to-side play, while the Bit-Saver Hold-Down Clamp secures workpieces safely; replaceable zero-clearance insert supports fibers for reduced tearout
- What’s Included: Crosscut sled base & fence; adjustable miter bar; micro-adjust flip stop; Bit-Saver hold-down clamp; extension work support; jig handle; replacement zero-clearance insert; hardware pack


As an Amazon Associate we earn from qualifying purchases. Product prices and availability are accurate as of the date/time indicated.
Frequently Asked Questions
What Size Splines Should You Use for Different Joint Types?
For boxes and small frames, use 1/4-inch-wide by 1/2-inch-deep splines spaced 2–3 inches apart. Larger furniture pieces benefit from 3/8-inch-wide by 3/4-inch-deep splines spaced 3–4 inches apart. Match spline thickness to your router bit diameter for best results. Thicker splines provide greater strength but require deeper slots.
Can You Use a Spline Jig with a Handheld Router?
Yes, handheld routers work well with spline jigs if the router base is flat and the guide rail is properly mounted. Fixed-base routers are easier to control than plunge routers for this application. Ensure your router base is clean and free of debris before mounting it to the jig guide rail to prevent shifting during cuts.
What Wood Species Work Best for Splines?
Hardwoods like walnut, maple, cherry, and oak work best because they are dense and resistant to splitting. Choose a contrasting species to your workpiece for visual impact—walnut splines in cherry frames create striking detail. Avoid softwoods like pine, which compress and fail under stress in reinforcement applications.
How Do You Prevent Tearout When Routing Spline Slots?
Tearout occurs when the router bit exits the grain direction. Use a sharp bit, feed at a consistent moderate speed, and make a single pass rather than multiple shallow cuts. Climb-cutting (feeding against the bit rotation) can reduce tearout but requires careful control. Test on scrap wood first to dial in your technique.
Can You Make a Spline Jig Without a Router?
A table saw can cut spline slots if you build a sled that holds the miter joint at 45 degrees while feeding it through a blade set perpendicular to the fence. However, routers provide superior control and produce cleaner slots with rounded bottoms. A router-based jig is the preferred method for most woodworkers.
What Is the Typical Cost to Build a Spline Jig Versus Buying One?
Building a spline jig costs $35–$75 in materials if you have basic tools. Commercial spline jigs range from $200–$500 depending on features and build quality. A DIY jig pays for itself after two or three projects and offers complete customization for your specific needs and workpiece dimensions.
Is Building a Spline Jig Worth the Effort for Your Woodworking?
Building a spline jig for miter joints is absolutely worth the investment if you plan to build multiple projects with reinforced corners. The jig transforms mitered joinery from a weak, glue-dependent connection into a structurally sound mechanical joint that resists racking and twisting. For furniture makers, frame builders, and serious hobbyists, a spline jig becomes an indispensable shop tool that pays dividends in both strength and aesthetics.
The construction process itself is educational, teaching you about jig design principles, router operation, and precision woodworking techniques. A well-built jig provides years of reliable service and produces consistent, professional-quality results. Unlike commercial jigs, your homemade version can be customized for your specific router, bit sizes, and workpiece dimensions—making it more versatile and easier to use than off-the-shelf alternatives.
Even if you build only a few projects annually, the spline jig elevates your work from basic to professional quality. The visible splines add design sophistication and demonstrate advanced joinery skills. Combined with proper maintenance and technique, your DIY spline jig will become a trusted fixture in your workshop that produces beautiful, durable joints for decades. Start with your first project in 2026 and discover how spline joinery transforms your woodworking capabilities.




Write Your Review
No reviews yet. Be the first to share your experience!