

How to Drill a Straight Hole Without a Drill Press? Quick Answer
Drilling straight holes without a drill press is achievable using a combination of proper technique, alignment guides, and stabilization tools. The most effective method involves using a drill guide attachment, marking your hole location precisely, and maintaining consistent perpendicular pressure. A portable drill guide costs $15-40 and provides accuracy comparable to stationary equipment. Success depends on steady hands, quality drill bits, and practicing proper body positioning. Most DIYers can master this skill within a few attempts with the right approach and tools.

Milescraft DrillMate Portable Drill Guide Adjustable Precision Drilling Jig
- Versatile drilling capabilities. Suitable for straight or angled drilling, drilling on the edge of a board, on walls or on round stock.
- Attaches to all 3/8" and 1/2" cordless drills. It also includes a 3/8" capacity chuck with key.
- Multiple drilling angle settings of 45, 60, 75, and 90 degrees. Each setting locks into place ensuring total accuracy.
- Self-Centerting base to accommodate drilling any round stock up to 3" inches in diameter.
- Portable Drill Press Alternative. Compact and lightweight design allows you to achieve drill press precision anywhere without the bulk of a stationary drill press.
- Eliminates frustration when drilling multiple holes in all types and shapes of stock with consistent accuracy. Rubber feet can be removed to mount the DrillMate to create your own jig.
- Included High Tolerance Bushings give you tighter guide head movement. Just replace with the installed guide bushings when needed.
- Easy Repeatable Drilling. Speeds up your work process and ensures accuracy
- All Metal Construction. The DrillMate is made with high quality steel that will last a lifetime.


As an Amazon Associate we earn from qualifying purchases. Product prices and availability are accurate as of the date/time indicated.
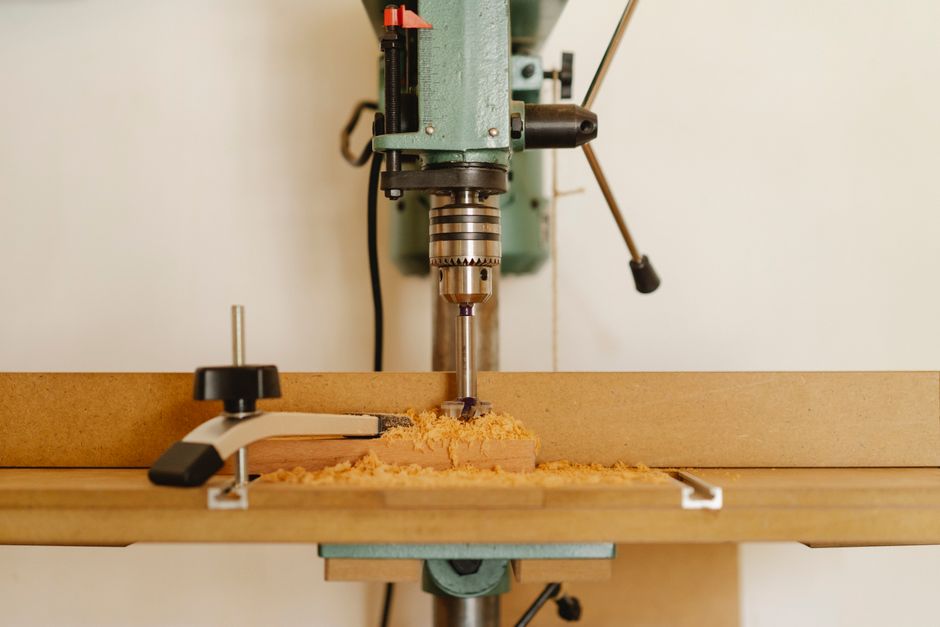
Many home projects don’t require expensive drill press equipment. Whether you’re installing cabinet hardware, hanging shelves, or building furniture, straight holes are essential for structural integrity and professional appearance. Achieving accuracy with a handheld drill demands understanding fundamental drilling principles and selecting appropriate guidance systems. This guide covers practical methods suitable for woodworking, metalworking, and general home improvement tasks completed in June 2026 and beyond.
What Are the Best Alignment Guides for Handheld Drilling?
Alignment guides are mechanical devices that keep your drill bit perpendicular to the workpiece. These tools range from simple right-angle blocks to sophisticated multi-axis systems. A basic drill guide costs under $30 and attaches directly to your drill chuck. More advanced models offer adjustable angles and depth control for complex drilling tasks.
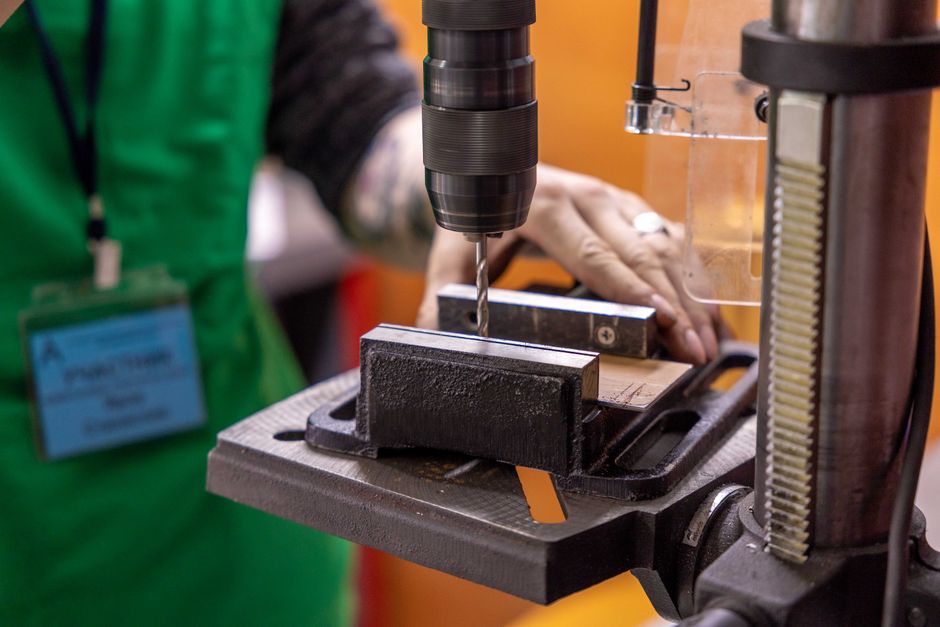
The most popular alignment guide types serve different purposes:
- Drill guide sleeves: Magnetic or friction-fit tubes that center the bit and maintain perpendicularity.
- Right-angle guides: Fixed 90-degree blocks that clamp to your workpiece or drill.
- Adjustable angle guides: Allow drilling at various angles beyond perpendicular positioning.
- Dowel jigs: Specialized guides for dowel hole alignment in furniture assembly.
- Self-centering guides: Spring-loaded systems that automatically locate hole centers on round stock.
Quality guides feature precision-machined bushings that reduce bit wobble. Magnetic attachment systems work well on metal projects. Clamp-based designs provide stability on wood without damaging surfaces. Test any guide on scrap material first to verify alignment before starting your actual project.
Choosing the Right Guide for Your Material
Different materials require different guide approaches. Wood projects benefit from simple friction-fit sleeves. Metal drilling demands magnetic guides or clamped systems for stability. Plastic requires gentle pressure and specialized guides to prevent cracking or melting.
Key Takeaway: Invest in a quality drill guide matching your primary material type for consistent, accurate results.
How Do You Mark and Prepare Drilling Locations Accurately?
Accurate hole placement begins before you touch the drill. Precise marking determines drilling success more than any other factor. Use a combination square, ruler, or measuring tape to locate exact positions. Mark center points with a sharp pencil, creating a small cross-hair pattern for visibility.
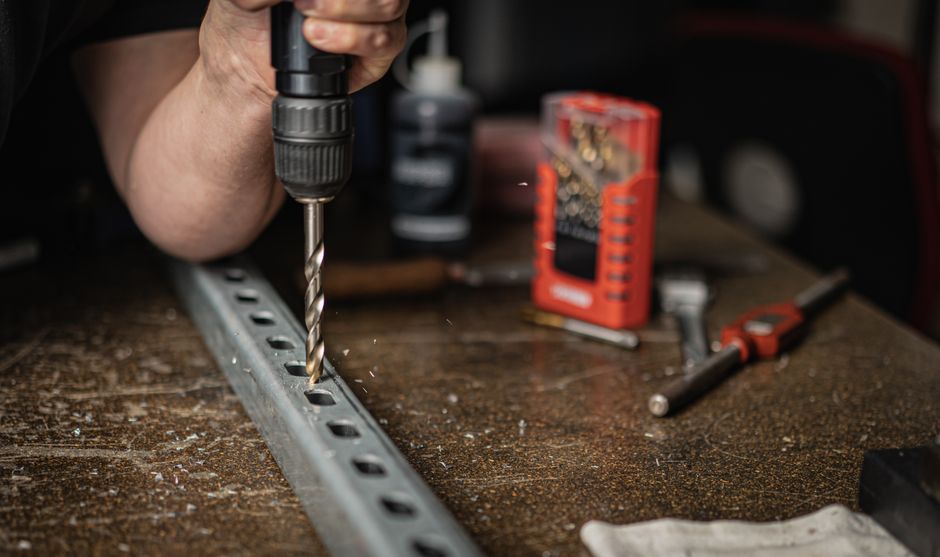
Essential marking techniques include:
- Use a center punch to create a small divot at the marked location.
- Apply tape or painter’s mark to prevent bit slipping on smooth surfaces.
- Double-check measurements before marking to avoid costly mistakes.
- Mark both sides of thin materials for alignment verification.
- Use a marking gauge for repeated holes at consistent distances.
A center punch is invaluable for preventing bit drift. Strike it gently with a hammer to create a shallow depression. This dimple guides your drill bit into the correct starting position. The punch works on wood, metal, and plastic materials. Always wear eye protection when using a center punch.
Preventing Bit Slip and Drift
Bit slip occurs when the drill rotates without cutting, causing the bit to wander across your workpiece. Prevent this by applying downward pressure gradually. Start at low speed until the bit creates a shallow depression. Then increase speed for efficient cutting.
Tape application creates friction that stops initial slipping. Masking tape or painter’s tape applied over your marked hole provides grip. The tape also helps identify your hole location if the pencil mark fades during drilling. Remove tape immediately after drilling to prevent adhesive residue.
Key Takeaway: Proper marking and center punching prevent costly errors and ensure drilling accuracy from the first hole.
What Drilling Techniques Maintain Perpendicular Alignment?
Body positioning and hand control determine drilling accuracy. Stand with your feet shoulder-width apart for stability. Position your body so you can sight along two perpendicular axes simultaneously. This allows you to verify that your drill remains vertical throughout the drilling process.
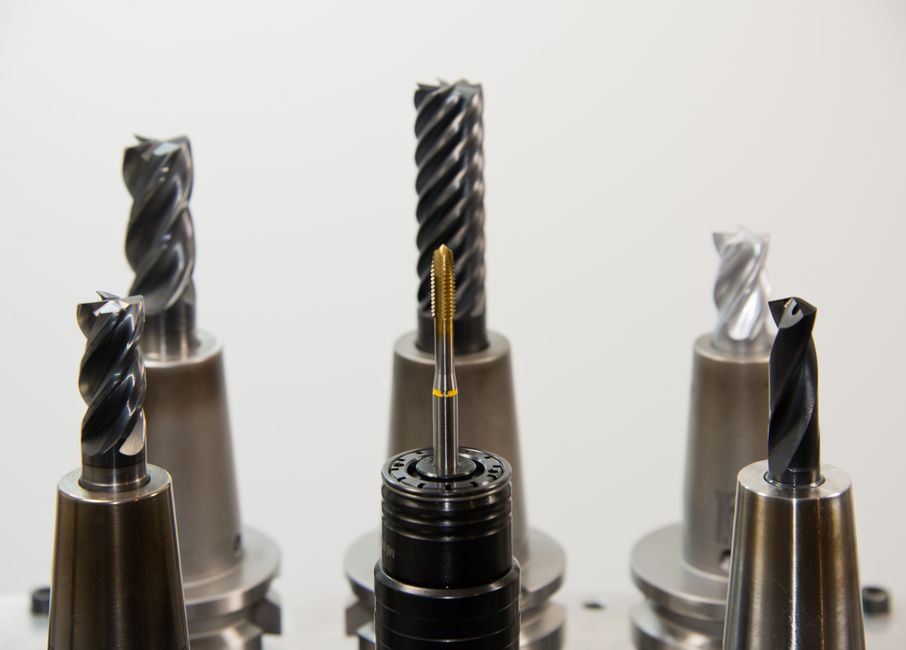
Proper technique involves these fundamental steps:
- Grip the drill firmly with both hands, keeping elbows close to your body.
- Apply steady downward pressure without forcing the drill through material.
- Maintain consistent speed throughout the drilling process.
- Watch the bit from multiple angles to detect any tilting or wobbling.
- Use a helper to observe perpendicularity from a different vantage point.
Two-hand grip is essential for control. Your dominant hand operates the trigger while your other hand stabilizes the drill body. This technique reduces rotational torque that can twist the drill off-angle. Practice on scrap material to develop muscle memory for consistent pressure application.
Using Visual References for Alignment
Your workshop environment can provide alignment references. Position your workpiece near a vertical surface like a wall or cabinet side. Use this vertical plane as a reference for maintaining perpendicular drilling. Some craftspeople use a plumb bob or level positioned near the drilling area.
Mirror placement is another clever technique. Position a small mirror beside your workpiece at 45 degrees. Watch the reflection to verify that your drill remains perpendicular. This method works particularly well for overhead drilling or awkward angles.
Key Takeaway: Proper body positioning and visual references enable accurate perpendicular drilling without specialized equipment.
How Do You Use Drill Press Alternatives for Precision Work?
Several portable alternatives provide drill press-like accuracy without requiring stationary equipment. Magnetic drill bases clamp to metal surfaces and hold the drill at perfect perpendicularity. Flex-shaft systems offer precision for delicate work. Handheld drill presses mount to your existing power drill for improved control.
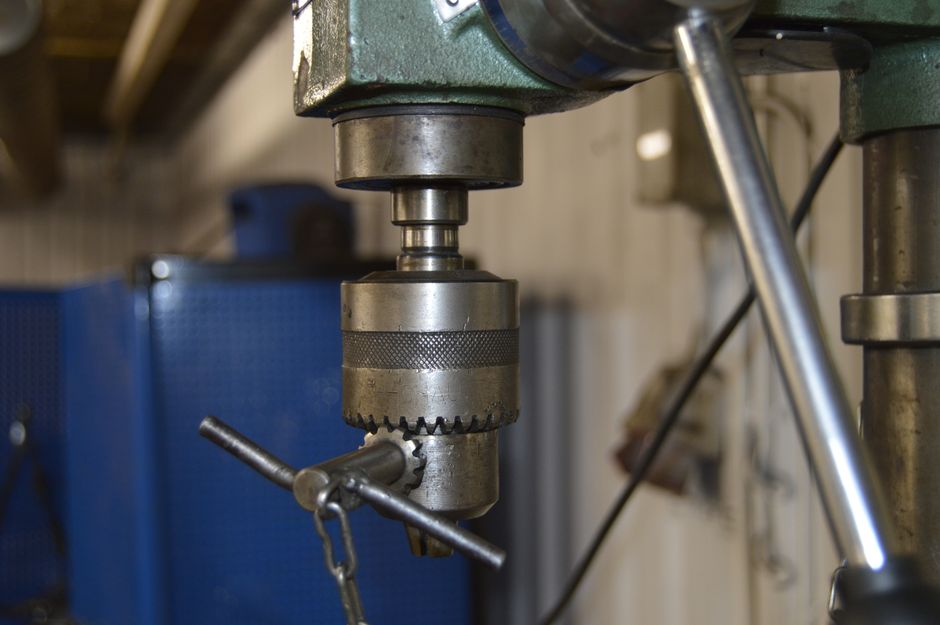
Popular drill press alternatives include:
- Portable magnetic drills: Expensive but provide industrial-grade accuracy for metalworking.
- Drill stand attachments: Affordable brackets that stabilize your handheld drill vertically.
- Bench-mounted drill guides: Clamp to your workbench for semi-permanent setup.
- DIY drill jigs: Custom-made guides crafted from wood or metal for specific projects.
- Flex-shaft tools: Offer precision for small-diameter holes in delicate materials.
Drill stand attachments cost $25-60 and mount directly to your handheld drill. They clamp to your workbench, converting your portable drill into a quasi-stationary tool. These stands work well for production runs where you need identical holes in multiple pieces. The clamping system holds your workpiece securely while you control drilling depth and speed.
Building Custom Drilling Jigs
Custom jigs solve specific drilling problems for your projects. A simple jig uses a wood block with a drilled guide hole. Position this block over your workpiece and drill through it. The block’s hole guides your bit to the correct location and angle. This method works exceptionally well for repeated holes in furniture assembly.
More sophisticated jigs incorporate multiple guide holes for complex patterns. Template drilling uses a plywood or metal template with pre-drilled holes. Clamp the template to your workpiece, then drill through the template holes. This ensures identical hole patterns across multiple pieces. Professional furniture makers use templates for production efficiency.
Key Takeaway: Custom jigs and portable stands provide cost-effective alternatives to expensive drill press equipment.
What Practical Tips Improve Drilling Accuracy in 2026?
Modern drilling success combines traditional techniques with contemporary tools and best practices. Implement these actionable steps to consistently achieve straight holes without a drill press.
Step-by-Step Drilling Process
- Measure twice, mark once: Use a ruler and square to locate exact hole positions with pencil marks.
- Apply center punch: Strike gently with a hammer to create a starting dimple for your bit.
- Secure your workpiece: Clamp materials firmly to prevent movement during drilling.
- Attach alignment guide: Install your chosen drill guide before inserting the bit.
- Position yourself properly: Stand with feet apart, sight along multiple axes, and grip with both hands.
- Start at low speed: Begin drilling slowly to establish the hole location.
- Increase speed gradually: Transition to full speed once the bit is established.
- Maintain steady pressure: Apply consistent downward force without forcing the drill.
- Monitor alignment: Watch from different angles to verify perpendicularity throughout drilling.
- Back out carefully: Withdraw the bit slowly to prevent tear-out or bit binding.
Material-Specific Recommendations
Wood drilling benefits from sharp bits and moderate speed. Use 1000-2000 RPM for most wood projects. Back your workpiece with scrap wood to prevent tear-out on exit holes. Pre-drill pilot holes for large-diameter bits to reduce strain on your drill.
Metal requires slower speeds and cutting fluid. Reduce speed to 500-1000 RPM depending on bit size and material hardness. Apply cutting fluid or oil to reduce heat and friction. Allow the bit to cool periodically during extended drilling sessions. Related reading: How to Change a Drill Bit Properly in 2026 covers bit selection and installation.
Plastic demands careful technique to prevent melting or cracking. Use moderate speed (1500-2500 RPM) and minimal pressure. Stop frequently to clear chips and allow cooling. Painter’s tape over the hole location prevents bit slipping on smooth plastic surfaces.
Tools That Enhance Accuracy
Invest in quality equipment that directly improves results. A right-angle guide ($20-30) provides basic perpendicularity. A drill guide sleeve ($15-25) reduces bit wobble significantly. A quality center punch ($10-15) prevents bit drift. A magnetic level ($25-40) verifies alignment on metal projects.
Key Takeaway: Systematic technique combined with appropriate tools achieves professional-quality straight holes without expensive equipment.
How Do You Troubleshoot Common Drilling Problems?
Even experienced craftspeople encounter drilling challenges. Understanding common issues and their solutions prevents project delays and material waste. Most problems stem from inadequate marking, improper technique, or worn tools.
Common drilling problems and solutions:
- Bit wandering: Use center punch, apply painter’s tape, and start at low speed.
- Holes not perpendicular: Use a drill guide, improve body positioning, and sight from multiple angles.
- Bit binding: Reduce pressure, increase speed slightly, or back out and restart.
- Tear-out on exit: Back your workpiece with scrap wood or reduce speed near completion.
- Excessive heat: Apply cutting fluid, allow cooling breaks, or use a slower speed.
- Bit breakage: Use appropriate speed for material type and avoid forcing the drill.
Bit wandering is the most common problem for handheld drilling. Prevention is more effective than correction. Always use a center punch before drilling. Apply painter’s tape over your marked location. Start at low speed with light pressure until the bit is established. These simple steps eliminate most wandering issues.
Salvaging Misaligned Holes
If you drill a hole at the wrong angle, several recovery options exist. For slightly off-center holes, you might fill the hole with wood filler or epoxy and re-drill. For metal, you can use the existing hole as a guide and drill a larger diameter hole at the correct angle. This technique works when the original hole doesn’t compromise structural integrity.
For critical applications, start over on a fresh piece. Material cost is minimal compared to project failure. Related reading: How to Fix a Stripped Screw in Wood covers related fastening issues that often result from drilling errors.
Key Takeaway: Prevention through proper technique prevents costly mistakes and material waste.
Recommended Products

Portable Drill Guide for Drilling Angled or Straight Hole
- Precision Positioning at Any Angle: The Cocowin Auto-Centering Drill Guide ensures the drill bit always starts from exactly the same point, regardless of the drilling angle. This precision is achieved through its unique “virtual” pivot point located directly above the material surface. In contrast, conventional designs rely on a pivot point positioned somewhere above the surface to rotate the angle, which can cause the entry point of the drill bit to shift when the angle is adjusted.
- All-Aluminum Frame with Encircling Support: Constructed from high-strength aluminum alloy and reinforced by a central encircling support bar, our portable drill guide provides exceptional structural rigidity and operational stability. This robust design minimizes deflection during drilling, ensuring consistent accuracy and control even under demanding working conditions.
- Intelligent Engineering Features: The integrated V-groove ensures enhanced stability and slip-free drilling on round materials; the dual removable center pins provide effortless centering without readjustment on square workpieces; dual tension springs provide preset depth control to streamline batch drilling operations for efficiency; four countersunk mounting holes enable secure fixture mounting for fully hands‑free operation.
- Adjustable from 0° to 60°: This drill press adapter for hand drill is equipped with a calibrated angle dial, providing continuous adjustability across a full 0° to 60° range. Each selected angle is secured by a dual-locking mechanism to ensure stability during operation, enabling precise and controlled drilling at any desired inclination.
- Versatile Drill Guide: Expertly engineered for precision straight and angled drilling, this compact portable drill press delivers professional accuracy in wood, metal, and composites. Fully compatible with any handheld drill, it simplifies projects ranging from woodworking and metal fabrication to DIY repairs—ideal for both workshop professionals and weekend enthusiasts.


As an Amazon Associate we earn from qualifying purchases. Product prices and availability are accurate as of the date/time indicated.

Milescraft 1097 ToolStand - Variable Speed Drill Press Stand (compatible with Dremel). Rotary Tool Not Included, Black
- Sturdy metal head fits most Dremel style rotary tools
- Spring loaded metal rack and pinion gearing for smoothe controlled drilling
- Scale with depth stop allows precised depth control and repeatability
- The steel 13-1/2″ support column of the ToolStand, fits securely into a 6″ x 6″ formed steel base plate whose surface and mounting platforms have been planed to ensure a level work surface
- Lock tools in horizontal position for hands free use
- ROTARY TOOL NOT INCLUDED


As an Amazon Associate we earn from qualifying purchases. Product prices and availability are accurate as of the date/time indicated.
Frequently Asked Questions
Can you drill straight holes with a regular handheld drill?
Yes, absolutely. With proper technique, a quality drill guide, and careful marking, handheld drills produce straight holes. A drill guide attachment ($15-40) significantly improves accuracy. Body positioning and two-handed grip are equally important. Most DIYers achieve professional results after a few practice attempts on scrap material.
What’s the best drill bit for straight holes?
Brad point bits excel for woodworking, offering superior control and accuracy. For metal, use twist bits specifically designed for the material type. Maintain sharp bits—dull bits wander and require excessive pressure. High-speed steel (HSS) bits work for most materials. Carbide bits last longer but cost more. Always match bit type to your material.
How do you prevent bit slip on smooth surfaces?
Apply painter’s tape or masking tape over your marked hole location. The tape provides friction that prevents initial slipping. Use a center punch to create a starting dimple. Start drilling at low speed with light pressure. These techniques work on wood, metal, and plastic surfaces.
Is a drill guide attachment worth the cost?
Absolutely. A quality drill guide costs $15-40 and improves accuracy dramatically. It eliminates most wobble and drift issues. For anyone drilling more than a few holes, a guide pays for itself in material savings and time efficiency. They’re essential tools for furniture making and precision metalworking.
What speed should you use for different materials?
Wood: 1000-2000 RPM. Metal: 500-1000 RPM depending on hardness. Plastic: 1500-2500 RPM. Larger diameter bits require slower speeds. Smaller bits can run faster. Start slow and increase speed after the bit is established. Allow cooling breaks during extended drilling sessions.
How do you drill perpendicular holes overhead?
Use a drill guide attachment for stability. Position a mirror at 45 degrees to monitor alignment from below. Have a helper observe from the side. A portable magnetic drill base works well for metal overhead work. Practice on scrap material in the same orientation as your actual project.
How Can You Master Straight Hole Drilling Without Professional Equipment?
Straight hole drilling without a drill press is entirely achievable through proper technique, appropriate tools, and consistent practice. Success depends on combining multiple strategies: precise marking with center punches, quality drill guides, proper body positioning, and material-appropriate speeds. Most DIYers develop proficiency within a few projects.
Investment in basic tools—a drill guide ($20-30), center punch ($10-15), and quality bits ($20-40)—yields professional results for decades. These tools cost less than a single service call from a professional tradesperson. Your time investment in learning proper technique pays dividends across every future project requiring accurate holes.
The techniques described in this guide apply to woodworking, metalworking, and general home improvement projects. Whether installing cabinet hardware, assembling furniture, or hanging shelves, straight holes enhance structural integrity and appearance. Start with simple projects on scrap material to build confidence. As your skills develop, tackle increasingly complex drilling challenges. By June 2026 and beyond, you’ll achieve results comparable to drill press work without expensive equipment investment.
Key Takeaway: Systematic technique, appropriate guides, and consistent practice enable professional-quality straight holes with handheld drills.







Write Your Review
No reviews yet. Be the first to share your experience!