

How to Maintain an Air Drill for Long Tool Life in 2026?
Air drills deliver consistent power and reliability when properly maintained, making them essential tools in professional workshops and job sites. Regular maintenance extends tool life by 50-75 percent and prevents costly downtime. This guide covers everything from daily checks to seasonal overhauls, ensuring your air drill performs at peak efficiency. Proper care involves lubrication, moisture control, pressure regulation, and component inspection. Following these practices protects your investment and keeps your drill operating safely for years.
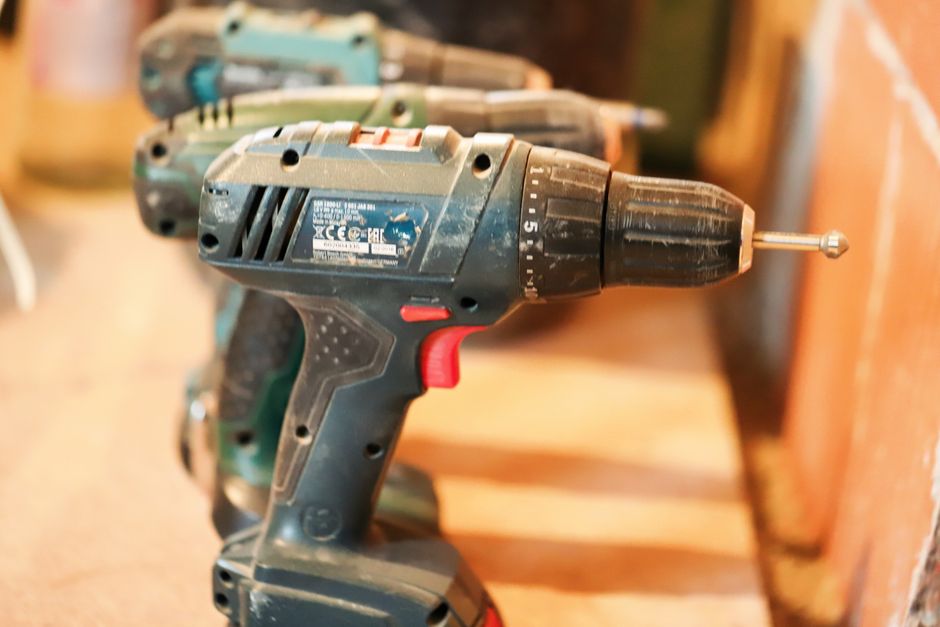
Air drills differ from electric models because they rely on compressed air systems that introduce unique maintenance challenges. Moisture, dust, and pressure fluctuations can damage internal components quickly. Understanding these factors helps you develop a sustainable maintenance routine. Most professionals recommend a combination of preventive care and reactive repairs. Starting with basic daily habits prevents more serious problems from developing.
Key Takeaway: Consistent lubrication, moisture removal, and pressure monitoring are the three pillars of air drill maintenance.
What Daily Maintenance Steps Keep Your Air Drill Running Smoothly?
Daily maintenance takes just five to ten minutes but dramatically impacts tool longevity. Before each use, inspect the air hose connection for leaks or damage. Check that the chuck grips the bit securely without wobbling. Listen for unusual grinding or squealing sounds during operation. These quick checks catch problems before they worsen.
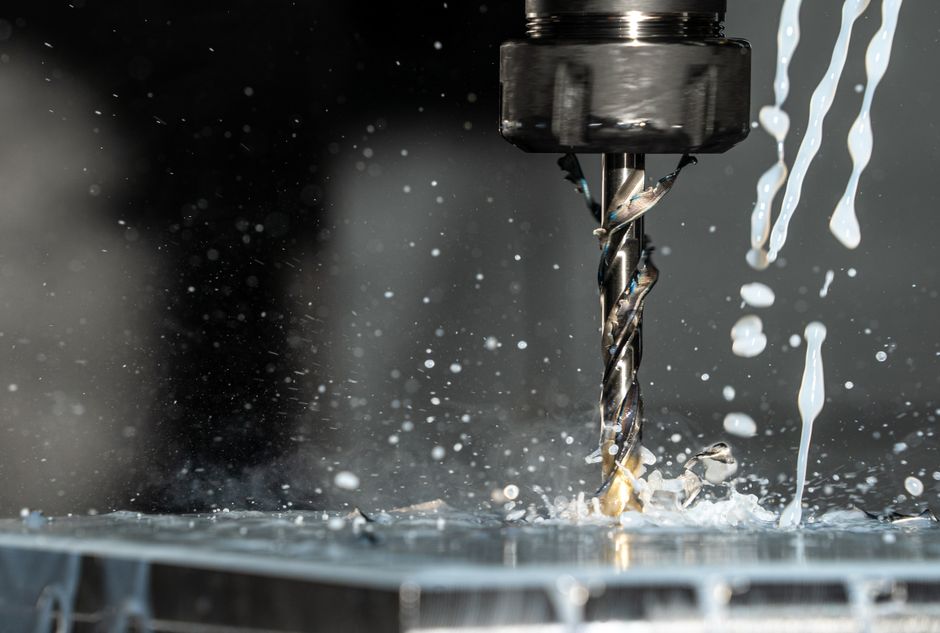
After each work session, disconnect the drill from the air supply immediately. This prevents pressure buildup and reduces stress on internal seals. Wipe exterior surfaces with a dry cloth to remove dust and debris. Store the drill in a clean, dry location away from moisture and extreme temperatures.
Essential Daily Checklist Items
- Inspect air hose connections for visible cracks or loose fittings.
- Test chuck grip strength by hand before connecting air pressure.
- Listen for unusual noises during the first minute of operation.
- Disconnect from air supply immediately after use.
- Wipe down the tool body and remove dust from vents.
- Store in a dry location away from direct sunlight.
Proper storage prevents rust and corrosion that damages internal components. Keep your drill in a toolbox or cabinet with silica gel packets if your workshop is humid. Avoid leaving the tool connected to pressurized air lines overnight. This habit alone prevents seal degradation and extends tool life significantly.
Key Takeaway: Five minutes of daily inspection and proper storage prevent most common air drill failures.
How Should You Lubricate Your Air Drill Correctly?
Lubrication is the most critical maintenance task for air drills. Pneumatic tools require oil-based lubricants specifically formulated for compressed air systems. Never use general-purpose machine oil or WD-40, which damage seals and create sludge buildup. Proper lubrication reduces friction, prevents rust, and extends bearing life by years.
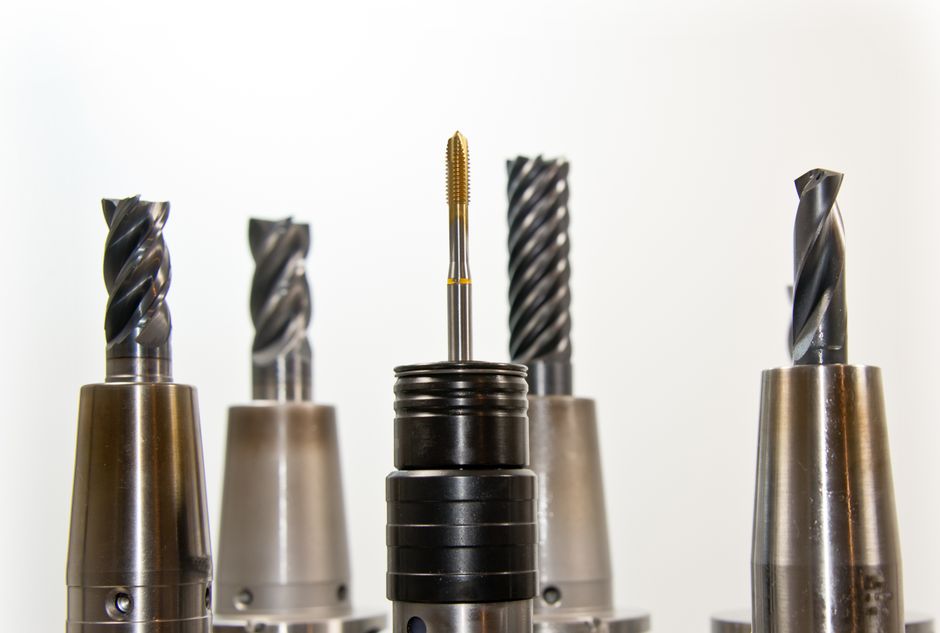
Most air drills require lubrication every 8-12 hours of operation. Check your tool’s manual for specific intervals and recommended oil types. Many professionals use inline oilers that automatically dispense lubricant into the air stream. This method ensures consistent lubrication without over-application. For detailed guidance on this process, see our complete guide to lubricating air tools properly in 2026.
Lubrication Methods and Frequency
- Inline oilers: Best for continuous operation, dispense 1-2 drops per minute.
- Manual oiling: Apply 2-3 drops into air inlet before each use.
- Reservoir-based systems: Fill once weekly for heavy-use environments.
- Check oil level daily in reservoir-based systems.
- Change oil every 3-6 months depending on usage intensity.
Over-lubrication causes problems as serious as under-lubrication. Excess oil creates sticky residue that clogs air passages and reduces performance. Apply only the amount specified in your tool’s manual. If you notice oil dripping from the exhaust, reduce the lubrication rate immediately. Proper lubrication balance maintains optimal tool performance.
Key Takeaway: Use only air tool-specific lubricant and follow manufacturer intervals to prevent damage and maintain performance.
Why Is Moisture Control Essential for Air Drill Longevity?
Moisture in compressed air is the silent killer of pneumatic tools. Water corrodes internal metal components, creates rust, and causes seal failure. Air compressors naturally produce moisture as they cool compressed air. This moisture travels through hoses and enters your drill if not properly managed. Effective moisture control extends tool life by preventing internal corrosion.
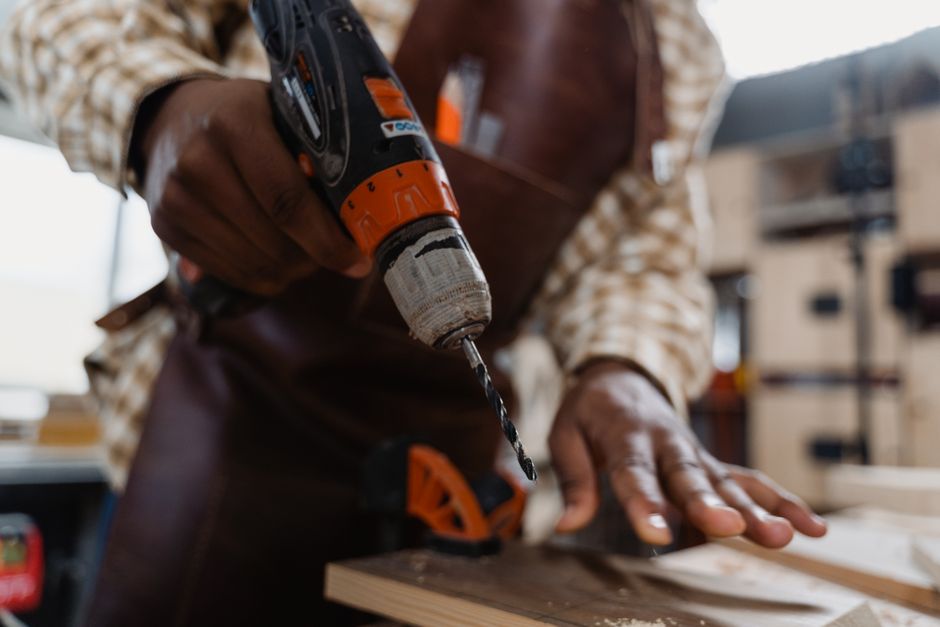
Your compressor’s air tank should be drained regularly to remove accumulated water. Most professionals recommend daily draining in humid climates and twice-weekly in dry environments. Additionally, install moisture traps and filters in your air line system. These devices remove water vapor before it reaches your tools. For detailed instructions, consult our guide on draining moisture from an air compressor tank.
Moisture Management Components
- Drain plugs on compressor tanks should be opened daily or twice weekly.
- Moisture traps remove water droplets from air lines before reaching tools.
- Desiccant filters absorb water vapor from compressed air.
- Coalescing filters separate oil and water from compressed air.
- Regulators with integrated drains maintain consistent pressure and remove moisture.
Investing in a quality air filtration system prevents moisture damage more effectively than any other single maintenance step. Multi-stage filtration systems combine moisture traps, coalescing filters, and desiccant cartridges. These systems remove up to 99 percent of water and particulates. The initial investment pays for itself through extended tool life and reduced repairs.
Key Takeaway: Daily compressor tank draining and quality air filters prevent moisture-related damage and corrosion.
How Do You Inspect and Replace Air Drill Components?
Regular component inspection catches wear before failure occurs. Monthly inspections should focus on seals, gaskets, and internal bearings. Listen for grinding sounds that indicate bearing wear. Check for air leaks around the chuck and motor housing. Visible oil leaks signal seal degradation that requires immediate attention.

Air drill chucks wear out from repeated use and require periodic replacement. Most quality chucks last 2-3 years with proper maintenance. If the chuck no longer grips bits securely, replacement is necessary. Worn seals cause air leaks that reduce power and waste energy. Replacing seals is a straightforward process that takes 30-45 minutes.
Common Component Replacement Schedule
- Seals and gaskets: Every 12-18 months or when leaks appear.
- Air drill chucks: Every 2-3 years depending on usage intensity.
- Bearings: When grinding noises develop during operation.
- Hose connections: Annually or when leaks develop.
- Filters in air system: Every 3-6 months depending on environment.
Keep spare seals and gaskets on hand for quick repairs. Most manufacturers sell maintenance kits containing common replacement parts. Having these items available prevents extended downtime when failures occur. Document all maintenance and repairs in a simple log. This record helps identify patterns and plan preventive replacements.
Key Takeaway: Monthly inspections combined with timely component replacement prevent unexpected failures and maintain tool reliability.
What Pressure Settings Protect Your Air Drill?
Operating your air drill at incorrect pressure damages internal components and reduces tool life. Most air drills operate safely between 90-100 PSI, but check your manual for exact specifications. Pressure above manufacturer recommendations stresses seals and bearings. Pressure below specifications reduces power and causes the motor to work harder, generating excess heat.
Install a quality regulator in your air line to maintain consistent pressure. Regulators should be set slightly above the tool’s operating requirement. This ensures adequate power while protecting internal components from pressure spikes. Check pressure readings weekly using a reliable gauge. Pressure fluctuations indicate regulator problems that require attention.
Pressure Management Best Practices
- Set regulator to manufacturer-recommended pressure plus 5 PSI for safety margin.
- Check pressure gauge readings weekly for consistency.
- Install pressure relief valves to prevent dangerous spikes.
- Use quality regulators with built-in moisture drains.
- Monitor pressure during extended use for unexpected drops.
Pressure drops during operation indicate leaks in your air system. Check hose connections and fittings for loose connections. Even small leaks reduce efficiency and force your compressor to work harder. For guidance on repairing leaking connections, see our article on repairing leaking air hose fittings. Addressing leaks promptly saves energy and extends equipment life.
Key Takeaway: Maintaining proper pressure through quality regulators protects internal components and ensures consistent performance.
How Can You Prevent Common Air Drill Problems?
Preventive maintenance stops problems before they start. Most common air drill failures result from neglected lubrication or moisture damage. Establishing a routine maintenance schedule prevents these issues. Write down your maintenance tasks and check them off weekly. This simple habit dramatically improves tool longevity and reliability.
Dust and debris accumulation damages internal components over time. Clean air vents monthly using compressed air from a separate source. Never use your drill to blow out its own vents, as this forces debris deeper into the motor. Store your drill in a clean environment away from sawdust and metal shavings. These precautions prevent internal contamination.
Prevention Strategy Checklist
- Establish a weekly lubrication schedule and stick to it consistently.
- Drain compressor tank daily or twice weekly depending on climate.
- Clean air vents monthly with external compressed air source.
- Check hose connections weekly for leaks or damage.
- Monitor pressure gauge readings for unusual fluctuations.
- Document all maintenance in a simple log or spreadsheet.
Temperature extremes damage air drill components and seals. Store your tool in climate-controlled spaces when possible. Avoid leaving drills in unheated garages during winter or hot vehicles during summer. Extreme temperatures cause seal shrinkage and expansion that leads to leaks. Proper storage protects your investment and maintains tool performance.
Key Takeaway: Preventive maintenance through consistent routines and proper storage prevents 80 percent of air drill failures.
What Practical Steps Should You Follow for Monthly Maintenance?
Monthly maintenance takes 20-30 minutes and keeps your air drill in peak condition. Set a calendar reminder on the first of each month. Create a checklist and work through each item systematically. This structured approach ensures nothing gets overlooked. Monthly maintenance complements daily checks and prevents serious problems.
Step-by-Step Monthly Maintenance Process
- Disconnect the drill from the air supply and allow pressure to release completely.
- Inspect the chuck for wobbling and test bit grip strength by hand.
- Wipe exterior surfaces with a damp cloth and dry thoroughly.
- Check all hose connections and tighten any loose fittings.
- Clean air vents using compressed air from another source.
- Inspect seals and gaskets around the motor housing for visible leaks.
- Check oil level in inline oiler or reservoir system.
- Test pressure gauge reading and compare to regulator setting.
- Operate the drill for two minutes and listen for unusual sounds.
- Document findings in your maintenance log.
During monthly inspection, look for early warning signs of problems. Oil leaking from the motor indicates seal failure. Grinding sounds suggest bearing wear. Air leaks around the chuck mean seal replacement is needed. Catching these issues early prevents catastrophic failures. Address any problems immediately rather than waiting for the next scheduled service.
Key Takeaway: Systematic monthly maintenance catches problems early and maintains consistent tool performance.
How Does Seasonal Maintenance Differ from Routine Care?
Seasonal maintenance addresses environmental challenges specific to each time of year. Summer heat and humidity require more frequent moisture removal and increased air filter changes. Winter cold stresses seals and requires special attention to oil viscosity. Spring and fall transitions are ideal times for deep cleaning and component replacement planning. Adapting your maintenance routine to seasons extends tool life significantly.
In humid summer months, drain your compressor tank daily instead of twice weekly. Increase air filter changes to monthly intervals. Check seals more frequently as heat accelerates degradation. In winter, use winter-grade air tool oil that flows better in cold temperatures. Store drills in insulated spaces to prevent seal shrinkage from extreme cold.
Seasonal Maintenance Adjustments
- Summer: Daily tank draining, monthly filter changes, weekly seal inspections.
- Fall: Deep cleaning, component replacement planning, pressure system checks.
- Winter: Winter-grade oil use, insulated storage, weekly seal monitoring.
- Spring: System flushing, seal replacement if needed, filter replacement.
Key Takeaway: Adjusting maintenance routines for seasonal conditions prevents weather-related damage and maintains year-round reliability.
What Should You Do If Your Air Drill Develops Problems?
Even with perfect maintenance, air drills occasionally develop problems. Quick diagnosis prevents minor issues from becoming major failures. Most problems fall into three categories: power loss, unusual noises, or air leaks. Identifying which category applies helps determine the cause. Systematic troubleshooting saves time and money.
Power loss usually indicates low pressure, worn seals, or damaged bearings. Check your pressure gauge first. If pressure is low, inspect for air leaks in hoses and connections. If pressure is normal but power is low, internal seals likely need replacement. Unusual grinding sounds indicate bearing wear requiring professional service. Air leaks around the chuck or motor housing indicate seal failure.
Quick Troubleshooting Guide
- Power loss: Check pressure gauge, inspect hoses for leaks, replace seals if needed.
- Grinding sounds: Cease use immediately, bearings likely damaged, seek professional repair.
- Air leaks: Tighten hose connections, replace seals, check chuck for damage.
- Slow operation: Verify pressure setting, check for moisture in air lines, inspect filters.
- Won’t start: Ensure air supply is connected, check regulator setting, verify pressure relief valve function.
Document any problems and when they occurred. This information helps identify patterns and prevent recurrence. Contact the manufacturer if problems persist after basic troubleshooting. Many companies offer repair services or can recommend authorized technicians. Never attempt repairs beyond your skill level, as improper repairs void warranties.
Key Takeaway: Systematic troubleshooting identifies problems quickly, allowing prompt repairs that prevent tool damage.
Frequently Asked Questions
How often should I oil my air drill?
Oil your air drill every 8-12 hours of operation or daily if used regularly. Most professionals use inline oilers that automatically dispense 1-2 drops per minute into the air stream. Check your specific tool’s manual for manufacturer recommendations. Consistent lubrication prevents internal wear and extends tool life significantly.
What type of oil should I use in my air drill?
Use only air tool-specific lubricant formulated for pneumatic equipment. Never use general-purpose machine oil, WD-40, or automotive oil. Air tool oil is lighter and contains anti-corrosion additives that protect seals. Quality air tool oil costs slightly more but prevents damage that costs far more to repair.
Can I use my air drill in humid environments?
Yes, but you must increase moisture removal frequency. Drain your compressor tank daily instead of twice weekly. Install quality moisture traps and desiccant filters in your air line. Monitor seals and gaskets more frequently for water damage. Proper moisture management allows safe operation in humid conditions.
What pressure should I set my air drill regulator to?
Set your regulator to the manufacturer-recommended pressure plus 5 PSI. Most air drills operate safely at 90-100 PSI, but check your manual for exact specifications. Pressure above recommendations stresses internal components. Pressure below specifications reduces power and causes the motor to overheat.
How long should an air drill last with proper maintenance?
A quality air drill with proper maintenance typically lasts 5-10 years or longer. Professional-grade tools often exceed 10 years with consistent care. Maintenance frequency and environmental conditions affect longevity. Drills used in harsh conditions may require more frequent component replacement but still provide years of reliable service.
What’s the most important maintenance task for air drill longevity?
Regular lubrication is the single most important maintenance task. Proper lubrication reduces friction, prevents rust, and protects internal components. Combined with moisture control and pressure management, lubrication prevents 80 percent of air drill failures. Establishing a consistent lubrication routine is the best investment in tool longevity.
How Can You Maximize Your Air Drill’s Lifespan in 2026?
Maximizing air drill lifespan requires commitment to consistent maintenance practices. Daily inspections, weekly checks, and monthly deep cleaning create a comprehensive care routine. Proper lubrication with quality air tool oil protects internal components. Effective moisture management prevents corrosion and seal failure. Maintaining correct pressure settings protects bearings and seals from stress.
Investing time in preventive maintenance saves money on repairs and extends tool life by years. A well-maintained air drill provides reliable performance across countless projects. Document your maintenance activities to identify patterns and plan replacements proactively. Store your drill properly in clean, climate-controlled spaces when not in use.
For additional guidance on maintaining your complete air tool system, explore our related articles on choosing the right diameter air hose for tools and oiling an air compressor pump. These resources complement your air drill maintenance routine and optimize your entire pneumatic system. With dedication to proper care, your air drill will remain a reliable tool for years of productive work.
Key Takeaway: Consistent daily, weekly, and monthly maintenance combined with proper storage ensures your air drill provides reliable performance for 5-10 years or longer.







Write Your Review
No reviews yet. Be the first to share your experience!