

What Is Proper Air Tool Lubrication and Why Does It Matter?
Proper air tool lubrication is the process of applying appropriate oils to pneumatic equipment to reduce friction, prevent wear, and ensure smooth operation. Air tools require consistent lubrication because compressed air naturally removes existing oils from internal components. Without adequate lubrication, friction increases exponentially, causing premature wear and tool failure. Most professionals lose thousands of dollars annually to damaged equipment that could have been prevented with basic maintenance. Lubricating your air tools extends their lifespan by 50-70 percent and maintains consistent performance throughout their service life.

Freeman Air Tool Oil 8oz - Pneumatic Compressor Lubricant
- Specifically made for the daily lubrication of air compressor tools
- Extends life of air tools and maximizes performance by reducing friction and cleaning interior parts
- Consists of anti-gumming, anti-foaming, rust Inhibitor additives to break down deposits
- Apply several drops directly to pneumatic tool air inlet or in-line lubricator
- Non-synthetic air tool oil will keep your pneumatic tools working longer with less maintenance
As an Amazon Associate we earn from qualifying purchases. Product prices and availability are accurate as of the date/time indicated.
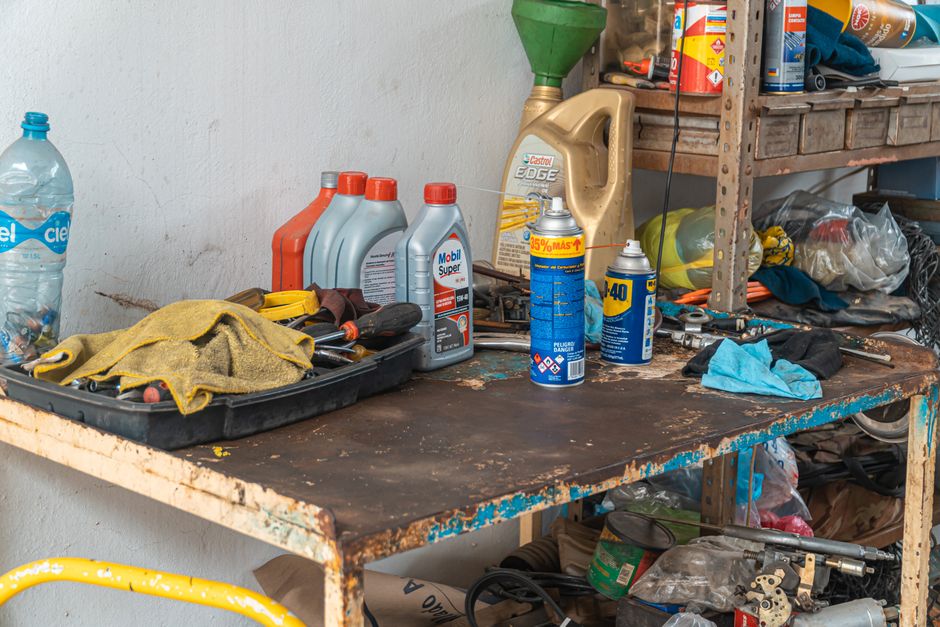
The compressed air system itself creates a harsh environment for tool components. High-velocity air passing through motors and mechanisms strips away protective oils within minutes. This creates metal-on-metal contact that generates heat and accelerates wear. Regular lubrication counteracts this natural process and protects your investment. Additionally, properly lubricated tools operate more quietly and deliver better power output.
Key Takeaway: Air tool lubrication prevents internal wear, extends equipment life, and maintains optimal performance in compressed air systems.
What Types of Oils Should You Use for Air Tools?
Selecting the correct oil type is critical for air tool longevity and performance. Air tool oils differ significantly from automotive or general-purpose oils. Standard motor oils contain detergents and additives that can clog air tool components and damage internal seals. Air tool oils are specifically formulated to be lightweight, fast-draining, and compatible with pneumatic systems. Most manufacturers recommend ISO 32 or ISO 46 weight oils for standard applications, though specifications vary by tool type.
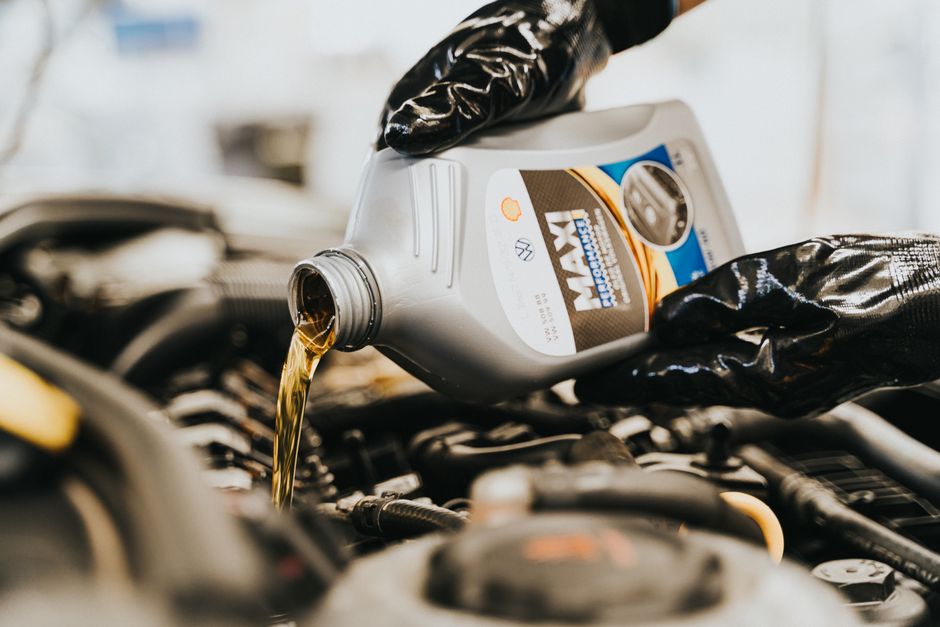
Air tool oils come in several categories based on their properties and intended use:
- Standard air tool oil: Lightweight, general-purpose lubrication for most pneumatic tools.
- Premium synthetic air tool oil: Extended drain intervals and superior performance in extreme temperatures.
- Anti-wear air tool oil: Contains additives to reduce friction and extend component life.
- Food-grade air tool oil: Certified safe for food processing and pharmaceutical equipment.
- Biodegradable air tool oil: Environmentally friendly option for outdoor and sustainable operations.
Always check your tool’s manual for the manufacturer’s recommended oil grade and viscosity. Using the wrong oil type can void warranties and damage internal components irreparably. Many professionals keep multiple oil types on hand for different tool categories. The investment in quality oils pays dividends through reduced maintenance costs and extended equipment life.
Key Takeaway: Use manufacturer-specified air tool oils—never substitute automotive oils, which contain detergents that damage pneumatic components.
Understanding Oil Viscosity Ratings
Oil viscosity is measured using the ISO (International Organization for Standardization) scale. ISO 32 oils are thinner and flow more freely at low temperatures. ISO 46 oils are thicker and provide better protection under higher pressure and temperature conditions. Most standard air tools operate optimally with ISO 32 or ISO 46 oils. Heavier oils like ISO 68 are reserved for specific applications where manufacturers explicitly recommend them.
Temperature affects oil performance significantly. Thinner oils work better in cold climates because they maintain fluidity. Thicker oils perform better in hot environments where thinner oils become too runny. Check your local climate and seasonal temperature ranges when selecting an oil grade. Some professionals switch between oil weights seasonally to maintain optimal performance year-round.
Premium Versus Standard Air Tool Oils
Premium synthetic air tool oils cost 2-3 times more than standard mineral oils but offer substantial benefits. Synthetic oils maintain consistent viscosity across wider temperature ranges and resist oxidation longer. They extend drain intervals from monthly to quarterly or even semi-annually depending on usage intensity. Premium oils also reduce varnish buildup and keep internal components cleaner over time.
Standard mineral oils are budget-friendly and work well for light-to-moderate use. They require more frequent replacement but are perfectly adequate for hobbyists and occasional users. Heavy industrial users typically benefit from premium synthetics due to reduced downtime and maintenance costs. Calculate your tool usage and operating costs to determine which oil type makes economic sense for your situation.
How Do You Apply Oil to Air Tools Correctly?
Proper oil application technique is just as important as selecting the right oil type. Most air tools have built-in lubricators that automatically dispense oil into the air stream. These lubricators contain a small reservoir that you fill with appropriate oil. The compressed air passing through creates a venturi effect that pulls a precise amount of oil into the system. Understanding how to fill and maintain these lubricators ensures consistent tool performance.
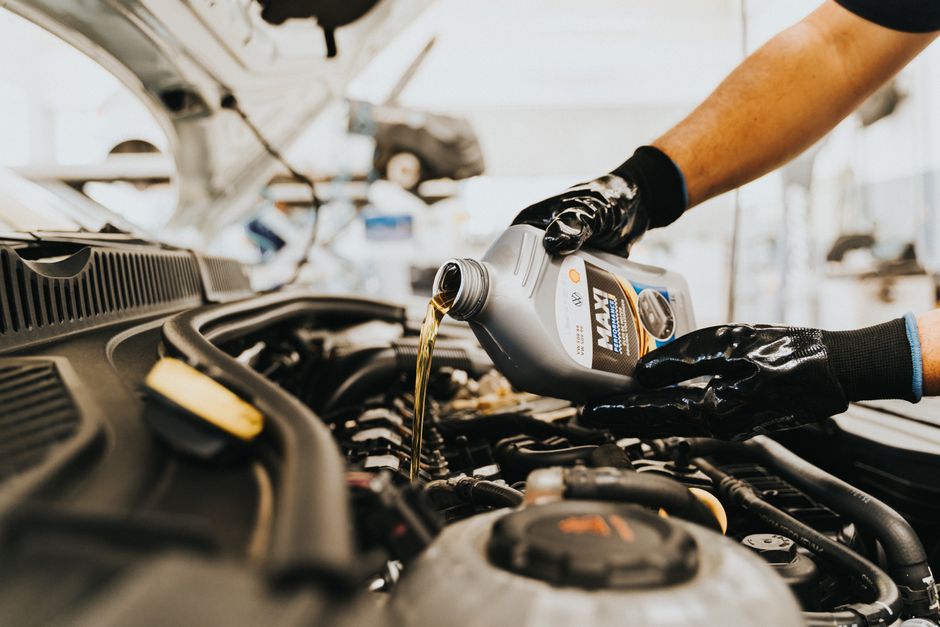
The most common method involves using an in-line lubricator positioned between your air hose and the tool. These devices are inexpensive ($15-40) and provide automatic lubrication during operation. Fill the reservoir with the recommended oil type until it reaches the marked fill line. Never overfill, as excess oil can damage seals and create messy residue. Check lubricator levels weekly during heavy use and monthly during light use.
Manual oiling is another approach where you apply oil directly to the tool’s air intake. This method works well for occasional use but requires more attention. Apply 2-3 drops of oil into the tool’s air inlet before each use. This ensures fresh oil reaches internal components during operation. Manual oiling is ideal for tools used intermittently or in situations where automatic lubricators aren’t practical.
- In-line lubricators: Automatic, consistent delivery; best for regular tool use.
- Manual oiling: Direct application; suitable for occasional or intermittent use.
- Bulk system lubricators: Large-capacity systems for workshops with multiple tools.
- Spin-on filter-lubricators: Combined filtration and lubrication in one unit.
Key Takeaway: Use in-line lubricators for automatic, consistent oil delivery or apply oil manually before each use for intermittent applications.
Setting Up In-Line Lubricators
Installing an in-line lubricator is straightforward and requires no special tools. Connect the lubricator between your air compressor hose and the tool’s air inlet. Ensure all connections are tight to prevent air leaks. Fill the transparent reservoir with the appropriate oil type up to the marked fill line. Many lubricators have adjustment screws that control oil flow rate—typically set to deliver one drop per 5-10 minutes of operation.
Check your specific lubricator’s manual for adjustment procedures. Too much oil creates excessive residue and can damage tool seals. Too little oil fails to protect internal components adequately. Start with conservative settings and observe tool performance. Adjust incrementally until you find the optimal balance. Most tools perform best with minimal visible oil discharge.
Manual Oil Application Best Practices
Manual oiling requires discipline and consistency but works perfectly for low-use situations. Apply oil before each work session rather than waiting until tools malfunction. Use a small oil can with a precise spout to control application. Apply 2-3 drops directly into the tool’s air inlet while holding the tool upright. Activate the tool briefly to distribute oil throughout internal components before starting work.
Never over-oil tools using manual application. Excess oil drips onto your workpiece and creates slippery conditions. It also accumulates inside the tool, creating residue buildup over time. If you notice oil residue on finished surfaces, reduce the amount applied next time. Consistency matters more than quantity—regular light oiling outperforms occasional heavy oiling.
What Is the Proper Maintenance Schedule for Air Tool Lubrication?
Establishing a consistent lubrication schedule prevents unexpected tool failures and extends equipment life. The ideal schedule depends on usage intensity, tool type, and operating environment. Light users might lubricate monthly, while heavy industrial operations require weekly attention. Create a maintenance log to track lubrication dates and identify patterns in your tool usage. This documentation proves invaluable when troubleshooting performance issues.

Most manufacturers recommend the following baseline schedule for standard air tools:
- Light use (1-5 hours weekly): Monthly in-line lubricator checks and oil refills.
- Moderate use (5-20 hours weekly): Bi-weekly lubricator checks and weekly manual oil application.
- Heavy use (20+ hours weekly): Weekly lubricator checks and daily oil application before use.
- Industrial continuous use: Daily lubricator maintenance with multiple checks throughout shifts.
Seasonal changes affect lubrication requirements. Cold weather increases oil viscosity, potentially reducing flow through lubricators. Hot weather thins oils, sometimes allowing excess oil to pass through. Adjust your schedule and oil type based on seasonal temperature variations. Summer might require ISO 46 oil with reduced application rates, while winter might need ISO 32 oil with increased frequency.
Key Takeaway: Establish a maintenance schedule based on usage intensity—light users need monthly attention, while heavy users require weekly or daily lubrication.
Seasonal Adjustments and Climate Considerations
Temperature extremes create challenges for air tool lubrication. In cold climates below 32°F, standard oils become too thick and don’t flow properly through lubricators. Switch to winter-grade air tool oils or use synthetic oils that maintain fluidity in cold conditions. In hot climates above 90°F, oils thin excessively and may evaporate or pass through too quickly. Use heavier oils or increase application frequency to compensate.
Humidity also affects lubrication effectiveness. High humidity environments promote moisture accumulation in compressed air systems. This moisture mixes with oil, creating an emulsion that reduces lubrication quality. Install a moisture separator or drain your compressor tank regularly to minimize this issue. Related guide: How to Drain Moisture from an Air Compressor Tank in 2026: Complete Guide.
Monitoring Lubricator Levels and Condition
Check in-line lubricator reservoirs during your regular maintenance routine. Most lubricators have transparent bodies that allow easy visual inspection. Refill when oil levels drop below the minimum mark. While refilling, inspect the oil for discoloration or cloudiness, which indicates moisture contamination. If oil appears dark brown or black, replace it immediately rather than topping off.
Clean lubricator exterior surfaces monthly to prevent dirt accumulation. Use a soft cloth and mild degreaser to wipe down the unit. Check all connection points for leaks or loose fittings. Tighten connections as needed to prevent air loss. If a lubricator leaks persistently, replace the internal seal kit or the entire unit depending on damage severity.
What Are Common Mistakes When Lubricating Air Tools?
Many tool users make preventable lubrication mistakes that accelerate wear and reduce equipment lifespan. Understanding these pitfalls helps you maintain tools properly and avoid costly repairs. The most common error involves using automotive motor oil instead of air tool oil. Motor oils contain detergents that accumulate inside pneumatic components, creating sticky residue that clogs passages and damages seals.

Another frequent mistake is over-lubrication, which many users believe provides better protection. Excess oil doesn’t improve performance—it creates residue buildup, attracts dust and dirt, and can damage internal seals. Some users apply oil only when tools malfunction rather than maintaining regular schedules. This reactive approach allows significant internal wear before addressing the problem.
Neglecting to adjust lubricator flow rates is another common oversight. Factory default settings work for average conditions but may be inappropriate for your specific tools and climate. Users often forget to check lubricator levels, allowing reservoirs to run dry without realizing it. Finally, many workshops fail to document maintenance activities, making it impossible to identify lubrication trends or predict maintenance needs.
- Using automotive oil instead of air tool oil: Causes seal damage and internal residue buildup.
- Over-lubricating: Creates excessive residue and attracts dirt contamination.
- Ignoring manufacturer specifications: Wrong oil types void warranties and damage components.
- Neglecting regular checks: Dry lubricators provide zero protection to internal components.
- Failing to document maintenance: Impossible to track patterns or predict failure points.
- Mixing different oil types: Creates chemical reactions that reduce lubrication effectiveness.
Key Takeaway: Avoid using automotive oils, over-lubricating, and neglecting regular maintenance checks—these mistakes accelerate tool wear and cause premature failure.
How Do You Troubleshoot Lubrication Problems in Air Tools?
When air tools underperform despite regular lubrication, systematic troubleshooting identifies the root cause. Start by checking whether the tool is receiving adequate oil. Inspect the lubricator reservoir for proper oil level and cleanliness. If the reservoir is empty, refill it and monitor consumption rates over the next week. Unusually high consumption might indicate internal leaks or damaged seals that require professional repair.
Test lubricator function by running compressed air through it without the tool attached. You should see small oil droplets emerging from the outlet. If no oil appears, the lubricator may be clogged or the flow adjustment screw may be turned off completely. Clean the lubricator according to manufacturer instructions or replace it if internal blockages persist. If oil appears but in excessive quantities, reduce the flow rate adjustment screw.
Inspect the tool’s air inlet for blockages or damage. Dust and debris can accumulate around the inlet, preventing proper oil entry. Use compressed air to blow out any visible debris. If the tool continues underperforming after lubrication adjustments, internal component damage may have already occurred. At this point, professional service or tool replacement becomes necessary.
- Empty lubricator: Refill immediately and check for leaks or excessive consumption.
- No oil discharge: Clean clogged lubricator or check flow adjustment screw settings.
- Excessive oil discharge: Reduce flow rate adjustment or replace worn lubricator seals.
- Tool still underperforms: Internal damage likely requires professional service.
Key Takeaway: Troubleshoot lubrication issues by checking reservoir levels, verifying oil discharge, and cleaning clogged components before assuming internal damage.
What Complementary Maintenance Improves Air Tool Performance?
Lubrication is essential but works best alongside other maintenance practices. Compressed air quality directly impacts tool performance and longevity. Moisture and particulate contamination in compressed air undermines lubrication effectiveness. Install quality air filters upstream of your tools to remove dust and water vapor. Related guide: How to Oil an Air Compressor Pump in 2026: Complete Maintenance Guide.
Drain your air compressor tank regularly to remove accumulated moisture and sediment. Weekly draining during humid seasons prevents moisture from entering your pneumatic system. Inspect air hoses for damage, kinks, or leaks that reduce system efficiency. Damaged hoses force your compressor to work harder, generating excess heat that affects oil viscosity. Replace worn hoses promptly to maintain consistent air quality and pressure.
Keep your workshop clean and organized to prevent airborne dust from entering tools. Dust contamination combines with oil to create abrasive sludge that accelerates wear. Store tools in protective cases when not in use. Periodically inspect tool exteriors and remove accumulated dust and debris. These simple practices extend tool life and reduce maintenance requirements significantly.
- Install quality air filters to remove dust and moisture before reaching tools.
- Drain compressor tanks weekly during humid seasons to prevent water contamination.
- Inspect and replace damaged air hoses to maintain system efficiency.
- Store tools in protective cases to minimize dust contamination.
- Keep workshop areas clean and organized for optimal tool performance.
Key Takeaway: Combine proper lubrication with air filtration, moisture removal, and hose maintenance for comprehensive tool care.
Recommended Products

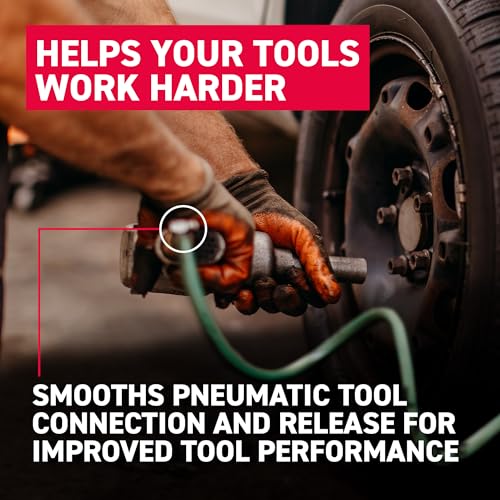
3-IN-ONE Professional Pneumatic Tool Oil - 4oz Maintenance
- Quickly dissolves gum and sludge, and provides rust prevention on all types of pneumatic tools
- Removes calcium build-up and moisture for improved tool performance
- Waterproof formula minimizes rust formation under extreme conditions
- Squeeze bottle design offers control over the amount of oil dispensed. Size is ideal for Automotive, Marine, Construction, and Shop use
- Marksman Twist Spout makes it easy to use and apply product exactly where you want it




As an Amazon Associate we earn from qualifying purchases. Product prices and availability are accurate as of the date/time indicated.

Translucent Clear 8oz Air Tool Pneumatic Lubricant - Ideal for Pneumatic Tools, Compressors, Machines, Seals, O-Rings, and More
- Our Air Tool Pneumatic Lubricant is perfect for maintaining pneumatic tools, ensuring smooth operation and longevity by reducing friction and wear on air tools and compressors.
- This versatile air tool oil is ideal for use with pneumatic framing nail guns, air compressors, and other pneumatic air tools, providing superior lubrication and protection against rust and corrosion.
- Formulated as a high-quality pneumatic tool oil, it serves as an excellent air tool oil lubricant, enhancing the performance of your air tools and extending their lifespan with regular use.
- Compatible with a wide range of equipment, this lubricant can be used as compressor oil, machine oil for tools, and even as a spray lubricant for metal parts, making it a must-have for any workshop.
- Our Air Tool Pneumatic Lubricant is designed to work seamlessly with airbrushes, pneumatic cut off tools, and other precision instruments, ensuring optimal performance and reliability.

As an Amazon Associate we earn from qualifying purchases. Product prices and availability are accurate as of the date/time indicated.
Frequently Asked Questions
How Often Should I Check Air Tool Lubricator Levels?
Check lubricator levels weekly during regular use and monthly during light use. Inspect the transparent reservoir visually for oil level. Refill when oil drops below the minimum mark indicated on the housing. Heavy industrial users should check lubricators daily. Establish a routine inspection schedule aligned with your tool usage patterns and document all checks in a maintenance log.
Can I Use WD-40 or General Machine Oil in Air Tools?
No—never use WD-40, automotive motor oil, or general machine oils in pneumatic tools. These products contain detergents and additives that damage air tool seals and create internal residue buildup. Always use manufacturer-specified air tool oils formulated specifically for pneumatic systems. Using incorrect oils voids warranties and causes irreversible component damage requiring expensive professional repair.
What Does It Mean If My Air Tool Is Leaking Oil?
Oil leakage indicates worn internal seals or damaged housing. Minor leakage around the air inlet suggests the lubricator is overfilled or the flow rate is set too high. Reduce the flow adjustment or drain excess oil from the reservoir. If leakage persists from the tool body itself, internal seals have failed and require professional replacement. Continued operation with leaking seals causes additional internal damage.
Should I Lubricate Air Tools Daily or Just Before Use?
For regular daily use, in-line lubricators provide automatic continuous lubrication throughout your work session. For intermittent or occasional use, apply 2-3 drops of oil manually before each use session. Heavy industrial operations benefit from daily pre-shift lubrication checks to ensure adequate oil levels. Match your lubrication frequency to your actual tool usage patterns for optimal protection and efficiency.
How Do I Know If My Air Tool Is Over-Lubricated?
Over-lubricated tools produce excessive oil discharge, creating slippery surfaces and residue buildup on workpieces. You may notice dark brown or black sludge accumulating inside the tool or around the air outlet. Reduce the lubricator flow rate adjustment by turning the screw counterclockwise. If problems persist, drain the lubricator completely and refill with fresh oil at a lower flow setting.
What’s the Difference Between ISO 32 and ISO 46 Air Tool Oils?
ISO 32 oils are thinner and flow more freely, working better in cold climates and light-duty applications. ISO 46 oils are thicker and provide better protection under high pressure and temperature conditions. Most standard tools operate optimally with ISO 32 or ISO 46. Check your manufacturer’s specifications for the recommended viscosity grade. Some users switch between grades seasonally to maintain performance across temperature variations.
How Can You Create an Effective Air Tool Lubrication System for Your Workshop?
Building a comprehensive lubrication system starts with understanding your specific tools and usage patterns. Document every air tool in your workshop, noting the manufacturer’s recommended oil type, viscosity grade, and application method. Create a central lubrication station with multiple oil types, applicators, and maintenance supplies organized logically. This setup reduces confusion and ensures consistent practices across your team.
Invest in quality in-line lubricators for tools used regularly and keep manual oil applicators available for occasional-use equipment. Label all lubricators clearly with oil type and last-fill date. Establish a written maintenance schedule specific to your operation’s intensity and climate. Train all team members on proper lubrication techniques and the importance of consistent maintenance. Post maintenance reminders near tool storage areas to encourage regular checks.
Maintain a maintenance log documenting lubricator fills, oil changes, and any performance issues observed. This record helps identify trends and predict maintenance needs before catastrophic failures occur. Review logs quarterly to adjust your schedule based on actual consumption patterns. Consider upgrading to a bulk lubrication system if your workshop operates multiple tools simultaneously. These systems provide centralized oil distribution and reduce individual lubricator maintenance requirements.
Partner with reputable suppliers who understand your tool inventory and can recommend appropriate oils and maintenance products. Many suppliers offer free consultation services to help optimize your lubrication strategy. Invest in employee training to ensure everyone understands proper techniques and the business case for preventive maintenance. Well-trained teams take ownership of equipment care and catch problems early before expensive repairs become necessary.
Key Takeaway: Create a systematic approach with documented procedures, appropriate supplies, and trained personnel to ensure consistent air tool lubrication across your entire workshop.
What Final Recommendations Will Help You Master Air Tool Lubrication in 2026?
Proper air tool lubrication is not complicated but requires consistent attention and discipline. Start by reading and following your tool manufacturer’s specific recommendations rather than assuming generic practices apply. Invest in quality air tool oils formulated for pneumatic systems—these represent a tiny fraction of your tool replacement costs. Establish a lubrication schedule aligned with your actual usage patterns and document all maintenance activities systematically.
Recognize that lubrication is just one component of comprehensive tool maintenance. Combine proper oiling with air filtration, moisture removal, and regular inspections for maximum effectiveness. Related guides on complementary maintenance: How to Drain Moisture from an Air Compressor Tank in 2026: Complete Guide and How to Repair a Leaking Air Hose Fitting in 2026: Complete Step-by-Step Guide.
Stay proactive rather than reactive—address lubrication needs before tools malfunction. Train yourself and your team thoroughly on proper techniques and why consistency matters. Monitor tool performance and adjust your approach based on real-world results. The relatively small investment in proper lubrication and maintenance yields enormous returns through extended tool life and reduced downtime. By implementing these practices today, you’ll protect your equipment investment and ensure reliable performance for years to come.







Write Your Review
No reviews yet. Be the first to share your experience!