

How to Mount a Bench Vise to a Workbench: Quick Answer
Mounting a bench vise to your workbench requires securing it with bolts through the mounting holes, ensuring it’s level and stable. A proper installation takes 30-60 minutes and involves selecting the right location, drilling mounting holes, and tightening hardware securely. Your vise must be positioned at the workbench edge for optimal access and clamping leverage. Use quality bolts, washers, and nuts rated for the vise’s clamping force. A well-mounted vise becomes the foundation of your workshop, enabling precise woodworking, metalworking, and general fabrication tasks with confidence and safety.
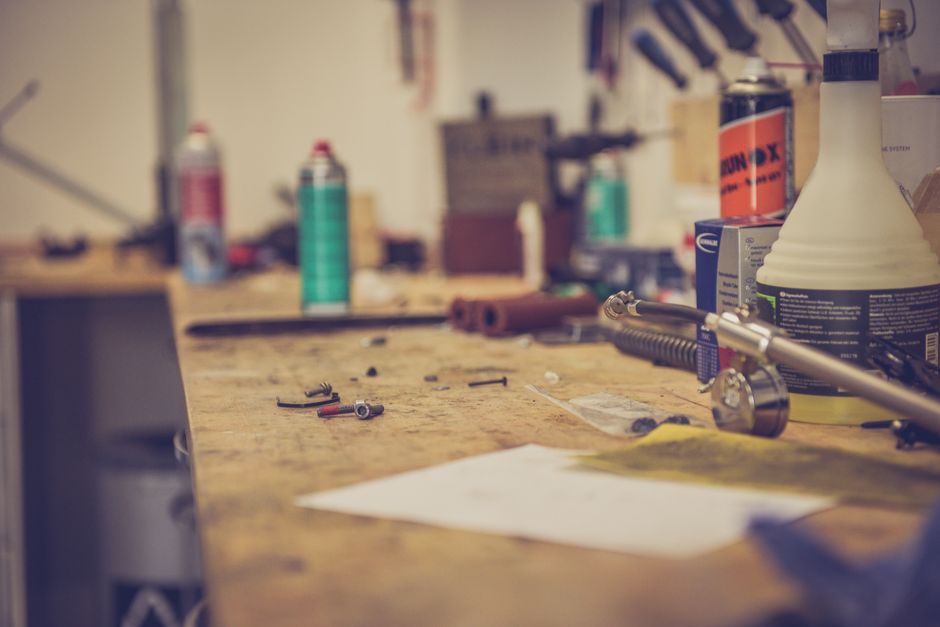
A bench vise is one of the most essential tools in any workshop. Whether you’re a woodworker, metalworker, or general craftsperson, a properly mounted vise transforms your workbench into a functional, productive space. The difference between a secure, level vise and a poorly installed one affects every project you undertake. This guide walks you through every step, from choosing the mounting location to final adjustments.
What is a Bench Vise and Why Does Mounting Matter?
A bench vise is a clamping device that holds workpieces firmly in place while you work on them. It features two jaws—one fixed and one movable—that grip objects with tremendous force. Most bench vises clamp with pressures between 500 and 2,000 pounds per square inch, depending on the model and jaw size. This immense holding power makes them indispensable for sawing, filing, drilling, chiseling, and assembly work.
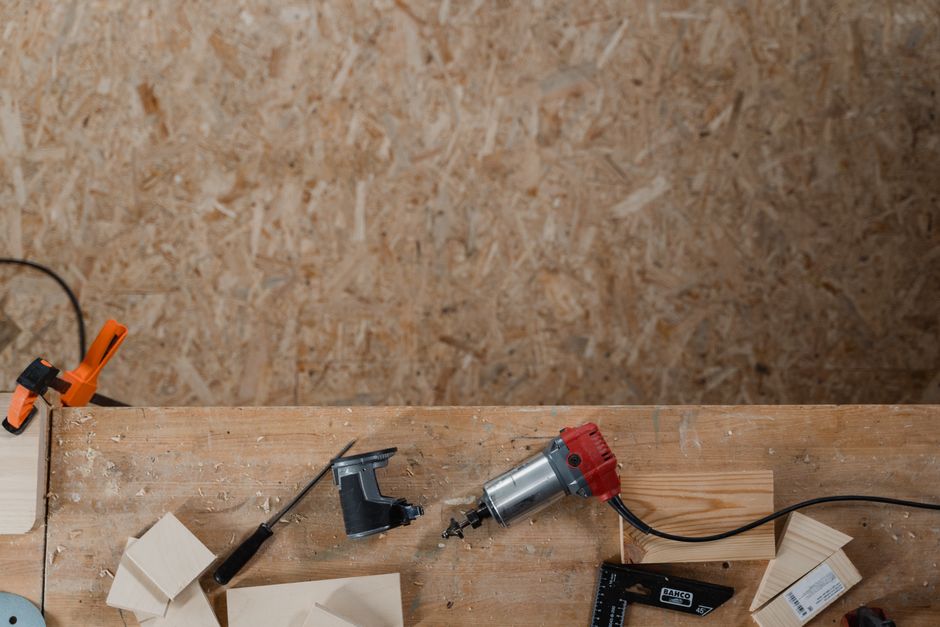
Proper mounting is critical for several reasons.
- Prevents vise movement or rocking during heavy clamping operations.
- Protects your workbench from structural damage caused by uneven stress.
- Ensures safe, repeatable results across all your projects.
- Extends the lifespan of both the vise and workbench.
- Allows you to apply maximum clamping force without fear of failure.
Key Takeaway: A properly mounted bench vise is the backbone of a safe, productive workshop.
Where Should You Position Your Bench Vise on the Workbench?
Location is everything when mounting a bench vise. The ideal position is at the front corner of your workbench, typically at the left corner for right-handed users. This placement gives you clear access to the vise handle and allows you to work comfortably without reaching across the bench. The front-edge mounting also provides better leverage and visibility of your workpiece.

Consider these positioning factors carefully before drilling holes.
- Mount at the front edge, approximately 2-3 inches from the corner.
- Ensure clearance for the vise handle to rotate freely without obstruction.
- Keep the vise away from bench legs or support structures that limit access.
- Position the vise at a comfortable working height, typically 36-42 inches from the floor.
- Leave space behind the vise for clamping longer workpieces.
Measuring and Marking Mounting Holes
Before drilling, use a measuring tape and pencil to mark the exact mounting hole locations. Most bench vises have four mounting holes pre-drilled in the base. Measure from the front edge of your workbench and mark the center point of each hole on your bench surface. Use a combination square to ensure your marks are perpendicular to the bench edge. Double-check all measurements before proceeding to drilling.
Key Takeaway: Accurate hole placement ensures a level, secure vise installation.
What Tools and Materials Do You Need for Mounting?
Gathering the right tools and materials before you start makes the installation process smooth and efficient. Most mounting jobs require common workshop items, though the specific bolt sizes depend on your vise model. Check your vise’s manual for exact specifications, as different manufacturers use different hole diameters and depths. Quality hardware is worth the investment—cheap bolts can shear under load.

Essential tools and materials for bench vise mounting include:
- Drill with bits matching your vise’s mounting hole diameter.
- Bolts, washers, and nuts (typically 3/8-inch or 1/2-inch diameter).
- Wrench or socket set for tightening hardware.
- Measuring tape, pencil, and combination square for layout.
- Level to verify the vise sits perfectly horizontal.
- Rubber mallet for final alignment adjustments.
- Wood shims if your workbench surface is uneven.
Choosing the Right Bolts and Hardware
Your mounting bolts must be strong enough to resist the lateral forces generated by clamping. Most woodworkers use grade 8 or grade 5 bolts in 3/8-inch or 1/2-inch diameter. Galvanized or stainless steel bolts resist corrosion better than plain steel. Always use washers under both bolt heads and nuts to distribute pressure and prevent fasteners from pulling through wood. Nylock nuts or thread-locking compound helps prevent bolts from loosening over time.
For a typical bench vise mounting, you’ll need four bolts, eight washers, and four nuts. Measure your workbench thickness to determine bolt length—bolts should pass completely through the bench with at least 1/2 inch of thread protruding for the nut.
Key Takeaway: Quality, properly-sized bolts ensure your vise stays secure under heavy use.
How Do You Drill Mounting Holes in Your Workbench?
Drilling accurate mounting holes is the most critical step in the installation process. Use a drill bit that matches your bolt diameter exactly—typically 3/8-inch or 1/2-inch. Start with a smaller pilot hole to prevent the drill bit from wandering. Clamp the vise base securely to your workbench using bar clamps before drilling through the mounting holes. This prevents the vise from shifting and ensures holes align perfectly.
Follow this drilling procedure for best results:
- Clamp the vise base firmly to the workbench at your marked location.
- Drill a small pilot hole through the first mounting hole using a 1/8-inch bit.
- Use the pilot hole to guide a larger drill bit through the workbench.
- Drill completely through the bench, supporting the underside to prevent splintering.
- Repeat for all four mounting holes.
- Remove clamps and inspect all holes for alignment.
Supporting the Workbench During Drilling
Drilling from the top of your workbench creates exit holes on the underside. To prevent tear-out and splintering, support the bench bottom with a piece of scrap wood clamped underneath each drilling location. This backing board absorbs the drill bit’s exit force and creates clean holes. If your workbench has a thick top, you may need an extra-long drill bit or a drill press to reach all the way through.
Key Takeaway: Proper drilling technique creates clean, aligned holes for secure bolt installation.
How Do You Secure the Vise with Bolts and Fasteners?
Once all mounting holes are drilled, you’re ready to install the bolts. Begin by inserting bolts through the vise base mounting holes from the top. Slide washers onto each bolt, then pass the bolts through the workbench holes. Underneath the bench, add another washer to each bolt, then thread the nut onto the bolt. Hand-tighten all four bolts first to ensure the vise sits level and aligned properly.
Tightening sequence matters for even pressure distribution.
- Hand-tighten all four bolts evenly before using a wrench.
- Use a wrench to snug bolts in an X-pattern (opposite corners alternately).
- Apply firm pressure but avoid over-tightening, which can crack the vise base or bench.
- Check that the vise base remains level throughout the tightening process.
- Verify no gaps exist between the vise base and workbench surface.
Checking Level and Alignment
A level vise is essential for accurate work. Place a spirit level across the vise jaws in multiple directions—front-to-back and side-to-side. If the vise tilts, loosen the bolts slightly and insert wood shims under the vise base until it’s perfectly level. Tighten bolts gradually while checking the level repeatedly. This process may take several iterations, but the effort ensures professional results. Once level, tighten all bolts firmly with a wrench, applying steady pressure without forcing.
Key Takeaway: A level vise provides accurate clamping and prevents workpiece slippage.
What Are Common Mounting Mistakes to Avoid?
Even experienced craftspeople make mounting errors that compromise vise performance. Understanding common mistakes helps you avoid them and install your vise correctly the first time. Many problems stem from rushing the installation or skipping the leveling step. Taking your time during mounting pays dividends in years of reliable service.
Watch out for these frequent mounting mistakes:
- Positioning the vise too far from the bench edge, reducing clamping leverage.
- Using undersized or low-quality bolts that shear under clamping stress.
- Failing to check level in multiple directions, causing uneven jaw closure.
- Over-tightening bolts, which can crack the vise base or damage the bench.
- Mounting on an uneven workbench surface without using shims.
- Neglecting to add washers, which causes fasteners to pull into wood.
Fixing a Poorly Mounted Vise
If your vise rocks, tilts, or feels unstable, don’t continue using it. Loosen all bolts and remove the vise completely. Inspect the mounting holes for cracks or enlarged damage. Check your workbench surface for warping or unevenness using a straightedge. If the bench is warped, use wood shims to create a level mounting surface. If mounting holes are damaged, drill new ones slightly offset from the original location. Reinstall the vise with proper shims and leveling, then test stability before resuming work.
Key Takeaway: Fixing mounting problems immediately prevents damage to your vise and workbench.
How Do You Maintain Your Mounted Bench Vise?
A properly mounted vise requires minimal maintenance to stay in perfect working condition. Regular inspection ensures bolts remain tight and the vise stays secure. Check mounting bolts monthly by attempting to tighten them—vibration from heavy work can gradually loosen fasteners. Keep the vise clean and free of sawdust or metal shavings that interfere with smooth operation. Light machine oil applied to the screw mechanism keeps it moving freely.
Monthly and seasonal maintenance tasks keep your vise performing optimally:
- Check all mounting bolts for tightness using a wrench.
- Inspect the vise base for cracks or damage from heavy use.
- Clean sawdust and debris from the screw mechanism.
- Apply light machine oil to the screw and handle pivot points.
- Verify the vise remains level using a spirit level.
- Examine mounting holes for signs of enlargement or cracking.
When to Remount or Replace Your Vise
After years of heavy use, your vise may need remounting. If you notice persistent looseness despite tightening bolts, the mounting holes may be enlarged. Drill new holes slightly offset from originals and remount with fresh bolts. If the vise jaws no longer close evenly or the handle feels stiff, internal wear may require professional service or replacement. A quality bench vise lasts decades with proper care, making the initial investment worthwhile for serious craftspeople.
Key Takeaway: Regular maintenance keeps your vise secure and functional for decades.
How Do You Choose the Right Workbench for Vise Mounting?
Your workbench must be sturdy enough to handle the forces generated by vise clamping. A flimsy bench will rock, bounce, or shift when you apply pressure to the vise handle. Ideally, your workbench should be at least 1.5 inches thick and made from solid wood or quality plywood. Metal workbenches also work well and offer excellent rigidity. The bench must be securely anchored to the floor or wall to prevent movement during heavy clamping operations.
If you’re building a new workbench specifically for vise mounting, consider these structural requirements:
- Bench top thickness of at least 1.5 inches for bolt security.
- Solid wood construction or high-quality plywood for durability.
- Heavy-duty leg structure rated for 200+ pounds of clamping force.
- Secure anchoring to the floor or wall to prevent tipping.
- Flat, level surface across the entire mounting area.
For guidance on building a suitable workbench, see our complete How to Build a Simple Workbench for a Small Garage in 2026 guide, which includes vise-mounting considerations in the design phase.
Key Takeaway: A sturdy, well-designed workbench is essential for safe, effective vise operation.
What Are the Best Practices for Using Your Mounted Vise?
Once your vise is securely mounted, using it correctly preserves both the tool and your workbench. Always clamp workpieces in the center of the jaws to distribute pressure evenly. Avoid clamping extremely hard objects like metal directly in the jaws—use protective jaw covers or wooden blocks between the vise jaws and delicate workpieces. Never apply sudden impact force or strike the vise handle with a hammer, as this can damage internal mechanisms and loosen mounting bolts.
Follow these best practices for long vise life:
- Clamp workpieces in the center of the jaws for balanced pressure.
- Use wooden blocks or jaw covers to protect delicate materials.
- Apply steady, gradual clamping force rather than sudden pressure.
- Never strike the vise handle or apply impact force.
- Release clamps promptly after finishing work to prevent stress on mechanisms.
- Keep the vise clean and free of debris between uses.
Key Takeaway: Proper vise usage extends tool life and ensures safe, consistent results.
How Does a Mounted Vise Fit Into Your Overall Workshop Setup?
A mounted bench vise is the centerpiece of an organized, functional workshop. It works in conjunction with other essential tools and layout methods to create a complete crafting environment. Precision tools like combination squares, marking gauges, and framing squares all support the accuracy that begins with secure vise clamping. Your vise becomes the anchor point for hand planing, chiseling, sawing, and detailed finishing work that defines quality craftsmanship.
Integrate your vise into a complete workshop system by combining it with complementary tools and techniques. Explore How to Use a Combination Square for Layout in 2026 for precision marking before clamping in your vise. For detailed work, our guide on How to Set Up and Tune a Hand Plane in 2026 explains how a properly mounted vise holds workpieces for planing operations. If you’re working on woodcarving projects, see How to Start Wood Carving for Beginners in 2026 for techniques that rely on secure vise clamping.
Key Takeaway: A mounted bench vise anchors your entire workshop system and enables precise, professional work.
Frequently Asked Questions
What size bolts do I need to mount a bench vise?
Most bench vises use 3/8-inch or 1/2-inch diameter bolts. Check your vise manual for exact specifications. Grade 8 or grade 5 bolts rated for high tensile strength are essential. Bolt length depends on your workbench thickness—typically 2 to 3 inches to pass through the bench with room for the nut underneath. Always use washers under bolt heads and nuts to prevent fasteners from pulling into wood.
Can I mount a bench vise to a metal workbench?
Yes, metal workbenches are excellent for vise mounting. Metal provides superior rigidity compared to wood. Use the same bolt-mounting procedure, but ensure holes are drilled with a metal drill bit. Metal workbenches often have pre-drilled mounting holes or threaded inserts for easy vise installation. The mounting process is actually simpler with metal because the surface won’t warp or settle over time.
How do I know if my vise is mounted securely?
Test vise security by attempting to wiggle it side-to-side and front-to-back. A properly mounted vise should have zero movement. Check mounting bolts with a wrench—they should be tight enough that you cannot turn them by hand. Use a spirit level to verify the vise remains level in all directions. If you notice any movement, rocking, or looseness, immediately stop working and tighten bolts or remount the vise.
Should I use washers when mounting a bench vise?
Yes, washers are essential for secure vise mounting. They distribute bolt pressure over a larger area, preventing fasteners from pulling into wood or damaging the vise base. Use one washer under each bolt head and one under each nut. This simple addition significantly increases mounting reliability and extends the lifespan of both your vise and workbench.
Can I relocate my vise after mounting it?
Yes, you can relocate a mounted vise by unbolting it and drilling new mounting holes. Fill old holes with wooden dowels glued in place, then sand flush with the bench surface. The original mounting location may show discoloration or slight depressions, but these are cosmetic and won’t affect function. Plan your vise location carefully before the initial installation to minimize bench damage and unnecessary drilling.
How tight should I tighten the mounting bolts?
Tighten mounting bolts firmly but not excessively. Apply pressure with a wrench until the vise base is snug against the workbench with no gaps. Over-tightening can crack the vise base, strip bolt threads, or damage the bench surface. A good rule is to tighten until you feel solid resistance, then give a quarter-turn more. Check tightness monthly as vibration from work can gradually loosen bolts over time.
How Should You Finalize Your Bench Vise Installation?
After mounting your bench vise and verifying it’s level and secure, take time to test its operation before serious use. Clamp a wooden block in the jaws and apply moderate pressure. The vise should hold the block firmly without any slipping or shifting. Check that the handle operates smoothly through its full range of motion. Verify the jaws close evenly across their entire width. If everything feels solid and operates smoothly, your installation is complete and ready for workshop use.
Congratulations on successfully mounting your bench vise. You now have a solid foundation for years of productive woodworking, metalworking, and general fabrication projects. A properly installed vise transforms your workbench from a simple work surface into a precision tool capable of holding workpieces with absolute security. Take pride in this installation—it’s one of the most important steps in creating a professional, functional workshop. With your vise mounted securely, you’re ready to tackle advanced techniques and projects that demand reliable, rock-solid clamping power.
Key Takeaway: A properly mounted bench vise is the foundation of a safe, productive, professional workshop.






Write Your Review
No reviews yet. Be the first to share your experience!