

What Is a Leaking Air Hose Fitting and Why Does It Matter?
A leaking air hose fitting is a connection point where compressed air escapes instead of flowing to your pneumatic tools. This occurs when the seal between the hose and fitting degrades over time. Even small leaks waste energy, reduce tool performance, and increase compressor runtime. In August 2026, proper maintenance of air systems remains essential for workshop efficiency and cost savings. Addressing leaks promptly prevents bigger problems and extends equipment lifespan.
Air hose fittings connect your compressor to tools like nailers, grinders, and sanders. These connections experience constant pressure cycles that wear seals gradually. A leaking fitting might produce a hissing sound or visible moisture spray. If you notice your compressor running more frequently than usual, a fitting leak is often the culprit. Identifying and fixing leaks early saves money and keeps your pneumatic system running smoothly.
Key Takeaway: Air hose fitting leaks waste compressed air and reduce tool efficiency, making prompt repairs essential for any workshop.
How Do You Identify a Leaking Air Hose Fitting?
Diagnosing a leaking air hose fitting requires careful observation and simple testing methods. Start by listening for a distinctive hissing sound when the compressor pressurizes. This audible clue often pinpoints the problem location immediately. Next, apply soapy water to suspected areas and watch for bubbles forming under pressure. Bubbles indicate escaping air at that specific fitting or connection point.
Visual inspection reveals moisture, oil residue, or frost accumulation around leaking fittings. Compressed air cools rapidly when escaping, causing condensation that appears as wet spots. Check all connection points including the hose ends, quick couplers, and tool connections. Run your hand along the hose length to feel for unexpected air pressure loss.
Testing Methods for Leak Detection
- Listen for hissing sounds near fittings during pressurization.
- Apply soapy water solution and observe bubble formation.
- Feel for cold spots indicating air escape with your hand.
- Check for visible moisture or frost around connections.
- Monitor compressor cycle frequency—frequent cycling suggests leaks.
A pressure gauge helps confirm leaks by measuring system pressure loss over time. Connect the gauge, pressurize the system, and note readings every five minutes. Significant pressure drops indicate leaks somewhere in your hose assembly. Document which fitting shows the highest pressure loss to focus repair efforts efficiently.
Key Takeaway: Soapy water testing and pressure monitoring are the most reliable methods for identifying leaking air hose fittings accurately.
What Tools and Materials Do You Need for Repair?
Successful air hose fitting repairs require specific tools and replacement parts. Most repairs can be completed with basic workshop tools you likely already own. Gather everything before starting to avoid interrupting the repair process midway. Having the right materials ensures a proper seal that lasts.
Essential Tools for Repair
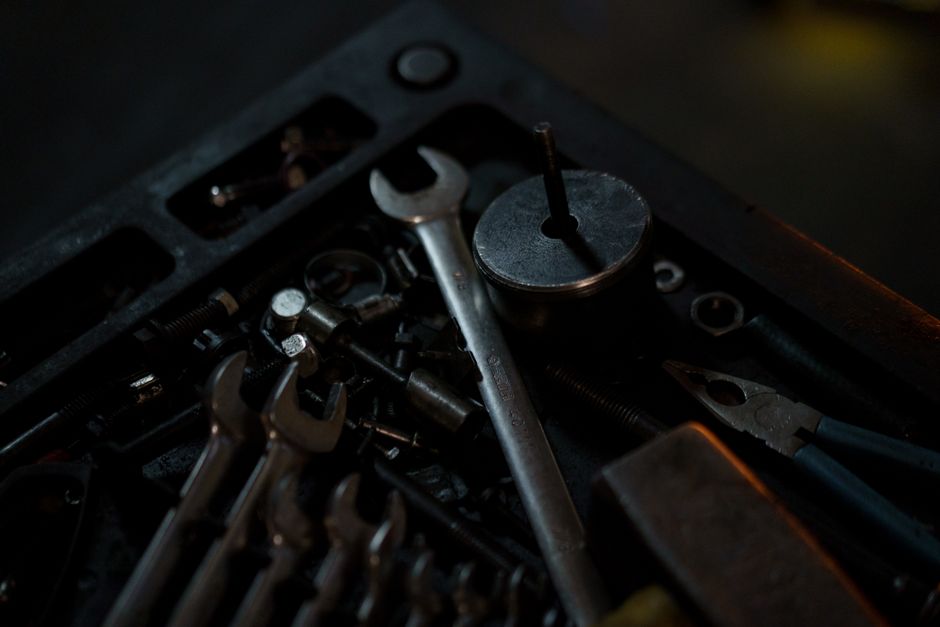
- Adjustable wrench or fitting wrench for your specific hose size.
- Screwdriver set (flathead and Phillips) for various fasteners.
- Soapy water solution for testing before and after repair.
- Clean cloth or paper towels for drying and cleaning.
- Pliers for holding fittings steady during removal.
Replacement parts depend on your fitting type and hose diameter. Common replacements include new ferrules, seals, and complete quick-disconnect couplers. Check your hose diameter and fitting specifications before purchasing parts. Most hardware stores and online retailers stock standard air hose fittings in 2026.
Materials to Have Ready
- Replacement ferrules matching your hose outer diameter.
- New sealing washers or O-rings for the fitting type.
- Thread seal tape (PTFE tape) for threaded connections.
- Replacement quick-disconnect couplers if needed.
- Penetrating oil for stuck fittings (like WD-40).
Budget twenty to fifty dollars for most fitting repairs in 2026. Complete coupling replacements cost more but ensure reliability. Preventive replacement of worn fittings costs less than emergency repairs during critical work.
Key Takeaway: Basic tools and inexpensive replacement parts enable most air hose fitting repairs without professional help.
How Do You Step-by-Step Repair a Leaking Air Hose Fitting?
Repairing a leaking air hose fitting follows a logical sequence that ensures proper sealing. Start by completely depressurizing your air system for safety. Turn off the compressor and open any drain valves to release all pressure. This prevents accidental injuries and allows you to work safely on the hose assembly.

Preparation and Safety Steps
- Turn off the compressor and wait for pressure to drop completely.
- Open drain valves to release residual moisture and pressure.
- Disconnect the hose from both the compressor and tool.
- Lay the hose on a clean, flat work surface.
- Inspect the entire fitting assembly for damage or corrosion.
Once depressurized, remove the hose from your system entirely. This gives you full access to the fitting and prevents accidental pressurization. Place the hose on a clean workbench where you can see all connection points clearly. Good lighting helps identify wear patterns and damage on the fitting.
Removing and Inspecting the Fitting
Use your wrench to carefully loosen the fitting that connects to the hose. Hold the hose body steady with pliers while turning the fitting counterclockwise. Most fittings unscrew relatively easily, but stuck fittings may need penetrating oil. Apply oil, wait fifteen minutes, then try again with steady pressure.
Once removed, examine the fitting interior and the hose end carefully. Look for debris, corrosion, or damaged sealing surfaces. The ferrule (metal ring) should be smooth and undamaged. If the ferrule is cracked, dented, or corroded, it must be replaced. Clean all parts thoroughly with a cloth to remove dirt and old sealant residue.
Installing New Seals and Ferrules
If replacing the ferrule, slide the new one onto the hose end first. Ensure it sits properly and isn’t twisted or misaligned. Next, wrap the fitting threads with two to three layers of thread seal tape (PTFE tape). Wrap clockwise to maintain the tape as you screw the fitting on. This creates a watertight seal that prevents air leakage.
If the original ferrule is acceptable, simply replace the internal sealing washer or O-ring. These inexpensive parts degrade with age and pressure cycling. Insert the new seal into its groove, ensuring it sits evenly all around. Apply a thin layer of hose lubricant or silicone grease to the new seal for easier assembly.
Reassembling the Connection
Carefully screw the fitting back onto the hose by hand first. This prevents cross-threading and ensures proper alignment. Once hand-tight, use your wrench to tighten further with steady, firm pressure. Avoid over-tightening, which can damage the ferrule or strip threads. The fitting should be snug but not forced excessively.
After reassembly, reconnect the hose to your compressor and tool. Pressurize the system slowly and watch for leaks at the repaired fitting. Apply soapy water to confirm no bubbles form. If bubbles appear, depressurize immediately and tighten the fitting slightly more.
Key Takeaway: Proper depressurization, careful disassembly, seal replacement, and careful reassembly ensure lasting repairs to leaking air hose fittings.
What Preventive Maintenance Stops Future Air Hose Fitting Leaks?
Regular maintenance prevents most air hose fitting leaks before they develop. Inspect your entire hose assembly monthly for signs of wear or damage. Look for cracks, kinks, or visible corrosion on fittings. Check all connections to ensure they remain tight and secure. Early detection of minor issues prevents major leaks and downtime.
Monthly Maintenance Checklist
- Visually inspect hose for cracks, kinks, or abrasion damage.
- Check all fittings for corrosion, rust, or discoloration.
- Tighten any loose connections with your wrench.
- Drain moisture from compressor tank weekly to prevent rust.
- Store hoses indoors away from UV light and temperature extremes.
Proper storage extends hose life significantly. Coil hoses loosely on a hanger rather than tight coils that stress fittings. Keep hoses away from direct sunlight, which degrades rubber compounds over time. Avoid storing hoses in extremely hot or cold environments, as temperature extremes cause material brittleness.
Replace hoses proactively before they fail completely. Most quality air hoses last three to five years with proper care. If your hose shows multiple leaks or significant wear, replacement is more economical than repeated repairs. For related guidance on hose selection, see our article on choosing the right diameter air hose for tools in 2026.
Key Takeaway: Monthly inspection, proper storage, and timely hose replacement prevent most air hose fitting leaks.
How Do You Troubleshoot Persistent Leaks After Repair?
Sometimes leaks continue after initial repair attempts. This indicates a different underlying problem that requires further investigation. Depressurize the system again and inspect the repaired fitting closely. Look for cracks in the fitting body itself, which cannot be sealed by tightening alone.
If the fitting body is cracked or corroded extensively, replacement is necessary. Complete quick-disconnect coupler assemblies cost fifteen to forty dollars depending on hose size. This is more cost-effective than struggling with a damaged fitting. Verify the hose diameter and fitting type before ordering replacements.
Common Causes of Persistent Leaks
- Cracked or severely corroded fitting body requiring replacement.
- Damaged hose end that cannot seal properly with any fitting.
- Wrong size ferrule or seal installed during repair.
- Over-tightened fitting that damaged internal sealing surfaces.
- Multiple leaks indicating overall hose deterioration.
If multiple fittings leak simultaneously, the hose itself may be failing. Age, temperature cycling, and chemical exposure degrade hose material. Replacement of the entire hose assembly is more practical than repairing multiple fittings. Quality hoses from reputable manufacturers provide years of reliable service.
Key Takeaway: Persistent leaks after repair usually indicate fitting or hose replacement is necessary rather than further seal adjustments.
What Related Air Tool Maintenance Should You Know About?
Air hose fitting repair is one component of comprehensive pneumatic system maintenance. Proper tool care extends equipment life and ensures consistent performance. Understanding the full system helps prevent cascading failures that affect multiple components. Your air system includes the compressor, hoses, fittings, regulators, and tools.
Regular compressor maintenance prevents pressure issues that stress hose fittings. Drain moisture weekly to prevent internal rust and corrosion. Check compressor oil levels if your model uses oil-lubrication. Clean intake filters monthly to maintain efficiency. A well-maintained compressor delivers consistent pressure that reduces fitting stress.
Tool-specific maintenance prevents leaks at the tool connection point. Proper cleaning after use removes moisture and debris that degrade seals. For spray gun users, see our guides on cleaning an air spray gun after use and setting up an HVLP spray gun for painting. For impact tool users, our article on using an air impact wrench to remove lug nuts covers maintenance best practices.
Key Takeaway: Comprehensive air system maintenance prevents hose fitting leaks and extends the life of all pneumatic equipment.
How Do You Choose Between Repair and Replacement for Air Hose Fittings?
Deciding whether to repair or replace a leaking air hose fitting depends on several factors. Consider the hose age, number of leaks, and cost of replacement parts. A single leak on a relatively new hose warrants repair. Multiple leaks or leaks on a hose older than five years suggest replacement is wiser.
Repair vs. Replacement Decision Factors
- Single leak on hose under three years old: repair is cost-effective.
- Multiple leaks or hose over five years old: replacement is recommended.
- Cracked or severely corroded fitting: replacement is necessary.
- Repair cost exceeds thirty percent of new hose cost: replace instead.
- Critical application requiring reliability: replace with quality hose.
Calculate the true cost of repair including your time and materials. A new quality air hose costs thirty to eighty dollars depending on length and diameter. If repair parts and your labor time approach this cost, replacement becomes the better choice. Quality replacement hoses provide years of trouble-free service without future repairs.
For professional or heavy-use applications, replacement ensures reliability. Rental shops and commercial operations typically replace hoses rather than repair them. This minimizes downtime and prevents unexpected failures during important projects. Hobbyists and occasional users may find repair more economical for isolated incidents.
Key Takeaway: Single leaks on newer hoses warrant repair, while multiple leaks or older hoses justify replacement investment.
Frequently Asked Questions
Can you repair an air hose fitting without removing the hose?
In some cases, you can tighten a slightly loose fitting while connected. However, proper repair requires removing the hose to replace seals and ferrules. Attempting repairs without removal risks incomplete sealing and recurring leaks. Always depressurize and disconnect for thorough, lasting repairs.
How tight should an air hose fitting be?
Tighten air hose fittings firmly by hand, then add one-quarter to one-half turn with a wrench. Over-tightening damages the ferrule and sealing surfaces, causing leaks. Under-tightening allows air to escape. Proper tension creates a secure seal without excessive force or damage.
What size ferrule do you need for your air hose?
Ferrule size matches your hose outer diameter exactly. Common sizes include one-quarter inch, three-eighths inch, and one-half inch. Check your hose markings or measure the outer diameter with calipers. Purchase ferrules matching this measurement to ensure proper fit and sealing.
Why does thread seal tape help prevent air leaks?
Thread seal tape (PTFE tape) fills microscopic gaps between threads and fitting surfaces. This creates a more complete seal that prevents air from escaping around the threads. Two to three wraps applied clockwise provide adequate sealing without excessive bulk.
How often should you replace air hose fittings?
Replace fittings when they leak, show corrosion, or crack. Most fittings last three to five years with proper maintenance. Preventive replacement before failure costs less than emergency repairs. Check fittings monthly and replace any showing significant wear or damage.
What causes air hose fittings to leak suddenly?
Sudden leaks usually result from seal degradation, corrosion, or impact damage. Pressure cycling weakens seals gradually until failure occurs. Temperature extremes, moisture exposure, and chemical contact accelerate deterioration. Regular maintenance and prompt repair prevent sudden failures.
How Can You Maintain Your Air Hose System for Long-Term Reliability?
Long-term air hose system reliability requires consistent maintenance and prompt repairs. Establish a monthly inspection routine that checks all components systematically. Document any issues and address them before they escalate. This proactive approach prevents emergency failures during critical work.
Invest in quality hoses and fittings from reputable manufacturers. Premium components resist corrosion and maintain seals longer than budget alternatives. The modest additional cost pays dividends through extended service life and fewer repairs. In 2026, quality air hose systems remain essential for reliable pneumatic tool operation.
Keep detailed maintenance records tracking inspections, repairs, and replacements. This history helps you identify patterns and plan preventive maintenance effectively. Share records with anyone else using your equipment to ensure consistent care. Proper documentation extends hose life and prevents costly unexpected failures.
Store spare fittings and seals on hand for quick repairs. Having common sizes available prevents work delays when leaks occur. Most repairs take less than an hour when you have necessary parts ready. This simple preparation saves significant time and frustration during busy workshop periods.
Key Takeaway: Monthly inspections, quality components, maintenance records, and spare parts ensure long-term air hose system reliability and minimize downtime.
What Is the Bottom Line on Repairing Leaking Air Hose Fittings?
Repairing leaking air hose fittings is an essential skill for anyone using pneumatic tools. Early detection through soapy water testing prevents wasted compressed air and energy. Most repairs involve simple seal and ferrule replacement using basic tools. Proper depressurization, careful disassembly, and quality replacement parts ensure lasting results.
Preventive maintenance through monthly inspections stops many leaks before they develop. Proper storage and handling extend hose life significantly. When repairs become frequent or multiple leaks appear, replacement is more economical than continued fixing. Quality hoses and fittings provide years of reliable service when properly maintained.
Your pneumatic tool system depends on leak-free connections for optimal performance. Taking time to repair or replace faulty fittings promptly keeps your workshop running smoothly. Whether you choose repair or replacement, addressing leaks immediately prevents compressor overwork and tool performance degradation. In August 2026 and beyond, proper air hose maintenance remains fundamental to successful pneumatic tool operation.







Write Your Review
No reviews yet. Be the first to share your experience!