

How to Use a Thickness Planer for Flattening Wood: Quick Answer
A thickness planer flattens wood by feeding boards through spinning cutterheads that remove material from the top surface. First, flatten one face on a jointer or hand plane. Then feed the board through the planer with the flat side down, making multiple passes at shallow depths (typically 1/8 inch) until reaching desired thickness. Always feed wood with the grain direction to prevent tearout. The planer’s rollers grip and advance the board automatically while knives shave the surface smooth and parallel to the table.

DEWALT DW735X 13-Inch Thickness Planer - Professional Grade
- Powerful 15 amp, 20,000 rpm motor (10,000 rpm cutterhead speed) handles larger cuts in wider materials with ease
- Three knife cutter head delivers 30% longer knife life and makes knife change faster and easier
- Two-speed gear box allows users to change feed speed to optimizing cuts per inch at 96 or 179 CPI
- Fan-assisted chip ejection vacuums chip off of the cutter head and exhausts them out of the machine
- 19-3/4 in. cast aluminum base is 2 times more rigid than a standard 10 in. base and folding tables
- Automatic carriage lock reduces the movement that causes snipe without the need for manual engagement by the user
- Material removal gauge and extra large thickness scale deliver accurate cuts with every pass
- Extra large turret depth-stop allows users to return to most frequently used thicknesses with ease
- Includes infeed and outfeed tables and an extra set of knives
- 3 Year Limited Warranty





As an Amazon Associate we earn from qualifying purchases. Product prices and availability are accurate as of the date/time indicated.
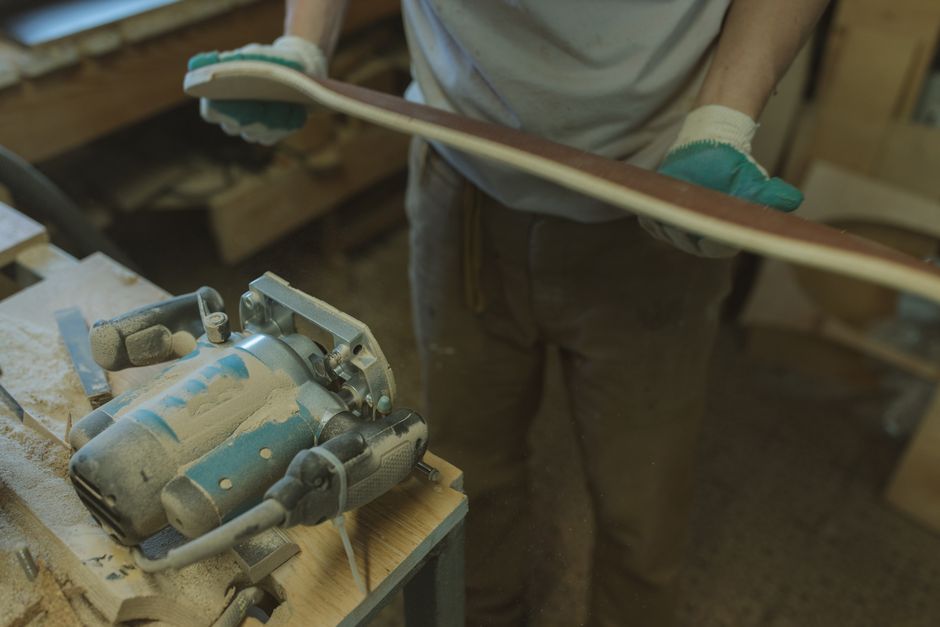
Thickness planers are essential tools in woodworking shops because they create uniform board thickness and smooth surfaces quickly. Unlike jointers, planers don’t flatten the initial face—they only create parallel surfaces. This is why proper preparation matters. Understanding feed rates, depth settings, and grain direction prevents damage to your wood and extends tool life. Most modern planers in 2026 feature digital thickness readouts and automatic infeed systems for consistent results.
What Is a Thickness Planer and How Does It Differ from a Jointer?
A thickness planer removes material from the top of a board to create a uniform thickness. The machine has an infeed roller, cutterhead with multiple knives, and outfeed roller. The board rests flat on a table while spinning knives above cut the surface. The planer’s design ensures parallel surfaces—one face stays flat against the table while the top gets shaved.
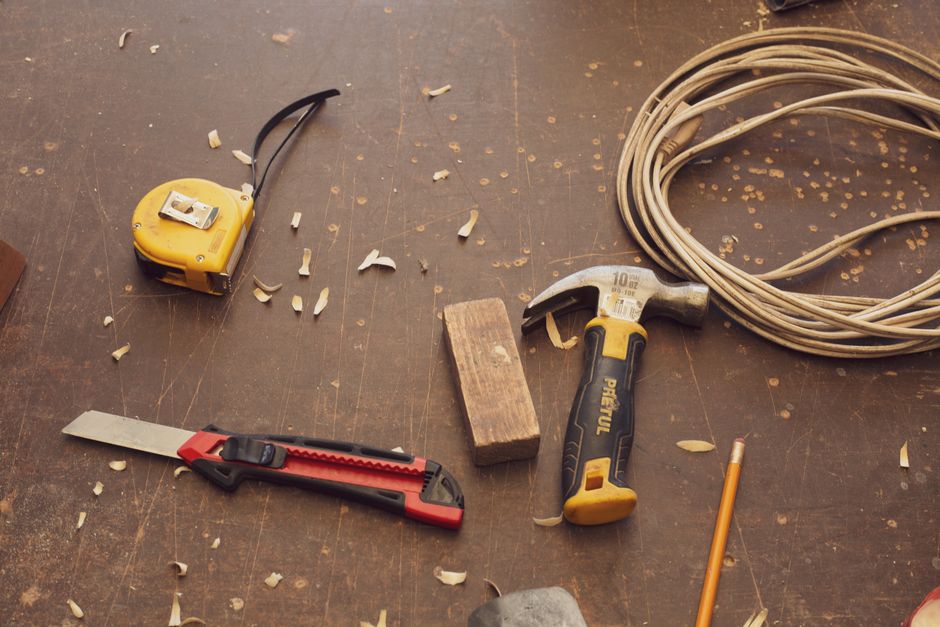
A jointer, by contrast, flattens one face by running the board over a stationary fence. Jointers are designed to flatten warped or uneven surfaces. Planers cannot flatten a cupped or twisted board because the board would rock on the table. This fundamental difference means you must prepare wood on a jointer first before planing.
Key Differences Between Jointers and Planers
- Jointers flatten uneven surfaces; planers create parallel thickness.
- Jointers have a fence; planers have an automatic feed system.
- Jointers require manual feeding; planers grip and advance boards automatically.
- Jointers work on one face; planers work on the opposite face.
Key Takeaway: Thickness planers create uniform thickness and parallel surfaces, but require a flat reference face created on a jointer first.
How Do You Prepare Wood Before Using a Thickness Planer?
Proper preparation is critical for successful planing. Start by inspecting your boards for nails, screws, or foreign objects that could damage the planer knives. Remove any dirt or debris from the surface. Measure the board thickness at multiple points to understand its current condition and plan your planing strategy.
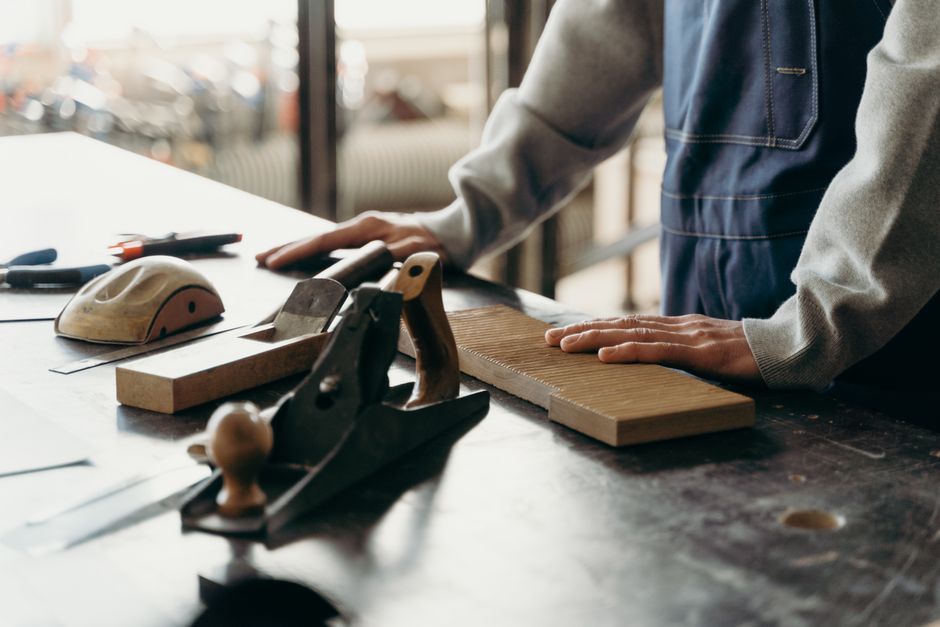
Next, flatten one face completely on a jointer. Make multiple passes, removing high spots until the entire surface sits flush against the jointer fence. This creates your reference face. Check flatness with a straightedge—the board should have no gaps between the straightedge and surface. This step is non-negotiable; a warped reference face leads to poor planing results.
Pre-Planing Inspection Checklist
- Inspect for embedded nails, screws, or metal fragments.
- Clean dust and debris from all surfaces.
- Measure thickness at three points (left, center, right).
- Check grain direction and identify potential tearout areas.
- Flatten one complete face on a jointer before planing.
- Verify flatness with a straightedge across the entire length.
After jointing, you’re ready to plane. Place the board flat-face-down on the planer table. This ensures the planer creates a parallel surface on top. If you place the board upside down or at an angle, the result will be uneven thickness.
Key Takeaway: Always flatten one face on a jointer and verify with a straightedge before feeding boards into the thickness planer.
What Are the Correct Planer Settings and Feed Rates for Optimal Results?
Set the planer depth to remove 1/8 inch or less per pass. Removing too much material in one pass causes the motor to bog down, produces poor surface quality, and risks jamming. Most woodworkers make three to five passes to reach final thickness, removing a thin shaving each time. Thicker boards may require more passes, while thin stock needs shallower depths to prevent snipe (deeper cuts at board ends).
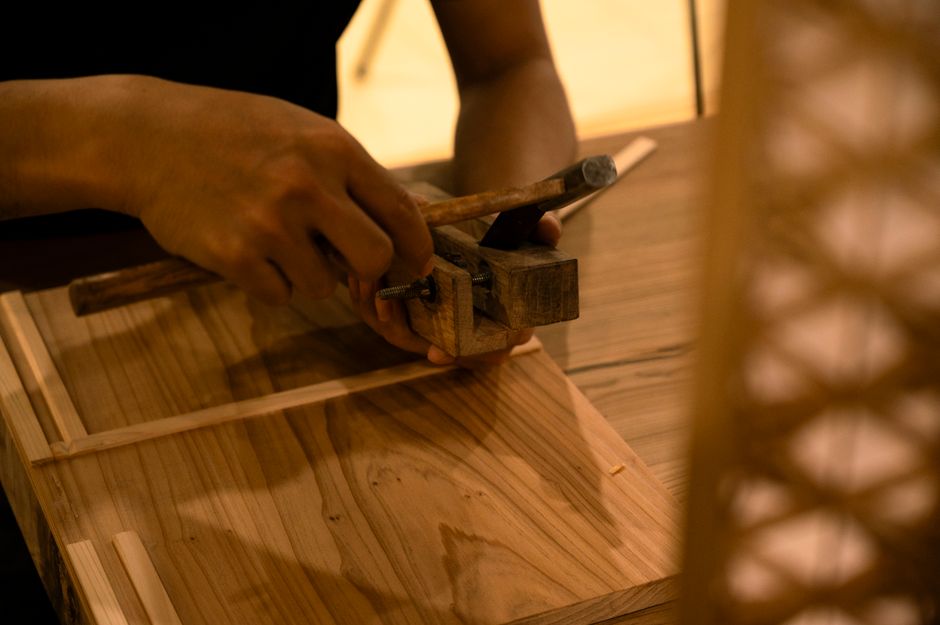
Adjust the infeed and outfeed rollers to grip the board firmly without crushing the wood. Modern planers have automatic pressure settings, but manual machines require careful adjustment. The rollers should hold the board down while allowing smooth forward movement. Too loose and the board lifts; too tight and you get compression marks or surface damage.
Recommended Depth Settings by Board Thickness
- Boards 1 to 2 inches thick: start at 1/8 inch depth per pass.
- Boards 2 to 4 inches thick: use 3/16 inch depth maximum.
- Thin stock under 1 inch: reduce to 1/16 inch depth.
- Hardwoods with difficult grain: reduce depth by 50 percent.
Feed rate depends on your planer’s horsepower and blade sharpness. Slower feed rates produce smoother surfaces. Most planers have automatic infeed speeds between 20 and 30 feet per minute. Never force a board through manually—let the planer’s rollers do the work. If the motor sounds strained, stop and reduce the depth setting.
Grain direction critically affects results. Feed wood with the grain, not against it. This means looking at the end grain and feeding so the grain “upstands” toward the planer knives. Planing against the grain causes tearout and rough surfaces. On boards with alternating grain patterns, reduce depth and feed speed to minimize damage.
Key Takeaway: Use shallow depth settings (1/8 inch maximum), adjust rollers properly, and always feed with the grain for smooth, safe planing.
How Do You Operate a Thickness Planer Safely?
Safety is paramount when operating any power tool. Never reach into the planer while it’s running or between passes. Keep hands and fingers at least six inches from the infeed opening. Wear hearing protection—planers are loud machines. Use a dust mask or respirator because planing creates significant sawdust, especially with hardwoods.
Secure your work area and planer to a sturdy bench or stand. An unstable planer can shift during operation, causing kickback or injury. Check that the planer is grounded and all guards are in place. Inspect the cutterhead for nicks or damage before starting. Dull or damaged knives produce poor results and increase motor strain.
Essential Safety Practices
- Never feed boards by hand—let the automatic feed system work.
- Keep hands clear of infeed and outfeed openings.
- Wear hearing protection and a dust mask during operation.
- Ensure the planer sits on a stable, level work surface.
- Check that all guards and covers are installed and functional.
- Turn off and unplug before adjusting depth or roller pressure.
Before each use, verify that the cutterhead spins freely when manually rotated (with the machine unplugged). Check for loose belts or pulleys. Ensure the thickness adjustment wheel or digital readout is functioning correctly. These simple checks prevent accidents and equipment damage.
Key Takeaway: Prioritize safety by using automatic feed systems, wearing protective equipment, and maintaining the planer in good working condition.
What Common Problems Occur When Using a Thickness Planer and How Do You Fix Them?
Snipe—deeper cuts at the board ends—is the most common issue. This happens when the board tips slightly at the infeed or outfeed, causing the knives to cut deeper at the ends. Prevent snipe by ensuring the board sits flat on the table and by supporting long boards with outfeed tables. Some woodworkers plane slightly longer boards and trim the sniped ends afterward.
Tearout occurs when planing against the grain or with dull knives. The grain fibers lift and tear instead of being sheared cleanly. Fix this by reducing depth per pass, slowing the feed rate, or flipping the board and planing from the opposite direction if grain allows. Maintaining sharp knives is essential—dull blades guarantee tearout and poor surface quality.
Common Planer Problems and Solutions
- Snipe at board ends: use outfeed support and ensure flat board seating.
- Tearout on grain: reduce depth, slow feed rate, or plane from opposite direction.
- Uneven thickness: verify reference face is truly flat before planing.
- Motor bogging down: reduce depth setting or sharpen dull knives.
- Boards jamming: check for debris, reduce depth, and ensure proper roller pressure.
- Wavy surfaces: indicates dull knives or excessive depth per pass.
Uneven thickness across the board’s width suggests the reference face wasn’t flat. Return the board to the jointer and flatten more thoroughly. Wavy or rippled surfaces indicate dull knives or too much depth removed per pass. Sharp knives and shallow depths produce smooth, flat results.
Key Takeaway: Address snipe with outfeed support, prevent tearout with proper grain direction and sharp knives, and maintain consistent thickness by verifying flat reference faces.
How Do You Maintain a Thickness Planer for Long-Term Performance?
Regular maintenance extends planer life and ensures consistent results. Sharpen or replace knives when they become dull—typically every 8 to 12 hours of use depending on wood type and hardness. Dull knives produce rough surfaces, cause tearout, and force the motor to work harder. Many woodworkers send knives to professional sharpening services or replace blade sets entirely for consistent quality.
Clean the planer after each use. Remove sawdust from the table, infeed and outfeed areas, and internal passages. Dust buildup restricts airflow and can cause overheating. Use compressed air or a shop vacuum to reach tight spaces. Wipe down external surfaces with a dry cloth.
Monthly and Seasonal Maintenance Tasks
- Clean all dust and debris from infeed, table, and outfeed areas.
- Inspect roller pressure and adjust if needed.
- Check belt tension and condition; replace worn belts.
- Verify depth adjustment mechanism works smoothly.
- Lubricate pivot points and moving parts per manufacturer specs.
- Test automatic shutoff and safety features monthly.
Check belt tension quarterly. A loose belt slips and reduces cutting power; an overly tight belt strains the motor. Consult your planer’s manual for proper tension specifications. Most planers use serpentine belts that eventually wear and need replacement. Keep spare belts on hand for quick replacements.
Store your planer in a dry location to prevent rust on the table and metal components. Cover it when not in use to keep dust out. If storing for extended periods, apply a light coat of machine oil to metal surfaces to prevent oxidation.
Key Takeaway: Maintain sharp knives, clean regularly, check belt tension, and store in dry conditions to keep your planer running smoothly for years.
What Advanced Techniques Improve Planing Results for Difficult Woods?
Difficult woods like figured maple, cherry, or highly figured walnut have grain that changes direction unpredictably. These woods tearout easily with standard planing techniques. Reduce depth to 1/16 inch or less and slow the feed rate to half-speed. Some planers have variable speed settings—use lower speeds for challenging grain patterns.
Another technique involves planing boards slightly thicker than needed, then sanding to final thickness. This removes surface tearout and produces glass-smooth results. It requires extra sanding time but delivers superior finishes for show pieces.
Advanced Strategies for Figured and Difficult Grains
- Reduce depth to 1/16 inch per pass for figured woods.
- Use variable speed settings if available—run at half-speed.
- Plane slightly thicker, then sand to final dimensions.
- Reverse board direction between passes to alternate grain exposure.
- Use hand planes for final smoothing instead of planer passes.
Some woodworkers plane to slightly above final thickness, then use hand planes or scrapers for the final smoothing pass. This eliminates machine marks and tearout, creating furniture-quality surfaces. While time-intensive, this approach is worth it for high-end projects.
Key Takeaway: Master difficult woods by reducing depth and speed, planing slightly thicker for sanding, and considering hand planes for final finishing.
How Do You Troubleshoot Planer Performance Issues?
Start diagnostics by listening to the planer’s sound. A healthy planer produces a consistent, smooth cutting noise. Grinding, squealing, or rattling sounds indicate problems. Grinding suggests dull knives or debris in the cutterhead. Squealing points to belt slippage or dry bearings. Rattling indicates loose components or damaged knives.
Test the planer with scrap wood before diagnosing. Run a piece through at standard depth and observe the surface quality. Compare results to previous work. A sudden change in surface quality often indicates dull knives rather than machine failure.
Systematic Troubleshooting Steps
- Listen for abnormal sounds—grinding, squealing, or rattling.
- Test with scrap wood to isolate the problem.
- Inspect knives for nicks, dullness, or damage.
- Check belt tension and condition.
- Verify depth adjustment moves smoothly without binding.
- Ensure infeed and outfeed tables are clear of debris.
If the planer produces rough surfaces with visible ridges, knives are likely dull. Remove the cutterhead (following manufacturer instructions) and inspect blade edges under bright light. Sharp knives reflect light uniformly; dull knives show dull spots. Replace or sharpen accordingly.
Key Takeaway: Diagnose planer problems by listening for abnormal sounds, testing with scrap wood, and systematically checking knives, belts, and adjustment mechanisms.
Conclusion: Mastering the Thickness Planer for Professional Results
Using a thickness planer effectively requires understanding its fundamental purpose: creating uniform thickness and parallel surfaces on pre-flattened wood. Success depends on proper preparation, especially flattening one face on a jointer before planing. Set shallow depths (1/8 inch maximum), feed with the grain, and let the automatic system do the work. Maintain sharp knives and clean the machine regularly to ensure consistent, professional results.
The thickness planer is an investment in woodworking quality and efficiency. Whether you’re building furniture, cutting boards, or fine cabinetry, mastering this tool elevates your craftsmanship. Practice on scrap wood, learn your machine’s quirks, and develop a maintenance routine. With proper technique and care, a thickness planer becomes an indispensable part of your workshop. Related tools like table saws for ripping boards and band saws for cutting curves complement planer work and expand your woodworking capabilities in 2026.
Recommended Products

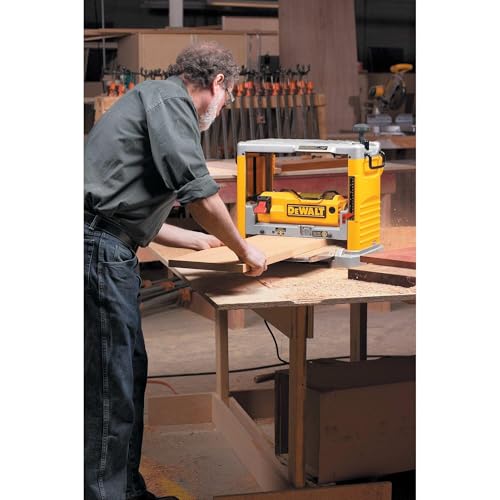
DEWALT Benchtop Planer, 15-Amp, 12-1/2-Inch, 3-Knife Cutter, 20,000 RPM, Corded (DW734)
- Powerful 15 amp, 20,000 rpm motor handles larger, deeper cuts in hardwoods.
- Three-knife cutter head with 10,000 rpm cutter-head speed provides 96 cuts per inch, one of the finest finishes of any portable planer
- Disposable, reversible knives deliver 30% more knife life and make knife change fast and easy.
- Four-column carriage lock drastically reduces the movement that causes snipe
- Extra-long infeed and outfeed tables provide 33-1/2" of material support.
- Material removal gauge and extra-large thickness scale deliver accurate cuts with every pass
- Turret depth stop allows user to return to their most frequently used depths with ease


As an Amazon Associate we earn from qualifying purchases. Product prices and availability are accurate as of the date/time indicated.

VEVOR Router Sled, 64 Inches, Trimming Planing Machine for Flattening Slabs, X & Y Axis Adjustable, DIY Woodworking Router Sled for Home Improvement Projects, Woodworking, Home DIY
- Compatible with 99% of Routers: With its adjustable clamping distance, the router sled is suitable for most router models! Ideal for woodworking shops, furniture manufacturing, and DIY home projects.
- Supports 64'' / 1625 mm Length: Easily handle wood panels up to 64'' / 1625 mm! The reverse locking mechanism allows for easy switching between X and Y axes, adapting the sled to various workbench sizes.
- Flexible Height Adjustment: With a 0-5.5'' / 0-135 mm adjustable height, it’s ideal for longitudinal wood processing. No need to invest in expensive equipment—achieve wood shaping and save both time and money.
- Durable & High Compression Resistance: Made from over 2mm thick 6061 aluminum alloy, the guide rails won’t warp even with frequent use. Its strong load-bearing capacity ensures no sagging even when the router is working in the middle of the rails.
- User-Friendly Design: Easy installation—assemble in just a few minutes! The cleaning brush near the rollers effectively removes sawdust, and the upgraded bearing roller system provides smoother operation. Includes 8 rollers to eliminate the


As an Amazon Associate we earn from qualifying purchases. Product prices and availability are accurate as of the date/time indicated.
Frequently Asked Questions
Can a thickness planer flatten a warped board?
No. Thickness planers require a flat reference surface. A warped board will rock on the planer table, producing uneven results. Flatten one face on a jointer first, then plane the opposite face parallel. This two-step process transforms warped wood into usable stock with uniform thickness.
How often should I sharpen planer knives?
Sharpen or replace knives every 8 to 12 hours of active planing, depending on wood hardness and grain difficulty. Softwoods allow longer intervals; hardwoods require more frequent sharpening. Dull knives produce tearout, wavy surfaces, and motor strain. Many shops maintain spare blade sets for quick replacements during projects.
What’s the difference between a benchtop and stationary thickness planer?
Benchtop planers weigh 50 to 100 pounds and suit small workshops or occasional use. Stationary planers weigh 200+ pounds, offer wider capacity, and handle production work. Benchtop models plane boards up to 12 inches wide; stationary models handle 20 inches or wider. Choose based on your workshop space and project volume.
Why does my planer produce snipe at board ends?
Snipe occurs when boards tip at infeed or outfeed, causing knives to cut deeper at the ends. Prevent it by supporting long boards with outfeed tables, ensuring the board sits flat, and checking that rollers grip evenly. Some woodworkers plane slightly longer boards and trim sniped ends afterward for perfect results.
Can I plane boards thinner than 1/4 inch?
Yes, but it requires careful technique. Use very shallow depths (1/16 inch or less) and slow feed rates. Thin stock can flex or jam easily. Many woodworkers support thin boards with backer boards or carrier sleds to prevent movement and ensure consistent results through the planer.
What’s the best way to prevent tearout when planing figured wood?
Reduce depth to 1/16 inch, slow the feed rate, and use sharp knives. Plane from different directions to alternate grain exposure. For critical surfaces, plane slightly thicker than final thickness and sand the final smoothing. Hand planes or cabinet scrapers can finish figured wood without tearout.







Write Your Review
No reviews yet. Be the first to share your experience!