

How to Turn a Bowl on a Wood Lathe for Beginners: Quick Answer
Turning a bowl on a wood lathe involves mounting a wood blank, centering it, roughing the exterior, hollowing the interior, and finishing the surface. Beginners need a lathe, turning tools, wood blank, calipers, and safety equipment. Start with slower speeds (around 500-800 RPM), use sharp tools, and maintain proper body positioning. The process takes practice but is achievable within weeks for most woodworkers. Success depends on understanding tool angles, wood grain direction, and consistent hand pressure throughout the turning process.
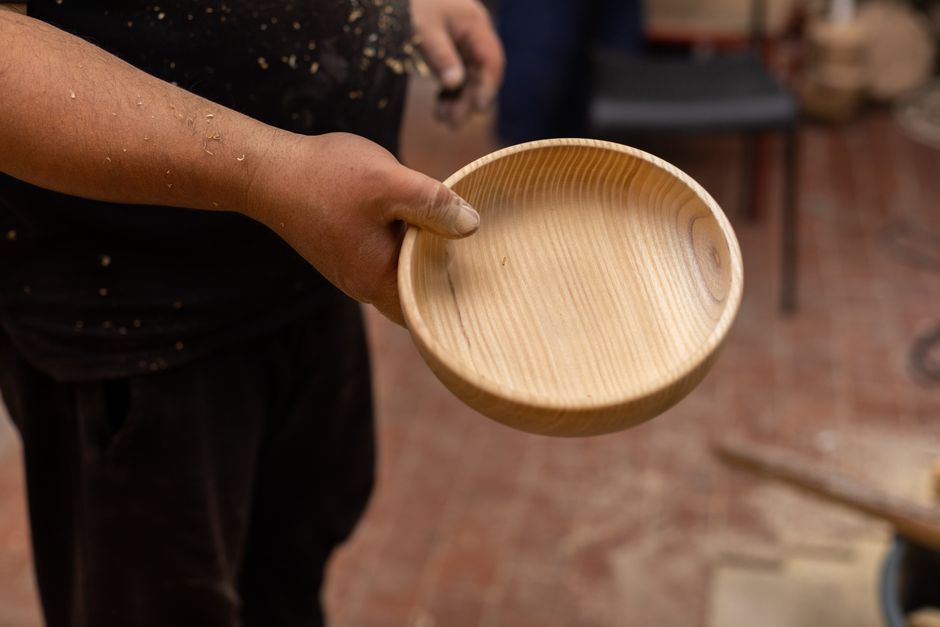
Wood lathe turning is one of the most rewarding woodworking skills you can develop. Bowl turning specifically teaches fundamental techniques that apply to spindles, pens, and decorative pieces. Many beginners feel intimidated by the spinning wood and sharp tools, but with proper instruction and safety awareness, anyone can create beautiful functional bowls. The learning curve is steep initially, but progress comes quickly with dedicated practice and quality instruction from experienced turners.
What Equipment Do You Need to Start Bowl Turning?
A quality wood lathe is your foundation for successful bowl turning. Look for a lathe with at least 12 inches of swing capacity and variable speed control from 500 to 3000 RPM. The headstock should be sturdy, and the bed rails must be rigid to minimize vibration. Most beginners benefit from a mid-range lathe priced between $400 and $1000, which offers reliability without excessive cost.
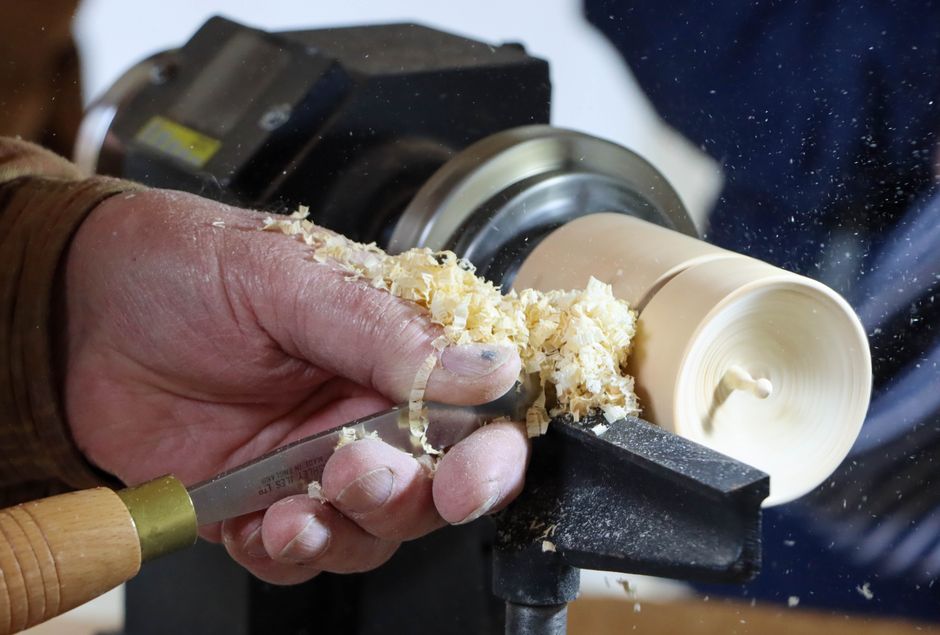
Essential tools for bowl turning include:
- Roughing gouge: shapes the exterior and removes stock quickly.
- Spindle gouge: refines details and creates smooth surfaces.
- Bowl gouge: the primary tool for hollowing the interior cavity.
- Parting tool: separates the finished bowl from the wood blank.
- Calipers: measures wall thickness and ensures consistent dimensions.
- Face shield and respirator: protects against wood dust and flying debris.
Selecting Your First Wood Blank
Your wood blank should be a cylinder approximately 6 to 8 inches in diameter and 4 to 6 inches long for your first project. Softwoods like basswood and poplar are ideal for beginners because they’re forgiving and turn cleanly. Hardwoods like walnut and cherry offer beautiful results but require sharper tools and more experience to avoid tearout.
Always choose wood that has been properly dried. Green or wet wood can cause vibration and is unsafe for beginners. Allow freshly cut wood to dry for several months before turning, or purchase pre-dried blanks from woodworking suppliers.
Key Takeaway: Invest in a reliable lathe, quality turning tools, and properly dried wood blanks to ensure safe and successful bowl turning from the start.
How Do You Mount and Center the Wood Blank?
Mounting your wood blank correctly is critical for safe, vibration-free turning. The most common method for bowl turning uses a faceplate attached to the headstock spindle. A faceplate is a metal disc with mounting holes that screws onto the lathe spindle and bolts to the wood blank’s face.
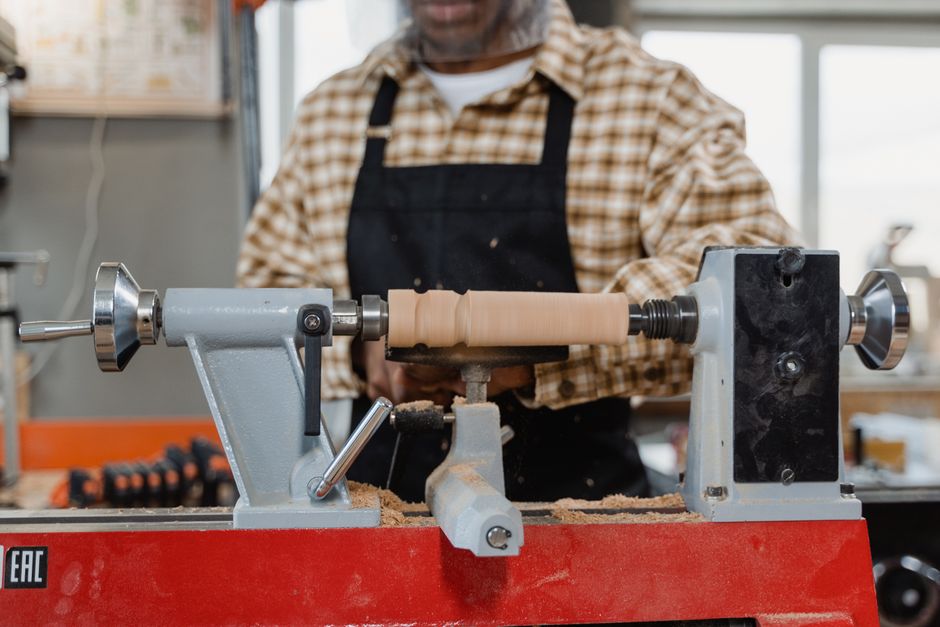
Follow these mounting steps:
- Mark the center of your wood blank on both ends using diagonal lines.
- Attach the faceplate to the headstock spindle with the lathe off.
- Position the blank against the faceplate with the center mark aligned.
- Drill pilot holes through the faceplate into the wood blank.
- Install lag screws or bolts through the faceplate into the blank.
- Tighten all fasteners firmly to prevent slipping during rotation.
Checking Runout and Balance
Before spinning the lathe, rotate the blank by hand to ensure it doesn’t contact the tool rest. The faceplate should be perfectly centered on the spindle. Spin the lathe at the slowest speed and watch for wobbling or runout. Any visible deviation means the blank isn’t centered and requires adjustment.
Position your tool rest about 1/4 inch from the blank’s surface and slightly below center height. The tool rest must be secure and parallel to the lathe bed to provide stable support for your turning tools.
Key Takeaway: Proper mounting with a secure faceplate and careful centering prevents dangerous vibration and ensures smooth, controlled turning.
What Are the Essential Steps for Roughing the Bowl Exterior?
Roughing removes excess wood and establishes the basic bowl shape. This step requires a roughing gouge and controlled tool handling. Start with the lathe running at 500 to 700 RPM to minimize vibration while you learn proper technique and body positioning.
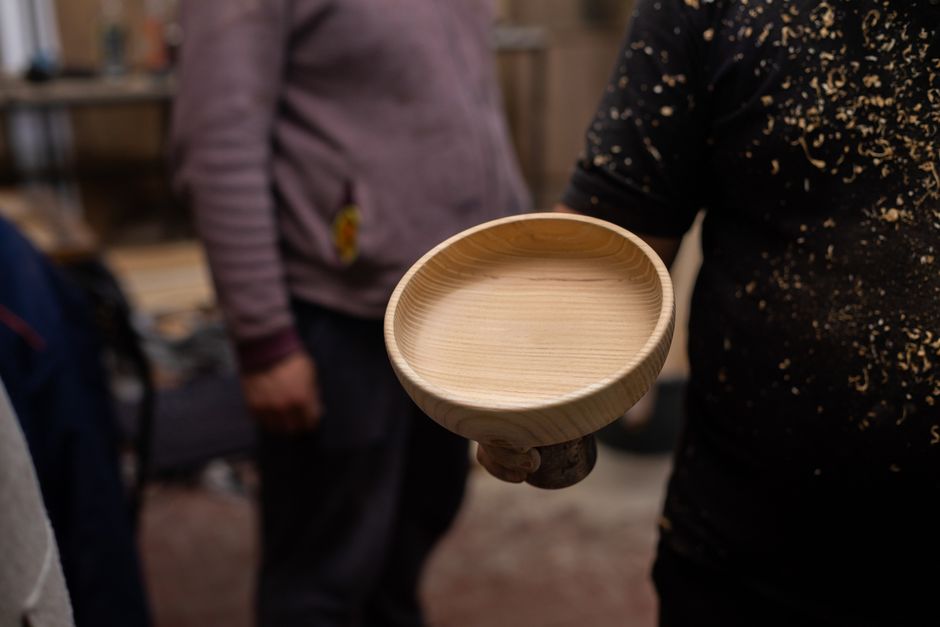
The roughing process involves these key steps:
- Hold the roughing gouge with both hands, elbows relaxed against your body.
- Rest the tool on the tool rest, with the cutting edge at a slight upward angle.
- Push the gouge slowly into the spinning wood using steady hand pressure.
- Work from the center outward toward the edges to follow the grain direction.
- Remove wood in thin passes rather than aggressive cuts to maintain control.
- Create a smooth, rounded exterior profile without flat spots or ridges.
Maintaining Proper Tool Angles
The roughing gouge works best when the flute (the curved cutting surface) faces upward at about 45 degrees. This angle allows the cutting edge to engage the wood smoothly without catching or digging in. Your hands should guide the tool rather than force it, letting the sharp edge do the work.
Watch the wood shavings coming off the blank. Thick, continuous shavings indicate proper cutting angle and pressure. If shavings are thin and inconsistent, adjust your hand position and angle until you achieve smooth, controlled cuts.
Key Takeaway: Proper roughing technique with controlled hand pressure and correct tool angles creates a smooth exterior foundation for the interior hollowing work.
How Do You Hollow the Bowl Interior?
Hollowing is where bowl turning becomes truly rewarding. The bowl gouge is your primary tool for this phase. Increase the lathe speed to 1000 to 1200 RPM once the exterior is roughed. Slower speeds make hollowing difficult and dangerous because the tool can catch more easily.
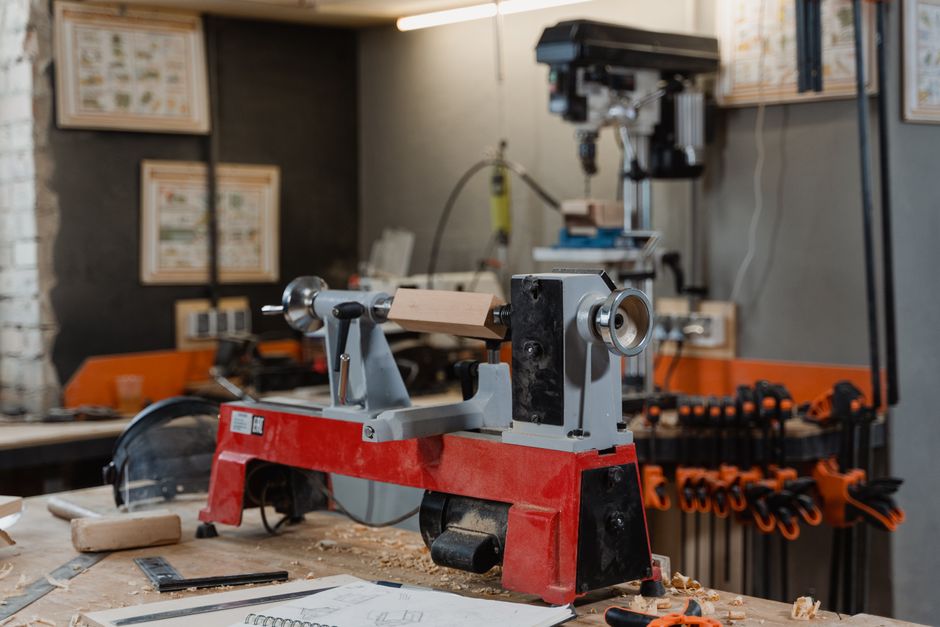
Key hollowing techniques include:
- Start at the center of the bowl bottom with the bowl gouge.
- Angle the gouge flute to follow the grain direction as you cut outward.
- Use a scraping motion for the final interior surface to minimize tearout.
- Measure wall thickness frequently with calipers to maintain consistent depth.
- Leave the walls thicker near the rim and thinner toward the bottom.
- Take shallow passes to prevent catches and maintain control throughout.
Managing Wood Grain and Tearout
Wood grain direction changes constantly as you move around the bowl interior. Grain that cuts cleanly in one direction may tear out in the opposite direction. Rotate your approach angle and tool position to cut “downhill” with the grain whenever possible. A sharp bowl gouge is absolutely essential for clean cuts and tearout prevention.
If tearout occurs, don’t panic. Light sanding with 120-grit paper will smooth the area. As you gain experience, you’ll develop intuition for grain direction and adjust your technique automatically.
Key Takeaway: Careful attention to grain direction, sharp tools, and consistent wall thickness measurements produce beautiful, functional bowl interiors.
What Finishing Techniques Create a Professional Result?
Finishing transforms your bowl from rough-turned wood into a polished, protective surface. The finishing process includes sanding, sealing, and optional staining or oiling. Most bowl turners prefer finishes that highlight the wood’s natural grain and color rather than hide it.
Follow this finishing sequence:
- Sand the exterior and interior with 120-grit sandpaper while the lathe runs slowly.
- Progress through 150, 180, and 220-grit papers for increasingly smooth surfaces.
- Wipe away all dust with a tack cloth before applying any finish.
- Apply food-safe oil or wax if the bowl will hold food items.
- For decorative bowls, consider polyurethane, lacquer, or shellac finishes.
- Sand lightly between coats and apply multiple thin coats for depth and durability.
Removing the Finished Bowl
Once your bowl is sanded and finished, separate it from the faceplate using a parting tool. The parting tool cuts a thin line at the base where the bowl meets the faceplate. Work slowly and carefully to avoid splitting the finished bowl. Stop when only a thin tenon remains, then stop the lathe and carefully pry the bowl free.
Sand the bottom smooth to remove the tenon and any tool marks. A properly finished bottom is as important as the visible surfaces for a professional appearance.
Key Takeaway: Progressive sanding, careful finish application, and proper removal techniques complete your bowl with a professional, durable surface.
What Safety Precautions Must You Follow?
Safety is non-negotiable in wood lathe turning. Spinning wood and sharp tools create serious injury risks if proper precautions aren’t observed. Always wear a full face shield and respirator to protect against flying debris and wood dust. Remove all jewelry, tie back long hair, and wear fitted clothing that won’t catch on the spinning blank.
Essential safety practices include:
- Never reach toward the spinning blank with your hands or tools.
- Always stop the lathe before adjusting the tool rest or measuring the bowl.
- Keep hands and body clear of the spinning wood’s path.
- Use both hands to control turning tools at all times.
- Start at slow speeds and increase gradually as you gain control.
- Keep the lathe area clear of clutter and tripping hazards.
- Maintain sharp tools to reduce catching and dangerous vibration.
Understanding Catch Prevention
A “catch” occurs when the tool suddenly digs into the spinning wood, causing violent movement or throwing the tool. Catches happen when the tool angle is wrong, the wood has a knot or grain irregularity, or the tool isn’t sharp. Beginners should work at slow speeds where catches are less violent and more survivable.
If you feel the tool starting to catch, immediately back off the pressure and lift the tool away from the wood. Don’t try to force through a catch. Reposition and try again with adjusted angle and reduced depth.
Key Takeaway: Consistent safety practices, proper protective equipment, and understanding catch prevention keep you injury-free while developing your turning skills.
How Can Beginners Practice and Improve Their Skills?
Skill development in bowl turning requires deliberate practice and feedback. Your first few bowls won’t be perfect, and that’s completely normal. Each bowl teaches you something about wood behavior, tool control, and technique refinement. Keep your early attempts as learning examples rather than discarding them.
Effective practice strategies include:
- Turn at least one bowl per week to build muscle memory and consistency.
- Keep a turning journal documenting wood type, lathe speed, and technique notes.
- Watch experienced turners and identify their hand positions and tool angles.
- Take in-person classes or workshops for hands-on feedback and correction.
- Join a local woodturning club to share experiences and learn from peers.
- Record yourself turning to review your technique and identify improvement areas.
- Start with simple designs and progress to more complex shapes as skills develop.
Building Confidence Through Small Successes
Your first successful bowl interior hollowing is a major milestone. That moment when you cut a clean shaving and see the bowl taking shape builds confidence for future projects. Celebrate these small victories and use them as motivation for continued practice.
Expect plateaus where improvement seems to stall. These are normal and temporary. Consistent practice and willingness to adjust your approach will push you past these plateaus into new skill levels.
Key Takeaway: Regular practice, thoughtful observation, and community engagement accelerate your development from beginner to competent bowl turner.
Frequently Asked Questions
What is the best wood type for beginner bowl turning?
Basswood and poplar are ideal for beginners because they’re soft, forgiving, and turn cleanly without requiring extremely sharp tools. These woods minimize tearout and allow you to focus on technique rather than fighting difficult material. As your skills develop, experiment with hardwoods like cherry, walnut, and ash for more challenging and beautiful results.
How long does it take to learn bowl turning?
Most beginners can turn a recognizable bowl within their first few sessions. However, developing consistent, professional-quality skills typically requires 50 to 100 hours of practice over several months. Dedication and regular practice accelerate this timeline significantly. Some people progress faster through intensive workshops or mentorship with experienced turners.
Can you turn a bowl without a faceplate?
Yes, but not recommended for beginners. Alternative mounting methods like chuck systems or between-centers turning exist, but faceplates are safest and most stable for learning. Once you’ve mastered faceplate turning, explore other mounting methods to expand your capabilities and tackle different bowl sizes and shapes.
What lathe speed should beginners use?
Start at 500 to 700 RPM for initial roughing to minimize vibration and catch severity. Increase to 1000 to 1200 RPM for hollowing once you have better control. Never exceed 1500 RPM until you’re experienced, as higher speeds increase catch violence and injury risk. Always prioritize control over speed.
How do you prevent wood from splitting during turning?
Use properly dried wood and avoid aggressive cuts that create stress in the wood. Make shallow passes, maintain sharp tools, and follow grain direction whenever possible. Some turners apply finish coats during turning to stabilize the wood surface and minimize checking. Patience and controlled technique prevent most splitting issues.
What’s the difference between a bowl gouge and roughing gouge?
A roughing gouge has a wider, more aggressive profile designed for fast stock removal on the exterior. A bowl gouge is narrower with a deeper flute, allowing you to reach into the bowl’s interior and make controlled, detailed cuts. Each tool serves a specific purpose, and both are essential for complete bowl turning.
Is Bowl Turning the Right Woodworking Path for You?
Bowl turning is an accessible, rewarding woodworking skill that produces functional art. The initial investment in equipment is reasonable, and the learning curve, while steep, is manageable with proper instruction and consistent practice. Your first bowls may be imperfect, but each one builds skills and confidence for future projects.
The woodturning community is welcoming and supportive, with clubs, classes, and online resources available worldwide. Experienced turners genuinely enjoy helping beginners develop their skills. This supportive environment makes learning faster and more enjoyable than working alone.
If you’re interested in creating beautiful, functional pieces and enjoy working with your hands, bowl turning deserves serious consideration. Start with quality equipment, invest in instruction, and commit to regular practice. Within months, you’ll have created multiple bowls you’re genuinely proud of. The satisfaction of turning raw wood into a finished bowl is an experience every woodworker should have.
For related woodworking techniques, explore how to cut curves in thick wood with a band saw and how to set up a table saw for ripping boards to expand your woodworking capabilities beyond turning.







Write Your Review
No reviews yet. Be the first to share your experience!