

How to Cut Copper Pipe with a Pipe Cutter: Quick Answer
Cutting copper pipe with a pipe cutter is straightforward: clamp the cutter around the pipe at your mark, tighten the cutting wheel gradually with each rotation, and turn the tool around the pipe until it separates. A pipe cutter produces clean, square cuts in seconds without creating rough burrs like a hacksaw would. This method works for copper diameters from half-inch to two-inch pipes, making it ideal for plumbing repairs, HVAC installations, and DIY projects. The process requires minimal physical effort and delivers professional results every time you use proper technique and the right tool size.

Professional Tube Cutter Set with Deburring Tool - 3/16"-2"
- PREMIUM QUALITY - Constructed with rust-free, heat-treated alloy steel, this Ultimate Tube Cutter Set ensures long-lasting durability and top-notch performance.
- EFFICIENT CUTTING - Equipped with six independent bearings, the set guarantees increased speed and precision, making your cutting tasks smoother and more efficient.
- ULTRA SHARP - Featuring high-grade, heat-treated steel, the cutters are exceptionally sharp, ensuring reliable and consistent results every time.
- VERSATILE CAPACITY - With a small cutter for 1/8"-7/8" pipes and a large cutter for 3/16"-2" OD pipes, it's perfect for diverse environments and tasks.
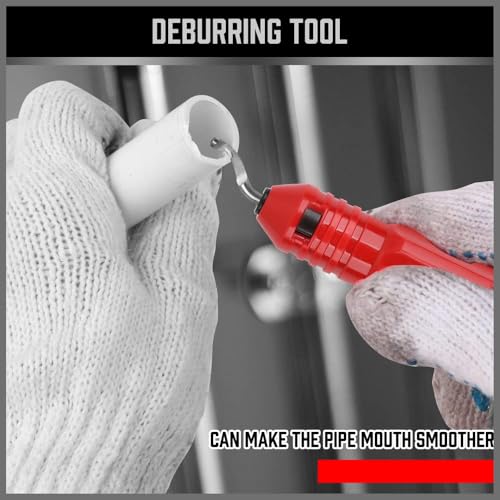
- DEBURRING EXCELLENCE - The included deburring tool, made of high-speed steel, provides a solid structure for refining various pipe materials after cutting.



As an Amazon Associate we earn from qualifying purchases. Product prices and availability are accurate as of the date/time indicated.
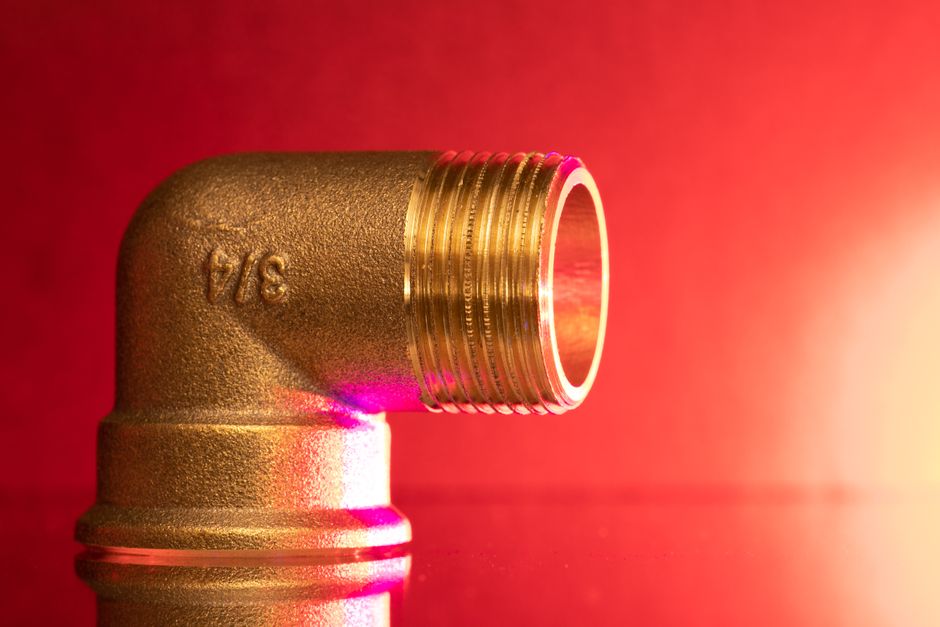
Copper piping remains one of the most durable materials in modern plumbing systems. Whether you’re replacing old lines, installing new fixtures, or tackling a home renovation, knowing how to cut copper pipe cleanly saves time and money. A pipe cutter outperforms hacksaws, angle grinders, and reciprocating saws for this specific task because it’s designed specifically for pipe geometry. Unlike saws that create metal shavings and rough edges, a pipe cutter uses a rotating wheel to score and separate copper cleanly.
What Type of Pipe Cutter Should You Choose?
Three main pipe cutter types exist: standard wheel cutters, ratcheting cutters, and mini cutters. Standard wheel cutters handle most residential jobs and work on pipes from half-inch to two-inch diameter. They’re affordable, durable, and widely available at hardware stores and online retailers.
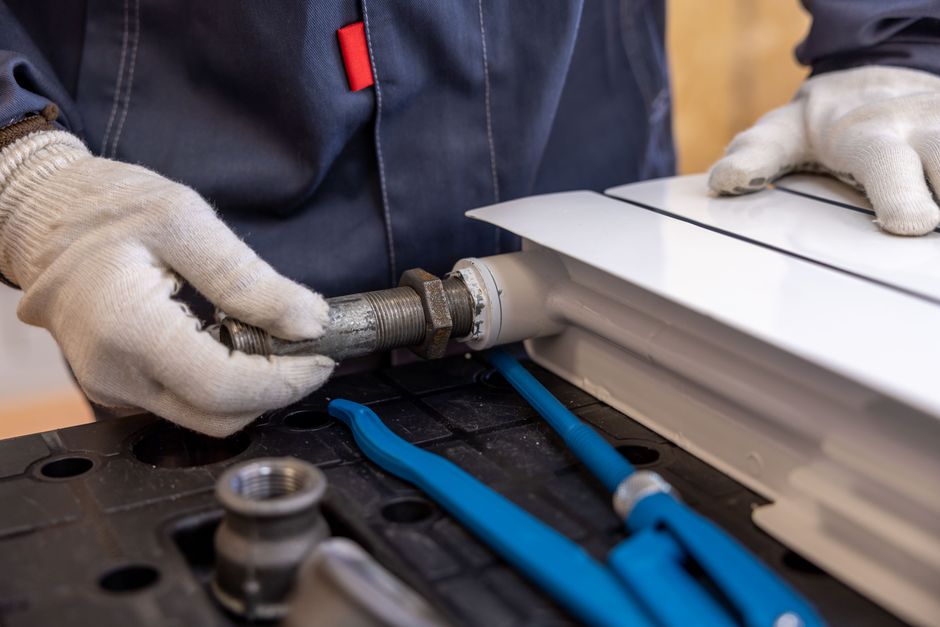
- Standard wheel cutters: best for regular plumbing work and DIY projects.
- Ratcheting cutters: ideal for tight spaces where you can’t rotate the tool fully.
- Mini cutters: perfect for small-diameter tubing and confined areas.
Ratcheting cutters use a back-and-forth motion instead of full rotation, which saves space in tight corners and behind walls. Mini cutters work on tubing as small as one-eighth inch, making them essential for refrigeration and air conditioning lines. For most homeowners tackling bathroom or kitchen plumbing, a standard wheel cutter in the correct size range delivers the best value.
Key Takeaway: Choose a standard wheel cutter for typical residential copper pipe work unless you’re working in confined spaces or with small-diameter tubing.
How Do You Prepare Copper Pipe for Cutting?
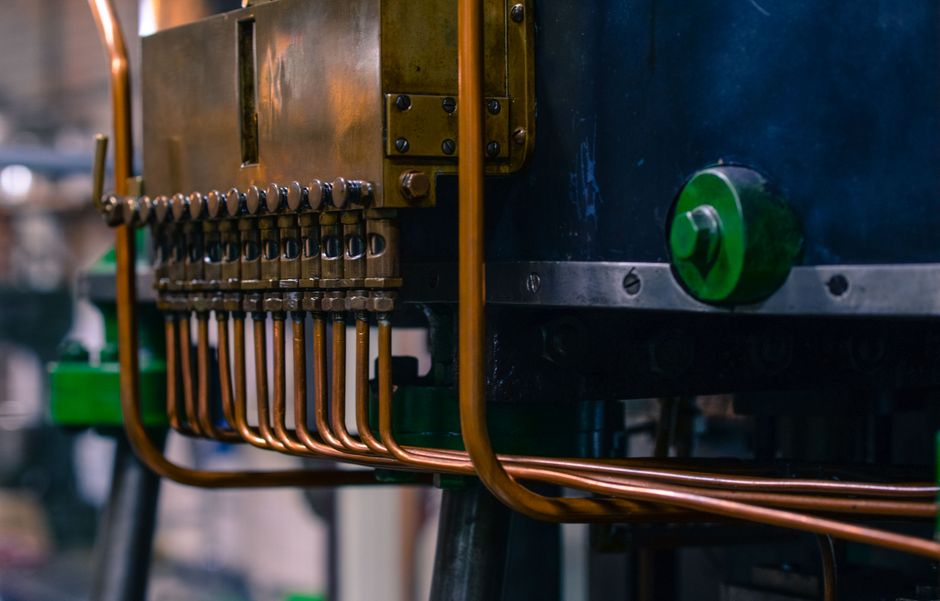
Preparation determines cut quality. Start by marking your cut line clearly with a permanent marker or pencil. Ensure the pipe is secure and won’t move during cutting. Use a pipe vise, clamp, or have a helper hold the pipe steady while you work.
- Mark the cut line with a permanent marker for visibility.
- Secure the pipe in a vise or clamp to prevent rotation.
- Verify the pipe is empty and dry before cutting.
- Measure twice to confirm cut length is correct.
If the pipe contains water or debris, flush it thoroughly before cutting. Water inside the pipe can spray out when the cutter penetrates, creating mess and safety hazards. Dry pipes also allow the cutting wheel to grip better and produce cleaner cuts. Position yourself comfortably so you can apply steady pressure without straining.
Measuring and Marking Accurately
Accurate measurements prevent costly mistakes. Use a quality tape measure and mark the exact point where you want to cut. Double-check your measurement before proceeding. A single measurement error means replacing the entire section of pipe.
Key Takeaway: Proper preparation with secure clamping and clear marking prevents mistakes and ensures clean, accurate cuts every time.
What Are the Step-by-Step Cutting Techniques?
The cutting process involves five key steps executed in sequence. Each step builds on the previous one, and rushing leads to crooked cuts or incomplete separation. Take your time and follow the natural rhythm the tool dictates.
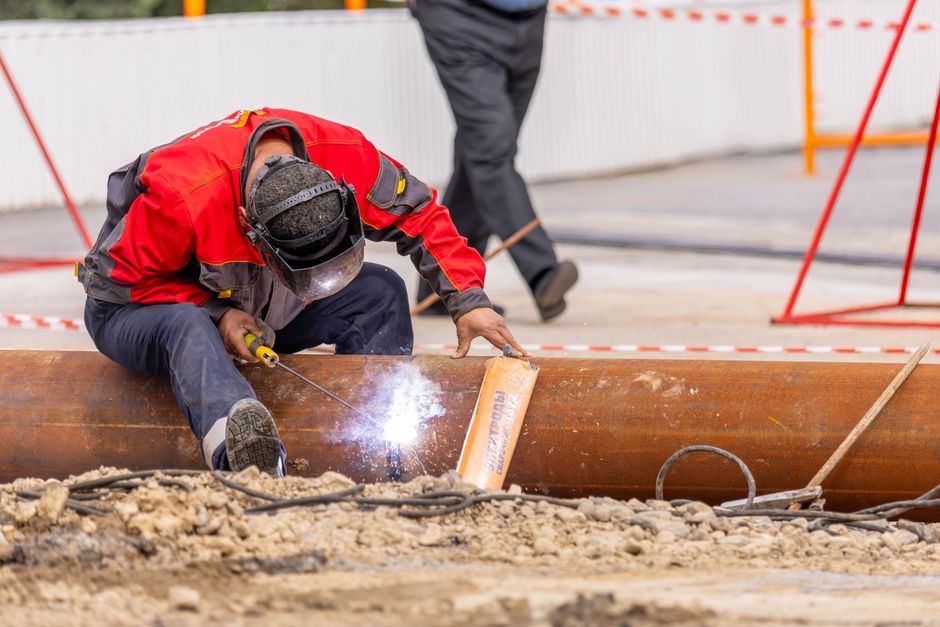
Step-by-Step Cutting Process
- Position the cutter with the cutting wheel centered on your mark.
- Tighten the adjustment screw until the wheel contacts the pipe lightly.
- Rotate the cutter one full turn around the pipe without increasing pressure.
- Tighten the adjustment screw a quarter-turn and rotate again.
- Repeat tightening and rotating until the pipe separates completely.
Begin with light pressure—the cutting wheel should barely touch the pipe surface. Tighten gradually rather than aggressively. Most people make the mistake of applying too much pressure immediately, which dulls the wheel and creates rough edges. The wheel naturally scores the copper with each rotation, deepening the cut progressively.
Listen and feel for resistance changes. As the wheel cuts deeper, you’ll notice increased resistance. This is normal and expected. Continue with quarter-turn tightening increments. When the wheel breaks through, the pipe separates smoothly. The entire process typically takes two to five minutes depending on pipe diameter.
Key Takeaway: Apply gradual pressure with quarter-turn increments rather than aggressive force to achieve clean, burr-free cuts.
How Do You Handle Burrs and Finish the Cut Pipe?
Even with proper technique, small burrs may remain inside the pipe after cutting. These sharp edges can damage soldering connections and restrict water flow. Removing burrs is quick and essential for quality plumbing work.
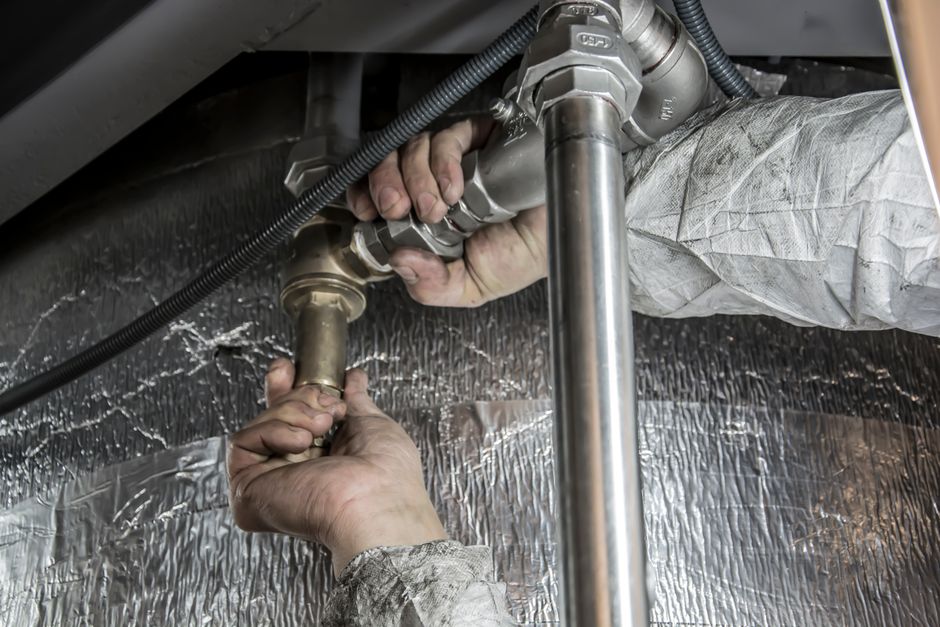
- Use a deburring tool or file to smooth the cut edge.
- Ream the interior with a pipe reamer to remove internal burrs.
- Wipe the cut end with a clean cloth to remove copper dust.
- Inspect visually and by touch to confirm smoothness.
Deburring and Cleaning
A deburring tool fits inside the pipe and removes internal burrs in seconds. Alternatively, a round file works for external edges. Most pipe cutters include a deburring tip built into the tool body. Simply insert it into the pipe opening and rotate a few times. For the exterior, use light strokes with a file to smooth any raised copper.
Clean the cut ends thoroughly with a dry cloth. Copper dust and small particles can interfere with solder joints and fittings. Professional plumbers always clean cut pipe ends before connecting them. This habit prevents leaks and ensures soldered joints set properly.
Key Takeaway: Always deburr and clean cut pipe ends to ensure proper fitting connections and prevent leaks in your plumbing system.
What Common Mistakes Should You Avoid?
Learning from others’ errors saves time and frustration. Several common mistakes plague beginners and experienced DIYers alike. Understanding these pitfalls helps you execute cuts perfectly on your first attempt.
- Applying too much pressure at once—use gradual quarter-turn tightening instead.
- Cutting wet or water-filled pipes—always drain and dry pipes first.
- Using the wrong cutter size for your pipe diameter—verify size compatibility before starting.
- Skipping the deburring step—always remove burrs before connecting fittings.
- Not securing the pipe properly—unsecured pipes rotate and create angled cuts.
The most frequent error is impatience. Beginners often tighten the cutting wheel too aggressively, thinking it speeds up the process. This actually dulls the wheel faster and creates rough, uneven cuts. The tool is designed for gradual, progressive cutting. Let the wheel do the work over multiple rotations rather than forcing it through quickly.
Key Takeaway: Avoid aggressive pressure, always deburr, and secure pipes firmly to achieve professional-quality cuts consistently.
How Does Pipe Cutter Performance Compare to Other Methods?
Several tools can cut copper pipe, but each has distinct advantages and disadvantages. Understanding the differences helps you choose the right tool for your specific situation and skill level.
- Pipe cutters: cleanest cuts, least effort, minimal burrs, requires full rotation space.
- Hacksaws: work in tight spaces, create rough edges, require more physical effort, slower.
- Angle grinders: fast, loud, creates sparks, difficult to control cut line, safety hazards.
- Reciprocating saws: versatile, messy, creates rough edges, overkill for copper pipe.
Why Pipe Cutters Excel
Pipe cutters are purpose-built for this exact task, delivering superior results compared to general-purpose tools. The rotating wheel design scores copper gradually, creating a clean separation line. No sparks, minimal noise, and virtually no copper dust scatter throughout your work area.
Hacksaws work but require significant physical effort and create rough, jagged edges requiring extensive deburring. Angle grinders produce sparks and are difficult to control, making them dangerous for home use. A pipe cutter is the professional standard for good reason—it’s safer, faster, and produces better results than alternatives.
Key Takeaway: Pipe cutters outperform all other methods for copper pipe, delivering clean cuts with minimal effort and burring.
What Practical Tips Improve Your Cutting Results?
Beyond basic technique, several strategies elevate your results to professional quality. These practical tips come from experienced plumbers and skilled DIYers who’ve cut thousands of pipes.
- Keep the cutting wheel clean—wipe it occasionally to remove copper dust buildup.
- Replace dull wheels promptly—a sharp wheel cuts cleanly in two to five minutes.
- Maintain consistent rotation speed—don’t rush or vary your pace during cutting.
- Use a pipe stand or vise to free both hands for the cutter.
- Mark cut lines with a permanent marker that won’t smudge easily.
- Practice on scrap pipe first if you’re new to the tool.
Maintenance and Tool Care
A well-maintained pipe cutter lasts decades and performs consistently. After each use, wipe the cutting wheel and rollers clean. Store the tool in a dry location away from moisture. Check the adjustment screw occasionally to ensure it turns smoothly without grinding.
Replace the cutting wheel when it becomes dull—typically after cutting fifty to one hundred feet of pipe depending on pipe diameter. A dull wheel requires excessive pressure and creates rough cuts. Replacement wheels are inexpensive and available at any hardware store. This simple maintenance extends tool life and ensures professional results indefinitely.
Key Takeaway: Regular cleaning and timely wheel replacement keep your pipe cutter performing like new for decades of reliable service.
Recommended Products

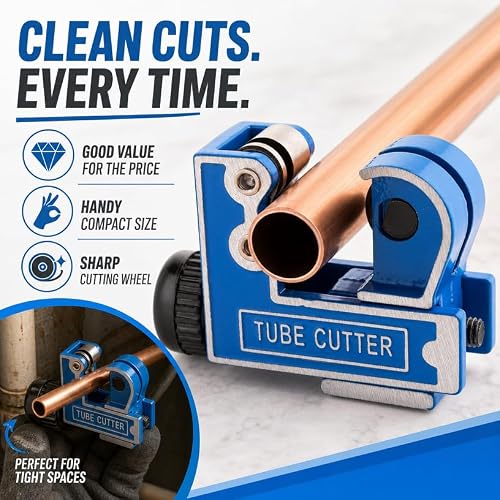
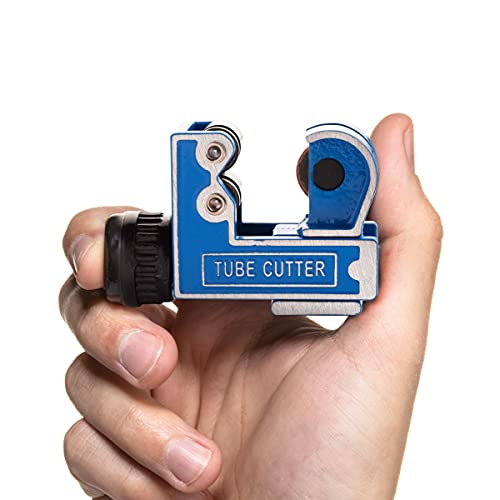
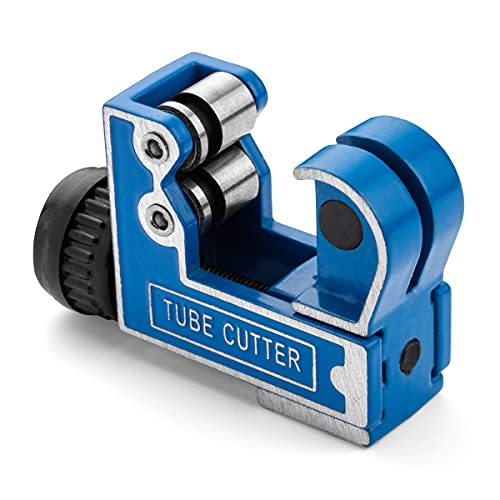
Mini Copper Pipe Cutter Tool 1/8"-1 1/8" - Compact HVAC Tubing
- MINI TUBING AND PIPE CUTTER – Built with heavy-duty alloy steel and a CNC-machined blade, delivers fast, clean cuts on copper, brass, aluminum, PVC, and thin stainless steel. Includes one pre-installed cutting wheel.
- VERSATILE PIPE CUTTER FOR ALL INDUSTRIES – Ideal for HVAC, refrigeration, plumbing, construction, and DIY. Mini size excels in tight spaces; upgrade to the Small size for added leverage on heavier or professional-frequency use.
- EASY TO OPERATE – No experience needed. Simply rotate the knob to grip the tube, revolve the cutter around the pipe, and tighten after each full circle until the cut is complete. Use the built-in deburring blade to smooth the edge for a professional finish.
- VARIOUS TUBE CUTS – Cuts copper, brass, aluminum, PVC, and thin-walled stainless steel pipes from 1/8" to 1 1/8" outer diameter (3–28mm). Note: Works best on copper and soft metals; stainless steel requires extra turns and may need deburring.
- STURDY ALUMINUM CAST FRAME – Tube Cutter body is made of light weight and durable Aluminum Casting, Blade is built using CNC machining with most durable and high quality Alloy Steel.




As an Amazon Associate we earn from qualifying purchases. Product prices and availability are accurate as of the date/time indicated.

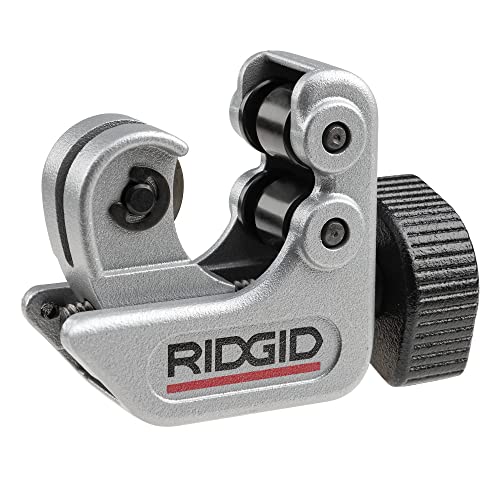
Ridgid - CC247 RIDGID 40617 Model 101 Close Quarters Tubing Cutter, 1/4-inch to 1-1/8-inch Tube Cutter Silver
- CLOSE QUARTERS TUBING CUTTER: Specially designed for use in tight spaces and on small diameter metal surfaces, a must-have in any plumber's tool kit
- WORKS WITH VARIOUS METALS: Features 1/4" to 1-1/8" cutting capacity and is suitable for use with hard and soft copper, aluminum, brass, and plastic, offering more versatility
- KNURLED FEED SCREW KNOB: Gives easy control of cutting pressure for clean cuts, offering convenient use
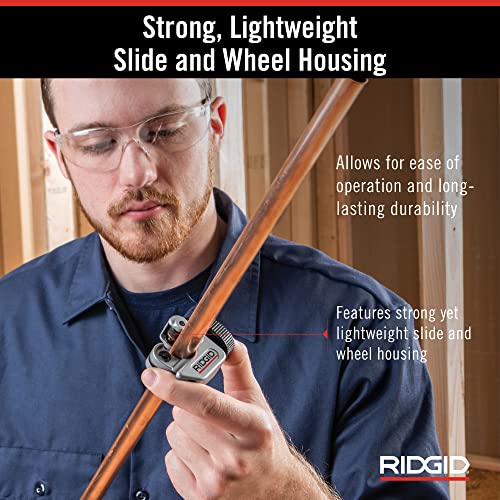
- STURDY DESIGN: Includes a strong yet lightweight slide and wheel housing for long-lasting durability, the cutter is made from durable and high-grade steel
- SPARE CUTTER WHEEL: Helps you get more out of this tool and ensures maximum uptime, so you're always prepared with the tools you need





As an Amazon Associate we earn from qualifying purchases. Product prices and availability are accurate as of the date/time indicated.
Frequently Asked Questions
Can you cut copper pipe with a hacksaw instead of a pipe cutter?
Yes, hacksaws cut copper pipe but create rough, jagged edges requiring significant deburring. The process takes longer and demands more physical effort. For occasional use, a hacksaw works, but a pipe cutter delivers cleaner results in half the time with minimal burring. If you’re making multiple cuts, a pipe cutter is worth the investment.
What size pipe cutter do you need for half-inch copper pipe?
A standard pipe cutter rated for half-inch to two-inch diameter pipe works perfectly for half-inch copper. These universal cutters are the most common type and cost between fifteen and forty dollars. Always verify the cutter’s size range matches your pipe diameter before purchasing.
How do you remove burrs from inside copper pipe after cutting?
Use a pipe reamer tool or deburring tool designed for this purpose. Insert it into the pipe opening and rotate several times to smooth internal edges. Most pipe cutters include a deburring tip built into the tool body. For thorough cleaning, follow reaming with a cloth to remove copper dust.
Is it safe to cut copper pipe yourself without professional help?
Absolutely. Cutting copper pipe is one of the safest DIY plumbing tasks. A pipe cutter requires minimal physical effort and poses no electrical or fire hazards. The only precautions are securing the pipe firmly and wearing safety glasses to protect against flying copper dust.
What’s the difference between cutting copper and PVC pipe?
Copper requires a pipe cutter for clean cuts, while PVC can be cut with a hacksaw, reciprocating saw, or specialized PVC cutter. Copper is harder and requires the wheel cutter’s progressive scoring action. PVC is softer and cuts easily with any saw. Never use a hacksaw on copper if a pipe cutter is available.
How tight should you turn the pipe cutter adjustment screw?
Turn the adjustment screw just until the wheel touches the pipe lightly. Then increase pressure gradually with quarter-turn increments after each full rotation. Never apply excessive force initially—this dulls the wheel and creates rough cuts. The gradual approach takes longer but produces superior results.
How Does This Skill Fit Into Your Larger Plumbing Toolkit?
Cutting copper pipe is a foundational skill for any plumbing work. Once you master this technique, you’re equipped to handle pipe replacement, fixture installation, and system modifications independently. This skill connects naturally to other plumbing tasks like soldering joints and installing fittings.
Understanding pipe cutting also helps you appreciate why professionals charge what they do for plumbing work. Proper technique, tool knowledge, and attention to detail separate quality work from amateur mistakes. Whether you’re replacing a single section of pipe or undertaking a whole-house replumbing project, this skill provides the confidence and capability to work efficiently and safely.
For related skills that complement pipe cutting, explore how to loosen a rusted bolt with a wrench for removing old fixtures, and master using a socket wrench set for comprehensive plumbing work. These tools and techniques work together to complete professional plumbing projects.
Key Takeaway: Pipe cutting mastery opens doors to independent plumbing repairs and installations, saving money while building valuable home maintenance skills.







Write Your Review
No reviews yet. Be the first to share your experience!