

What Is the Difference Between a Jointer and a Planer in 2026?
A jointer and a planer are two essential woodworking machines, but they serve completely different purposes. The jointer flattens one face of a board and straightens edges, while the planer thicknesses boards to a uniform depth. Both tools use rotating cutterheads with sharp blades, yet their functions are distinct and complementary. Understanding these differences is crucial for anyone working with rough lumber. In 2026, modern versions of both tools offer improved precision and safety features compared to earlier models.
Woodworkers often struggle to understand why they need both machines when starting out. The truth is that jointers and planers work together in a four-square milling process. You cannot achieve flat, square, and uniform boards using only a planer. Each tool addresses a specific step in preparing lumber for projects. Learning when and how to use each one will dramatically improve your results.
Key Takeaway: Jointers flatten and straighten, while planers thickness—these tools are complementary, not interchangeable.
How Does a Jointer Work and What Does It Do?
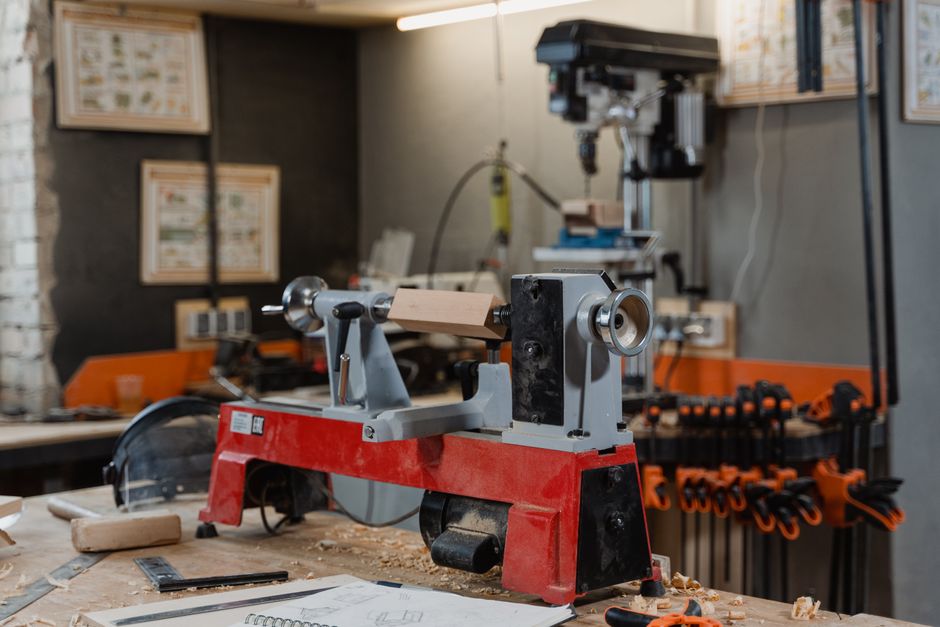
A jointer has a long, flat bed with a rotating cutterhead positioned between the infeed and outfeed tables. You push a board across the cutterhead to flatten one face or straighten an edge. The cutterhead removes thin shavings as the board passes over the blades. The outfeed table supports the board as it exits, preventing tearout and maintaining flatness. Jointers come in various widths, typically ranging from 4 to 8 inches for home workshops.
The primary function of a jointer is creating a flat reference surface. When you have warped or cupped lumber, the jointer removes the high spots. This first flat face becomes your reference for all subsequent milling steps. Without this flat surface, your planer cannot produce uniform thickness across the entire board width.
Jointer Key Functions
- Flattens the first face of rough or warped boards.
- Straightens edges for gluing and joining.
- Creates reference surfaces for planing.
- Removes surface defects and machine marks.
Jointers also excel at straightening edges for edge-gluing boards together. By running a board’s edge along the jointer fence, you create a perfectly straight, square edge. This is essential for strong, gap-free glue joints. Many woodworkers use jointers as their first step in the milling sequence.
Key Takeaway: The jointer creates the flat reference surface that all other milling depends on.
How Does a Planer Work and What Does It Do?
A planer is a thickness machine that removes wood from the top surface of a board. You feed a board through the planer’s infeed rollers, which pull the wood against a rotating cutterhead. The planer reduces thickness uniformly across the entire board width. Unlike a jointer, a planer cannot flatten a warped board—it simply reduces thickness while maintaining the board’s existing shape.
The planer’s main purpose is achieving consistent thickness. Once you have one flat face from the jointer, the planer ensures the opposite face is parallel and the correct thickness. Modern planers in 2026 feature digital thickness readouts and automatic feed systems for precision. Portable planers are also available for smaller projects or on-site work.
Planer Key Functions
- Reduces board thickness to a precise, uniform dimension.
- Creates parallel faces on both sides of a board.
- Removes surface imperfections and previous machine marks.
- Prepares boards for final dimensioning and woodworking.
If you feed a warped board directly into a planer without jointing first, the planer will simply make it thinner while maintaining its warp. This is why the jointer-first approach is essential. The planer cannot fix flatness issues; it can only thickness flat stock. Understanding this distinction prevents wasted material and frustration.
Key Takeaway: The planer thicknesses boards to uniform dimensions but cannot flatten warped wood.
What Is the Four-Square Milling Process?
Professional woodworkers use a four-step milling sequence called four-square milling. This process ensures every board is flat, straight, square, and the correct thickness. Step one uses the jointer to flatten the first face. Step two uses the planer to thickness to final thickness while keeping the opposite face parallel. Step three jointers one edge square to the flat face. Step four uses the table saw or jointer to rip the final edge parallel.
This sequence is the gold standard in woodworking because it produces perfectly milled lumber. Each step builds on the previous one, with the flat face always serving as your reference. Skipping steps or changing the order results in boards that are not truly square or flat. Understanding this workflow transforms how you approach lumber preparation.
Four-Square Milling Steps
- Step 1: Joint one face flat on the jointer.
- Step 2: Plane the opposite face parallel using the planer.
- Step 3: Joint one edge square to the flat face.
- Step 4: Rip the final edge parallel on the table saw.
This process removes the least amount of wood while achieving perfect results. Beginners sometimes try to skip the jointer step, but this leads to boards that are thinner on one side than the other. The jointer is not optional in professional milling—it is the foundation of the entire process.
Key Takeaway: Four-square milling uses both tools in sequence to produce perfectly milled boards.
What Are the Key Differences Between Jointers and Planers?
The differences between jointers and planers extend beyond their basic functions. A jointer has a shorter bed and is designed for hand-feeding boards, while a planer has powered feed rollers that automatically pull boards through. Jointers work best with boards up to about 8 inches wide, while planers can handle wider stock. The cutterhead rotation direction also differs: jointers rotate away from the operator, while planers rotate toward the operator.
Pricing is another significant difference. A quality benchtop jointer costs between 400 and 1,200 dollars, while planers range from 300 to 2,000 dollars depending on size and features. Many home woodworkers start with a planer because it is more versatile for thickness work. However, skipping the jointer ultimately costs more in wasted lumber and poor results.
Feature Comparison Table
- Jointer: Manual feed, flattens and straightens, shorter bed, hand control required.
- Planer: Powered feed, thicknesses only, longer bed, automatic operation available.
- Jointer: Best for 4 to 8 inch widths, slower operation, requires operator skill.
- Planer: Handles wider boards, faster throughput, more forgiving of feed speed.
Both machines require sharp blades for best results. Dull blades tear out grain and produce poor surface quality. In 2026, many shops use helical cutterheads with replaceable inserts instead of traditional straight knives. This reduces downtime and improves cut quality significantly.
Key Takeaway: Jointers require manual skill and flatten surfaces; planers automate thickness reduction.
How Should You Choose Between a Jointer or Planer for Your Workshop?
If you are starting a woodworking shop, prioritize the jointer first. A jointer is the foundation of proper milling and cannot be replaced by a planer. Without a flat reference surface, your planer cannot produce quality results. Many experienced woodworkers recommend buying a quality benchtop jointer before investing in a planer. The jointer is your first purchase for serious woodworking.
Budget constraints often force difficult choices. If you must choose one tool initially, consider your typical projects. For small boxes and thin stock, a planer alone might work temporarily. For furniture and larger projects, the jointer is non-negotiable. Ideally, save for both tools rather than compromising on one.
Selection Criteria
- Jointer first if you work with rough lumber or reclaimed wood regularly.
- Planer first only if your lumber supplier mills stock to thickness already.
- Consider space: jointers need 3 to 4 feet of infeed and outfeed clearance.
- Planers need less space but require adequate dust collection.
- Budget for both tools if possible—they are complementary, not competing.
In 2026, combination jointer-planer machines are available but generally not recommended. These hybrid tools compromise on both functions and rarely perform as well as dedicated machines. Separate machines allow you to work more efficiently and achieve better results. Space constraints might justify a combination unit, but dedicated machines are superior.
Key Takeaway: Prioritize a jointer first; both tools together create the best workflow.
What Are Common Mistakes When Using Jointers and Planers?
The most common mistake is trying to flatten a warped board on a planer. This wastes material and produces unusable results. Always joint the first face flat before planing. Another error is feeding boards too quickly through a jointer, causing tearout. Let the machine do the work—slow, steady feeding produces better surfaces. Beginners also neglect to maintain sharp blades, which leads to poor quality and safety issues.
Many woodworkers also fail to understand grain direction. Jointing against the grain causes tearout and rough surfaces. Planing against the grain produces similar problems. Reading grain direction and adjusting your feeding direction prevents these issues. In 2026, educational resources and online woodworking communities offer excellent guidance on grain direction techniques.
Common Mistakes to Avoid
- Planing warped boards without jointing first—causes thin spots and waste.
- Feeding too quickly through a jointer—results in tearout and poor surfaces.
- Using dull blades—creates rough surfaces and increases safety risks.
- Ignoring grain direction—causes tearout regardless of machine type.
- Skipping the edge jointing step—results in boards that are not square.
- Not maintaining proper fence alignment—produces out-of-square results.
Safety is paramount with both machines. Always wear hearing protection and keep hands away from rotating cutterheads. Use push sticks and featherboards to maintain control. Never reach over a running cutterhead. Modern machines include guards and emergency stops, but operator attention is essential. Taking time to understand proper techniques prevents injuries and material waste.
Key Takeaway: Understanding grain direction and proper technique prevents the most common problems.
How Do You Maintain Jointers and Planers?
Regular maintenance keeps both machines operating safely and producing quality results. Check blade sharpness frequently—dull blades should be replaced or sharpened immediately. Clean dust collection regularly to prevent buildup and maintain airflow. Inspect infeed and outfeed tables for flatness using a straightedge. Even small deviations affect accuracy significantly. Oil moving parts according to manufacturer recommendations, but avoid getting lubricant on cutting surfaces.
Fence and table alignment should be checked monthly for serious users. A simple straightedge test reveals any warping or misalignment. Adjust fences and tables as needed to maintain accuracy. In 2026, many newer machines feature self-adjusting systems that reduce maintenance requirements. However, manual inspection remains important for reliable operation.
Maintenance Checklist
- Inspect and sharpen blades every 40 to 60 hours of operation.
- Clean dust collection bins after each use.
- Check table and fence alignment monthly using a straightedge.
- Test infeed and outfeed table heights for consistency.
- Lubricate moving parts according to manufacturer specifications.
- Inspect guards and safety features before each use.
Blade replacement is straightforward on most modern machines. Many woodworkers prefer helical cutterheads with replaceable carbide inserts. These require no sharpening and last longer than traditional steel blades. The initial investment is higher, but reduced downtime and consistent quality justify the cost. Always follow manufacturer instructions when replacing blades or making adjustments.
Key Takeaway: Regular maintenance ensures safety, accuracy, and long machine life.
Frequently Asked Questions
Can a planer flatten a warped board?
No, a planer cannot flatten a warped board. It only reduces thickness uniformly across the board’s existing shape. If you feed a warped board into a planer, it will be thinner but still warped. You must use a jointer to flatten the first face before planing. This is why the jointer is the essential first step in milling.
Do I really need both a jointer and a planer?
Yes, both tools are essential for professional woodworking results. A jointer flattens and straightens, while a planer thicknesses. Using only a planer produces boards that are not truly flat or square. Both machines work together in the four-square milling process. Serious woodworkers consider both tools non-negotiable investments.
What is the best size jointer for a home workshop?
A 6-inch jointer is ideal for most home workshops. It handles boards up to 6 inches wide and provides good capacity for general projects. An 8-inch jointer offers more capacity but requires more space and costs more. A 4-inch jointer is suitable only for very small projects. Consider your typical project sizes when choosing jointer width.
How often should I sharpen my jointer and planer blades?
Sharp blades are essential for quality results and safety. Sharpen or replace blades every 40 to 60 hours of operation, or when you notice tearout or rough surfaces. Many modern machines use helical cutterheads with replaceable inserts that require no sharpening. Traditional straight-knife machines need professional sharpening or replacement. Dull blades are dangerous and should never be used.
What is the difference between a benchtop and floor-standing jointer?
Benchtop jointers are smaller, lighter, and less expensive, making them ideal for home workshops. Floor-standing jointers are larger, heavier, and more robust for production work. Benchtop models typically handle boards up to 6 inches wide, while floor-standing models accommodate 8 to 16 inches. Choose based on your space, budget, and typical project sizes.
Can I use a planer without a jointer?
You can use a planer without a jointer only if your lumber is already flat and square from the supplier. This is uncommon with rough lumber or reclaimed wood. For any rough or warped stock, a jointer is essential. Professional woodworkers never skip the jointer step because it is the foundation of accurate milling.
Should You Invest in Both Tools for Your Woodworking Setup?
Absolutely yes—investing in both a jointer and planer is the right decision for serious woodworking. These tools are complementary and together produce superior results compared to using either alone. The jointer flattens and straightens, creating the reference surfaces that planers depend on. Without proper milling, your finished projects will have gaps, uneven surfaces, and poor joints. Both tools pay for themselves through reduced material waste and improved quality.
If budget is tight, prioritize the jointer first. A quality benchtop jointer costs 400 to 1,200 dollars and is essential for proper milling. Save for a planer as your second investment. Many woodworkers start with older used machines to build their shop affordably. In 2026, both new and quality used machines are available at reasonable prices. Taking time to research and invest wisely sets you up for success.
The jointer and planer represent a foundational investment in your woodworking future. Learning to use both tools properly transforms your work quality dramatically. Proper milling produces flat, square, and accurately dimensioned lumber—the foundation of professional-quality projects. Whether you are building furniture, boxes, or cutting boards, both machines are essential tools. Make room in your workshop and budget for both; you will not regret it.
Key Takeaway: Both tools together are essential for professional woodworking results and are worth the investment.

Write Your Review
No reviews yet. Be the first to share your experience!