

What Is Wood Carving and Why Should You Start in 2026?
Quick Answer: Wood carving is the art of shaping wood using hand tools or power tools to create decorative or functional objects. Starting in 2026 offers access to better beginner-friendly tools, online communities, and comprehensive tutorials than ever before. You can begin with just a few essential carving knives, softwood blanks, and basic safety equipment. This ancient craft develops patience, creativity, and fine motor skills while producing beautiful handmade pieces. Whether you carve spoons, figurines, or relief panels, wood carving is affordable, accessible, and deeply rewarding for all skill levels.
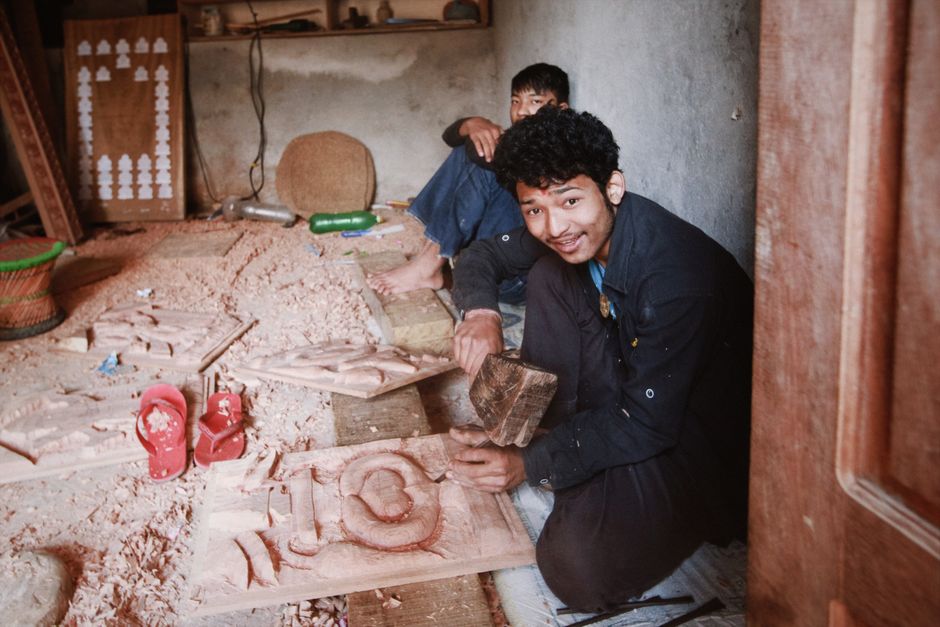
Wood carving has experienced a renaissance in recent years, with 2026 marking an excellent entry point for beginners. The craft combines meditation-like focus with tangible creative results. Carvers transform simple blocks of wood into intricate sculptures, decorative boxes, or functional utensils. Unlike many hobbies requiring expensive startup investments, wood carving demands minimal initial equipment. A quality knife, appropriate wood, and a safe workspace are genuinely all you need to begin your journey into this timeless craft.
Key Takeaway: Wood carving is an accessible, affordable hobby that develops artistic skills and produces beautiful handmade objects.
What Are the Essential Tools You Need to Start Wood Carving?
Beginning wood carvers don’t need extensive tool collections. Start with a focused set of quality implements rather than buying every tool available. Your first investment should prioritize versatility and durability. Most beginner projects use only three to five basic knife types. As your skills develop, you’ll naturally expand your collection based on specific project needs and carving preferences.

The fundamental tools for wood carving beginners include:
- Carving knife: A sharp, fixed-blade knife with a comfortable handle for general shaping and detail work.
- Detail knife: A smaller blade for fine lines, facial features, and intricate patterns.
- Gouge: A curved blade for hollowing, rounding, and creating depth in your carvings.
- V-tool: A V-shaped blade perfect for creating clean lines and decorative grooves.
- Mallet: A wooden or rubber hammer for controlled strikes when using chisels and gouges.
- Sharpening stone: Essential for maintaining blade sharpness and carving safety.
- Work glove: Cut-resistant gloves protect your non-carving hand from accidental slips.
Understanding Knife Blade Shapes
Different blade shapes serve specific carving purposes. A straight blade works for general cuts and shaping. Curved gouges hollow out areas and create flowing contours. V-tools produce clean, decorative lines in relief carving. Understanding these shapes helps you choose tools matching your project vision. Quality matters significantly; dull blades require excessive force and create dangerous carving conditions.
Key Takeaway: Start with five essential tools—a carving knife, detail knife, gouge, V-tool, and mallet—rather than buying expensive complete sets.
How Do You Choose the Right Wood for Beginner Carving Projects?
Wood selection dramatically impacts your carving experience and success rate. Beginners should prioritize soft, forgiving woods that carve easily and resist splitting. Hard woods demand sharper tools, greater force, and advanced technique. Softer woods allow you to focus on learning proper knife control and design fundamentals without fighting the material.
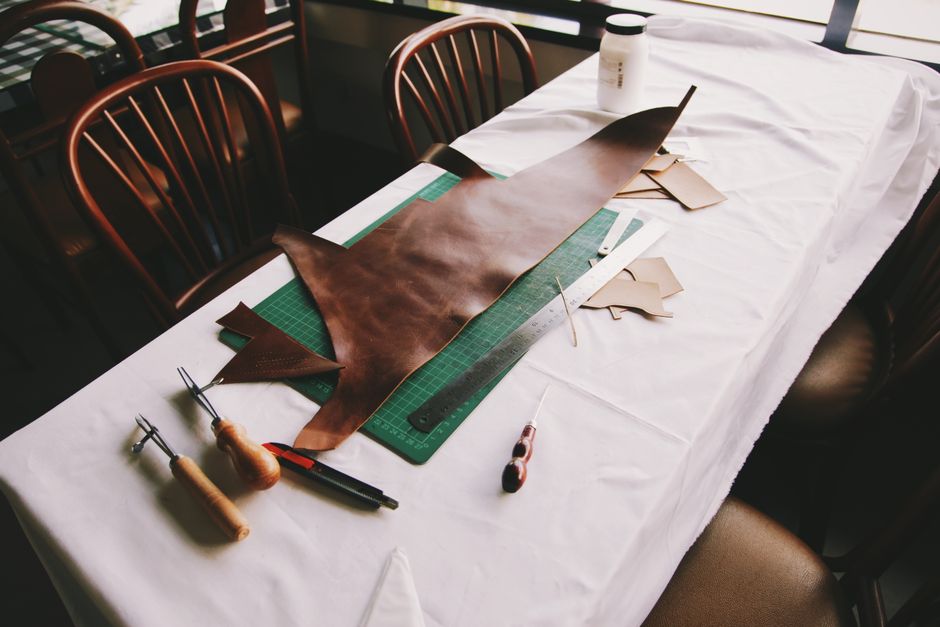
Ideal beginner carving woods include:
- Basswood: The gold standard for beginners; fine grain, minimal knots, carves smoothly.
- Butternut: Beautiful color, soft texture, slightly more challenging than basswood.
- White pine: Affordable and accessible, though more prone to splintering than basswood.
- Aspen: Very soft, carves easily, less attractive grain than other options.
- Avoid: Oak, maple, and walnut until you develop intermediate skills and sharper tools.
Sourcing Wood Blanks and Preparing Them
Pre-cut carving blanks simplify your first projects. Online retailers and specialty woodcraft stores sell basswood blocks in various sizes, shapes, and thicknesses. These blanks cost between five and thirty dollars depending on size and complexity. Alternatively, source wood from local lumber yards or craft stores, though you’ll need to cut and shape it yourself initially.
Before carving, inspect your wood carefully. Look for cracks, large knots, or soft spots that indicate decay. Moisture content matters too; wood should feel dry to the touch. Overly wet wood splinters easily and resists clean cuts. Store blanks in a dry location away from direct sunlight to prevent warping and checking.
Key Takeaway: Choose soft woods like basswood for your first projects, and purchase pre-cut blanks to eliminate preparation complexity.
What Safety Precautions Should You Follow When Carving?
Wood carving involves sharp tools and requires respect for safety fundamentals. Carving injuries typically occur when hands slip or when fatigue reduces focus. Establishing solid safety habits from your first project prevents painful accidents and builds confidence. Safety isn’t restrictive; it enables you to carve freely without anxiety about potential injuries.
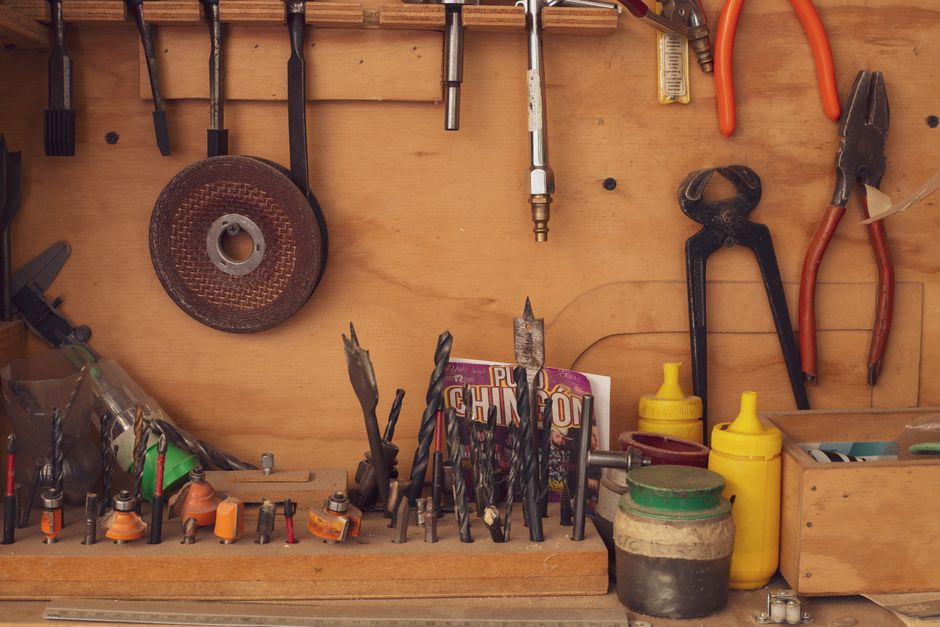
Essential safety practices include:
- Wear cut-resistant gloves: Protect your non-carving hand with specialized gloves rated for sharp blade contact.
- Keep blades sharp: Dull blades require dangerous pressure and slip more easily than sharp ones.
- Carve away from your body: Always direct blade strokes away from your hands, face, and legs.
- Secure your work: Use a carving vise, clamp, or bench hook to stabilize wood during carving.
- Take breaks: Fatigue reduces focus and increases accident risk; stop when your hands feel tired.
- Maintain proper lighting: Work in bright conditions to see blade position and wood grain clearly.
- Keep first aid supplies nearby: Have bandages and antiseptic readily available for minor cuts.
Creating a Safe Carving Workspace
Your workspace doesn’t need to be elaborate. A sturdy table, good lighting, and organized tool storage create safe conditions. Position yourself so you can see your work clearly from multiple angles. Keep your carving area clean and free from clutter that might distract you or cause trips. Good ventilation helps if you’re finishing pieces with oils or stains.
Key Takeaway: Wear cut-resistant gloves, keep blades sharp, carve away from your body, and maintain a clean, well-lit workspace.
How Do You Master Basic Carving Techniques as a Beginner?
Learning proper technique prevents bad habits that become difficult to break later. Beginners often apply too much pressure, which causes tool slips and rough cuts. The best carvers use controlled, deliberate movements with sharp blades requiring minimal force. Technique develops through practice and repetition on simple projects before attempting complex designs.

The Fundamental Carving Strokes
Master these basic strokes before progressing to complex projects. The push cut involves pushing your knife away from your body in a controlled motion. The pull cut draws the blade toward you with controlled pressure. The stop cut creates clean edges by cutting perpendicular to the surface. Chip carving removes small triangular pieces to create geometric patterns. Each stroke requires sharp tools and proper hand positioning to execute safely and effectively.
Practice each stroke on scrap wood before your actual project. Develop muscle memory for pressure, angle, and speed. Your first attempts will feel awkward; this is normal. Consistent practice over weeks and months builds the intuitive feel that distinguishes experienced carvers from beginners. Patience with the learning process prevents frustration and injuries.
Working With Wood Grain
Understanding wood grain direction prevents tearout and rough surfaces. Grain runs in one direction through the wood, like hair on your arm. Carving with the grain produces smooth, clean cuts. Carving against the grain causes the blade to catch and tear the wood fibers. Examine your blank carefully before starting; grain direction isn’t always obvious. Run your hand across the surface to feel the grain direction—it feels smoother one way than the other.
Key Takeaway: Master basic strokes on scrap wood, carve with the grain direction, and use sharp tools requiring minimal pressure.
What Are the Best First Projects for Beginning Wood Carvers?
Selecting appropriate first projects builds confidence and demonstrates quick results. Overly ambitious designs frustrate beginners and often end in abandoned projects. Start with simple, forgiving designs that teach fundamental techniques without overwhelming complexity. Success breeds motivation to tackle increasingly challenging work.
Excellent beginner projects include:
- Simple spoons: Functional, straightforward, teaches blade control and hollowing.
- Relief plaques: Flat designs carved into a background, excellent for learning composition.
- Geometric patterns: Chip carving with V-tools and straight cuts, highly forgiving.
- Animal figurines: Simple shapes like birds or fish, introduces three-dimensional thinking.
- Decorative boxes: Combines carving with functional woodworking basics.
Finding Patterns and Design Resources
Countless free and paid carving patterns exist online and in woodcarving books. Websites like Woodcarving.org and Wood Magazine offer beginner-friendly designs with step-by-step instructions. Books dedicated to carving styles provide inspiration and technical guidance. Starting with proven patterns rather than designing from scratch removes variables and increases success probability.
Key Takeaway: Begin with simple projects like spoons or geometric patterns that teach fundamentals without overwhelming complexity.
How Should You Finish and Display Your Wood Carvings?
Finishing transforms rough carved wood into polished, protected pieces. Proper finishing protects your work from moisture, dust, and handling damage. Many beautiful carvings are ruined by careless finishing. The right finish enhances wood grain and color while maintaining the tactile quality that makes hand-carved pieces special.
Popular finishing options for carved wood include:
- Food-safe oil: For functional pieces like spoons; enhances grain and allows wood to breathe.
- Beeswax: Traditional finish providing subtle sheen and protection without film buildup.
- Polyurethane: Durable protective coating for display pieces and functional items.
- Danish oil: Penetrating finish that enhances grain while providing water resistance.
- Natural finish: No finish at all; acceptable for display-only pieces in dry environments.
Displaying Your Finished Carvings
Display options range from simple shelf placement to custom stands and wall mounts. Small figurines look beautiful on shelves or bookcases. Relief plaques mount directly on walls using picture hangers. Functional pieces like spoons or boxes deserve prominent kitchen or dining placement. Photography and social media sharing celebrate your progress and connect you with the broader carving community.
Key Takeaway: Finish your carvings with appropriate oils, waxes, or coatings, then display them proudly as functional or decorative pieces.
What Resources and Communities Support Beginning Wood Carvers?
Learning wood carving accelerates dramatically when connected to experienced carvers and quality resources. Online communities, books, and local clubs provide inspiration, troubleshooting help, and encouragement. The carving community welcomes beginners enthusiastically and celebrates progress at all skill levels.
Valuable resources for beginner carvers include:
- Online forums: Reddit communities and dedicated carving forums answer questions from experienced carvers.
- YouTube channels: Video tutorials demonstrate techniques in real-time, showing proper hand positioning and pressure.
- Carving books: Comprehensive guides cover history, techniques, patterns, and advanced projects.
- Local woodworking clubs: Many include carving sections with mentors and group projects.
- Classes and workshops: In-person instruction accelerates learning and provides immediate feedback.
Key Takeaway: Join online communities, watch tutorial videos, and consider local classes to accelerate your learning and stay motivated.
How Can You Progress From Beginner to Intermediate Wood Carving?
Advancing beyond basic carving requires deliberate practice and gradual complexity increases. After completing five to ten beginner projects, your fundamentals strengthen enough for intermediate challenges. Progressive skill development prevents plateaus and maintains engagement with the craft. Set specific goals like mastering a particular carving style or tool rather than vague improvements.
Intermediate progression includes:
- Expand your tool collection: Add specialized tools for specific techniques once you understand your carving style.
- Experiment with harder woods: Challenge yourself with walnut, oak, or cherry as your blade control improves.
- Attempt complex designs: Tackle multi-figure compositions, detailed faces, or intricate relief work.
- Develop a signature style: Explore carving traditions like whittling, chip carving, or relief carving exclusively.
- Create for others: Custom commissions provide motivation and feedback from clients.
Key Takeaway: Gradually increase project complexity, expand your tool collection, and experiment with harder woods as your skills develop.
What Common Mistakes Should You Avoid as a Beginner?
Learning from others’ mistakes accelerates your progress and prevents frustration. Beginners typically make predictable errors that experienced carvers recognize immediately. Awareness of these pitfalls helps you avoid them or catch yourself quickly when you slip into bad habits.
Common beginner mistakes include:
- Using dull tools: Creates dangerous conditions and produces rough, unsatisfying results.
- Applying excessive pressure: Leads to slips, injuries, and rough cuts rather than controlled shaping.
- Carving toward your body: The most dangerous habit; always direct strokes away from yourself.
- Skipping safety equipment: Cut-resistant gloves prevent most carving injuries with minimal cost.
- Choosing overly ambitious first projects: Frustration and abandonment result from projects exceeding current skill levels.
- Ignoring wood grain direction: Causes tearout and rough surfaces that diminish finished appearance.
- Neglecting tool maintenance: Dull blades require replacement rather than sharpening, increasing costs.
Key Takeaway: Maintain sharp tools, apply minimal pressure, carve away from your body, and choose appropriately challenging projects.
How Do You Know If Wood Carving Is Right For You?
Wood carving suits people seeking meditative, creative hobbies producing tangible results. If you enjoy working with your hands, appreciate handmade aesthetics, and value patience-building activities, carving likely appeals to you. The craft accommodates various personality types and schedules. Carving sessions can last thirty minutes or five hours depending on your availability and project scope.
Consider wood carving if you:
- Enjoy detailed, focused work: Carving demands concentration and rewards attention to detail.
- Value handmade quality: Each carved piece reflects personal effort and artistic vision.
- Seek affordable hobbies: Startup costs remain minimal compared to many crafts.
- Want meditative practice: Repetitive carving motions create calming, mindful states.
- Appreciate functional beauty: Carved spoons, boxes, and utensils combine art with utility.
Key Takeaway: Wood carving suits people seeking meditative, creative hobbies with minimal startup costs and maximum personal satisfaction.
Conclusion: Starting Your Wood Carving Journey in August 2026
Beginning wood carving in 2026 offers unprecedented advantages through accessible tools, comprehensive online resources, and welcoming communities. You need only a few quality implements, soft wood blanks, and commitment to learning fundamental techniques. Start with simple projects like spoons or geometric patterns, master basic strokes, and progress gradually to complex designs. Safety practices prevent injuries while building confidence in your carving ability. The craft rewards patience, develops artistic skills, and produces beautiful handmade pieces you’ll treasure for years.
Your wood carving journey starts with a single cut. Purchase a quality carving knife, select an appropriate basswood blank, and commit to learning proper technique. Join online communities, watch tutorial videos, and practice consistently. Within weeks, you’ll complete satisfying projects. Within months, your skills will advance dramatically. The wood carving community welcomes beginners enthusiastically and celebrates progress at all levels. This ancient craft, practiced for thousands of years, awaits your creative exploration. Pick up a knife, find your wood, and discover the meditative joy of transforming raw material into beautiful art.
Key Takeaway: Begin your wood carving journey today with essential tools, soft wood, and commitment to learning—the craft rewards patience with beautiful, lasting results.
Frequently Asked Questions
How much does it cost to start wood carving as a beginner?
A complete beginner setup costs between fifty and one hundred fifty dollars. This includes a quality carving knife set (thirty to sixty dollars), basswood blanks (ten to twenty dollars), a sharpening stone (fifteen to thirty dollars), cut-resistant gloves (ten to twenty dollars), and a mallet (ten to fifteen dollars). You can start with less by purchasing individual tools gradually rather than complete sets.
How long does it take to carve a beginner project?
Simple projects like geometric patterns or basic spoons take two to four hours for beginners. More detailed figurines require five to ten hours depending on complexity and your carving speed. As your skills improve, you’ll work faster while maintaining quality. Time varies significantly based on design complexity, wood type, and your experience level with the specific carving style.
Can you carve wood without a mallet?
Yes, many beginner projects use only hand-held knives without mallets. Push cuts and pull cuts work effectively with hand pressure alone. Mallets become essential when using chisels and gouges for deeper cuts or relief carving. Most beginners start with hand-held carving, then add a mallet once they attempt projects requiring deeper cuts or work with harder woods.
What’s the best wood for beginners to carve?
Basswood is the universal beginner choice due to its fine grain, soft texture, and forgiving nature. White pine and aspen work well but splinter more easily. Avoid hard woods like oak, maple, and walnut until you develop intermediate skills and sharper tools. Pre-cut basswood blanks eliminate preparation work and cost between five and thirty dollars depending on size.
Do you need special sharpening equipment for carving knives?
A basic whetstone or sharpening stone works well for carving knives and costs fifteen to thirty dollars. Oil stones, water stones, and diamond plates all work effectively. You don’t need expensive electric sharpeners for hand carving tools. Regular maintenance with a quality stone keeps your blades sharp enough for safe, satisfying carving. Dull blades require replacement rather than sharpening, increasing long-term costs.
How do you prevent splinters when carving soft woods?
Sharp blades prevent most splinters by cutting fibers cleanly rather than tearing them. Carving with the grain direction eliminates splinters on the surface. Avoid carving against the grain, which causes fibers to tear and splinter. Proper technique and sharp tools matter more than wood type for preventing splinters. Light sanding after carving removes any minor splinters without affecting your carved details.







Write Your Review
No reviews yet. Be the first to share your experience!