

What Is a Router Table and Why Use It for Raised Panel Doors?
A router table is a stationary woodworking tool that inverts a handheld router into a fixed position. The workpiece moves across the spinning bit instead of moving the router over the wood. This setup provides superior control, precision, and safety when creating raised panel doors. Router tables excel at producing consistent profiles, clean edges, and repeatable results across multiple door components. For raised panels specifically, the table’s stability prevents tearout and ensures uniform panel edges that fit perfectly into frame grooves.

3PCS 1/2" Shank Router Bit Set, Raised Panel Cabinet Door Making Bit.
- These tongue and router bit tools can help you finish hardwood work and make exquisite handmade furniture. Can make kitchen and bathroom doors, office cabinets, floors, bedroom shelves, outdoor frames, walls, etc.
- They have high-quality materials, balanced craftsmanship and strong hardened alloy blades. Their anti-backlash design ensures safe installation under any circumstances!
- They are suitable for various materials and surfaces, such as wood, medium density fiberboard, particle board, plywood, panel, softwood, hardwood, etc. (Do not cut ferrous metals and non-wood materials, such as steel, iron, sand, etc.)
- With a solid hardened steel body, YG11 carbide inserts, superb craftsmanship and strong hardened steel plates, these woodworking tools can withstand some heavy use and the test of time.
- Package Specifications: Type: router bit Material: carbide alloy Color: yellow & silver Shank Diameter: 1/2 '' Package included: 3pcs router bits 2pcs adjustment shim


As an Amazon Associate we earn from qualifying purchases. Product prices and availability are accurate as of the date/time indicated.
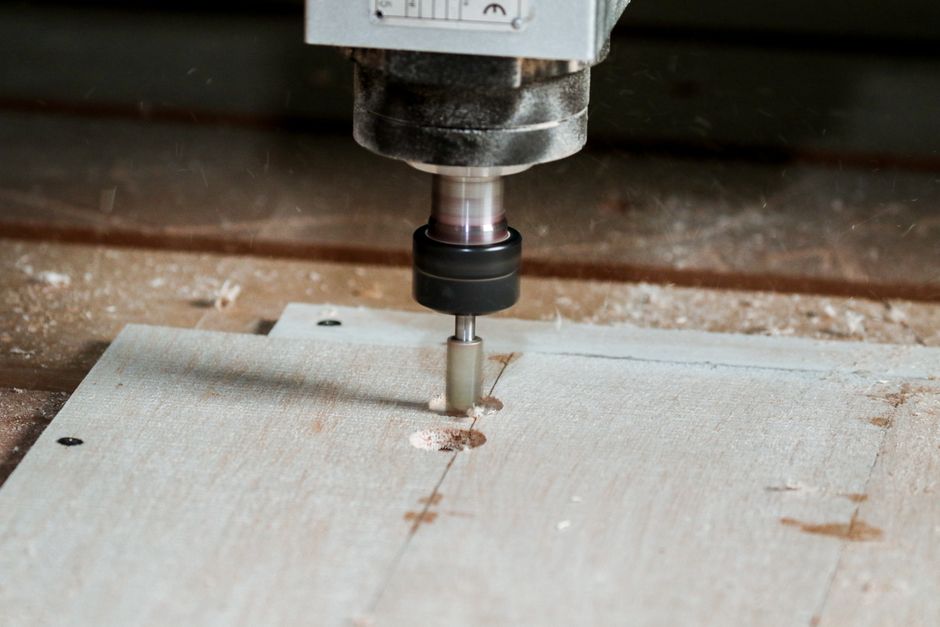
Raised panel doors represent the gold standard in custom cabinetry and furniture making. The raised center panel creates visual depth and professional appearance. Creating these panels requires precise routing on all four edges. A router table eliminates the hand fatigue and inconsistency of freehand routing. The fence system holds your workpiece at exact distances from the bit. This consistency transforms woodworking from guesswork into predictable, professional results.
Key Takeaway: Router tables provide the precision, control, and repeatability essential for creating professional-quality raised panel doors.
What Equipment and Bits Do You Need for Raised Panel Door Routing?
Setting up properly begins with selecting the right router and bits. A 2.25-horsepower or larger router provides adequate power for panel routing. Smaller routers struggle with the sustained cuts required for raised panels. The router must mount securely in the table with the bit spinning at 10,000 to 18,000 RPM depending on bit diameter. Larger bits require slower speeds to prevent burning and tearout.
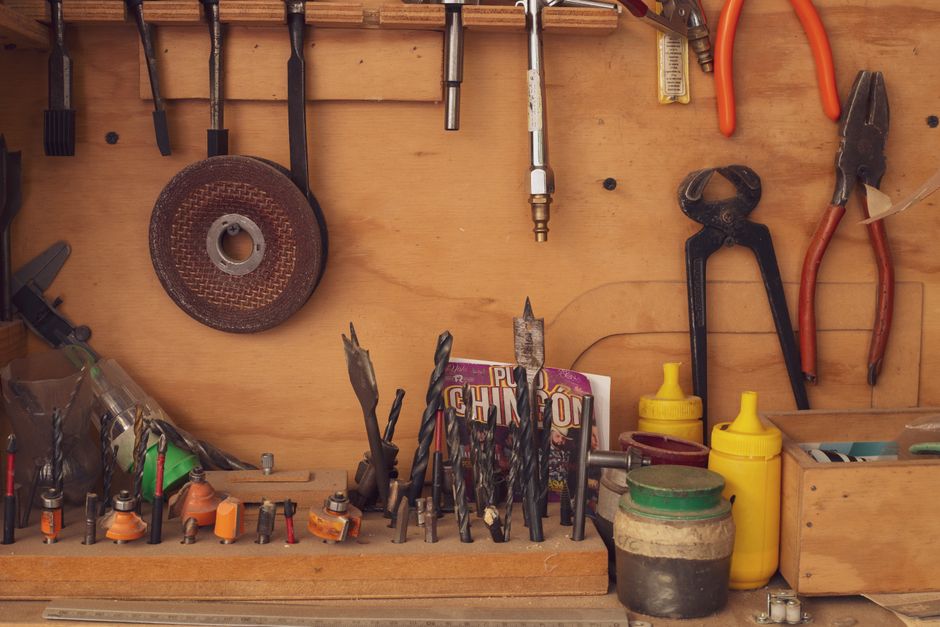
Raised panel bits come in two primary styles: vertical panel bits and horizontal panel bits. Vertical bits mount perpendicular to the table surface and route the edge profile while the panel stands upright. Horizontal bits mount parallel to the table surface, requiring the panel to lie flat. Each style produces different visual effects and handles wood grain differently.
Essential Router Table Components
- Adjustable fence system with micro-adjustment capability for precise bit-to-fence distance.
- Dust collection port to manage sawdust and maintain visibility during routing.
- Featherboards or hold-downs to keep workpieces firmly against the fence and table.
- Bit guards and safety shields to protect hands from the spinning bit.
- Outfeed support or roller stands for handling long panels without binding.
- Accurate depth-of-cut adjustment mechanism for consistent profile depth.
Bit Selection for Different Panel Styles
The bit you choose determines the final appearance of your raised panel doors. Standard ogee bits create a classic curved profile with elegant proportions. Roundover bits produce simple, contemporary designs. Cove bits create deeper visual interest with concave curves. Combination bits integrate multiple profiles in a single pass. Specialty bits from manufacturers like Freud offer unique designs unavailable elsewhere. Match your bit selection to your overall design aesthetic and skill level.
Key Takeaway: Equipment quality and bit selection directly impact the final appearance and consistency of your raised panel doors.
How Do You Set Up Your Router Table for Optimal Performance?
Proper setup determines success or failure in raised panel routing. Begin by securing your router firmly to the table mounting plate. Check that the bit spins freely without wobbling. Install the appropriate bit for your panel style, ensuring the collet grips at least three-quarters of the bit shank. Loose bits cause chatter marks and unsafe conditions. Always unplug the router before changing bits or adjusting the fence.
The fence represents your most critical setup element. Mount it parallel to the table surface and perpendicular to the direction of wood movement. Use a straightedge to verify alignment. Adjust the fence height so the bit contacts the workpiece at the correct depth. Most raised panel bits require the workpiece to rest flat on the table with the bit engaging the edge profile. Make micro-adjustments using the fence’s fine-adjustment knob.
Step-by-Step Setup Procedure
- Unplug the router and install the raised panel bit securely in the collet.
- Plug in the router and allow the bit to reach full speed before routing.
- Position the fence parallel to the table using a straightedge and clamps.
- Adjust the bit height so it profiles the edge at the correct depth.
- Install featherboards to hold the workpiece against the fence throughout the cut.
- Test the setup on scrap wood before routing your actual panels.
Achieving Proper Bit Height and Depth
Incorrect bit height produces inconsistent profiles and poor-fitting panels. The bit should engage the edge at a depth that creates the desired visual effect. For traditional raised panels, the profile typically extends one-quarter to three-eighths inch into the panel edge. Use a test piece to verify depth before cutting expensive hardwood. Mark reference lines on your test piece and compare the profile to your design drawings. Adjust the router height incrementally, testing after each adjustment.
Depth consistency across all four edges determines whether panels fit smoothly into frame grooves. A panel routed too deep may not seat properly. One routed too shallow looks unfinished. Use the same setup for all four edges of each panel to ensure uniformity. Mark your fence position with painter’s tape so you can return to identical settings if the router gets bumped.
Key Takeaway: Meticulous setup with proper fence alignment and bit height adjustment prevents costly mistakes and ensures professional results.
What Safety Precautions Must You Follow When Routing Raised Panels?
Router tables pose significant safety hazards if operated incorrectly. The spinning bit rotates at speeds exceeding 15,000 RPM and can inflict serious injuries. Never reach over or around a spinning bit. Always use featherboards or push blocks to keep hands away from the cutting area. Wear safety glasses to protect against ejected wood chips and dust. A dust mask prevents inhalation of fine particles that accumulate during extended routing sessions.

Feed direction matters tremendously for safety and cut quality. Always feed wood against the bit’s rotation direction, moving the wood from right to left along the fence. This prevents the bit from grabbing and throwing the workpiece. Kickback can hurl wood with dangerous force. Move the workpiece at a steady, moderate pace. Rushing causes burning and tearout. Pushing too slowly generates excessive heat that damages both the wood and the bit.
Critical Safety Guidelines
- Never operate the router without a bit guard and safety shield in place.
- Keep hands at least six inches away from the spinning bit at all times.
- Use push sticks, featherboards, or hold-downs for all routing operations.
- Feed wood against the bit rotation direction to prevent kickback.
- Unplug the router before making any adjustments or changing bits.
- Ensure the bit has completely stopped spinning before removing the workpiece.
- Maintain a clean work area free from clamps, tools, and debris.
Using Featherboards and Hold-Downs Effectively
Featherboards are spring-loaded devices that press the workpiece firmly against the fence and table. They prevent the bit from lifting or shifting the wood during the cut. Install featherboards above and beside the bit, adjusting the springs so they apply firm but not excessive pressure. The workpiece should slide smoothly past the featherboards without binding. Test the setup with the router off before starting. Properly positioned featherboards virtually eliminate kickback and chatter marks.
Key Takeaway: Consistent adherence to safety practices protects you from injury and produces superior routing results.
How Do You Route the Raised Panel Profile on All Four Edges?
Routing all four edges of a panel requires careful planning and consistent technique. Begin with the two side edges, routing from one end to the other without stopping. Maintain steady, moderate feed pressure throughout the cut. Listen to the router sound—a smooth hum indicates proper feed speed. A high-pitched whine means you are pushing too fast. A struggling, labored sound indicates inadequate power or dull bits. Complete both side edges before routing the end grain edges.
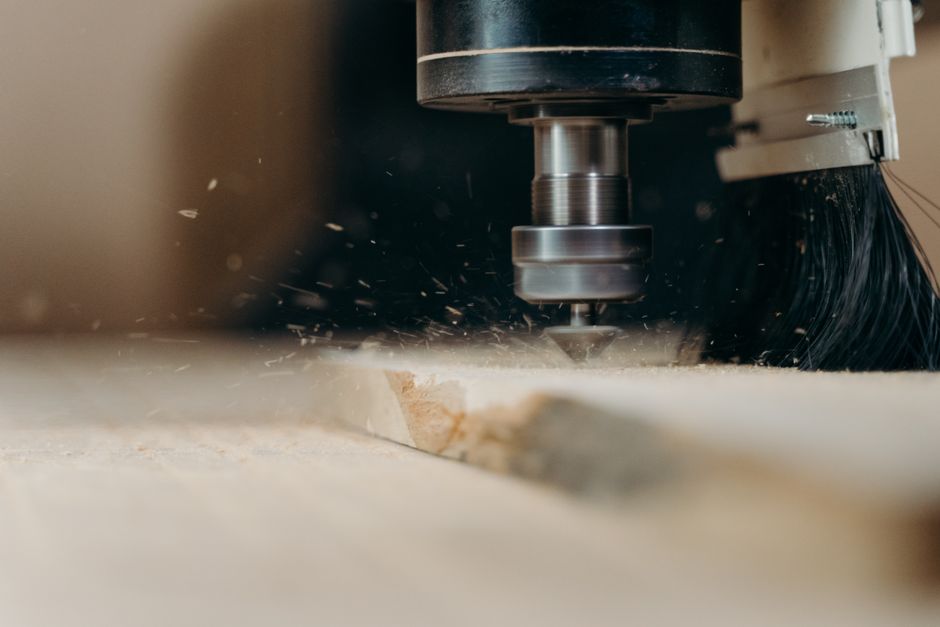
End grain presents unique challenges because wood fibers are oriented differently than along the grain. End grain routing tends to tearout because the bit cuts across fiber ends rather than along them. Reduce feed speed when approaching end grain edges. Consider routing end grain edges first, then routing the side edges. This order allows you to sand away any tearout on the end grain before the side edges are finished. Alternatively, use a climb-cut technique on end grain by feeding the wood in the opposite direction, but only with your hands completely clear of the bit.
Routing Sequence for Four-Edge Panels
- Route both long edges first, moving the panel smoothly from start to finish.
- Sand any tearout on the long edges with 120-grit sandpaper.
- Route the first end grain edge slowly, reducing feed pressure by half.
- Route the second end grain edge using identical settings and speed.
- Sand all edges with 150-grit sandpaper to smooth the profile.
- Inspect the profile depth on all edges and verify consistent dimensions.
Managing Tearout and Grain Direction
Tearout occurs when the bit lifts wood fibers instead of cutting them cleanly. This problem intensifies with end grain routing and against-the-grain surfaces. Reduce tearout by using sharp bits, slower feed speeds, and lighter depth-of-cut. Back-cutting or climb-cutting end grain edges can minimize tearout but requires careful hand positioning. Never use climb-cutting on long grain edges where kickback risk is highest. If tearout occurs, sand it smooth with 120-grit paper before sanding the final finish.
Wood species affect tearout tendency significantly. Figured hardwoods with interlocking grain are prone to tearout. Softer species like pine and poplar route more cleanly. Plan your routing sequence based on your specific wood species. When in doubt, route a test panel with the same wood and bit to identify potential problems before committing to your final panels. This test panel approach saves expensive hardwood and builds confidence in your setup.
Key Takeaway: Careful routing sequence, reduced feed speed on end grain, and sharp bits minimize tearout and produce clean, professional profiles.
What Finishing and Assembly Steps Follow the Routing Process?
After routing, the panel edges require careful sanding and finishing. Begin with 120-grit sandpaper to remove any tearout or router marks. Progress to 150-grit paper for a smooth surface. Sand with the grain direction when possible to avoid cross-grain scratches. The raised profile’s curves require careful attention—sand with the contours rather than across them. A sanding sponge or flexible sanding block follows the curves better than flat sandpaper. Complete sanding before applying any finish.
Raised panel doors require perfectly fitted frame and panel assemblies. The frame’s interior groove must match the panel edge profile depth. Measure the routed profile depth and verify that your frame groove matches. A panel that doesn’t seat fully in the groove appears crooked and unprofessional. Test-fit the panel in the frame before finishing. Make adjustments as needed. Once confirmed, apply your chosen finish—stain, paint, or clear coat—to all components before final assembly.
Post-Routing Preparation Steps
- Sand all routed edges with 120-grit sandpaper to remove tearout and router marks.
- Progress to 150-grit sandpaper for final smoothing of the profile.
- Inspect all edges for consistent profile depth and appearance.
- Test-fit the routed panel into the frame groove to verify proper seating.
- Make any necessary adjustments to frame groove width or panel profile depth.
- Apply finish to all components before final assembly.
Final Assembly Considerations
Raised panel doors allow for wood movement within the frame. The panel floats in the groove and expands or contracts seasonally without splitting. Never glue the panel into the frame groove—this prevents natural wood movement and causes cracking. Assemble the frame with mortise and tenon joinery or pocket hole fasteners. The panel slides into the grooves freely. Use finishing nails or screws to secure the frame pieces to each other, not to the panel. This floating panel design is essential for long-term stability and appearance.
Key Takeaway: Proper finishing, test-fitting, and assembly respecting wood movement principles complete the raised panel door project successfully.
Recommended Products

YONICO Raised Panel Cabinet Door Rail and Stile Router Bits Set 3 Bit Ogee 1/2-Inch Shank 12345
- Create rail and stile cabinet door frames and center panels
- Premium C3 micro-grain tungsten carbide blades for a sharper & longer lasting edge
- For use on table mount router only
- Silver induction brazing for maximum strength and durability


As an Amazon Associate we earn from qualifying purchases. Product prices and availability are accurate as of the date/time indicated.

Bosch RA1181 Benchtop Router Table | Portable Woodworking
- BENCHTOP ROUTER TABLE DESIGN: This table router features a large aluminum top for extended work area, durability and precision
- RIGID ALUMINUM MOUNTING PLATE: Pre-Drilled router plate for compatibility with a variety of routers and for above-table height adjustment
- EXTRA TALL ALUMINUM FENCE: This portable router table fence has adjustable faceplates and featherboards to maximize precision and versatility
- DEDICATED STANDARD DUST-COLLECTION PORT: Wood router fits standard 2-1/2 in. vacuum hoses for debris-free operation to help keep your work area clean
- EASY-TO-USE ADJUSTABLE FEATHERBOARDS: For a router table with router, attach to fence and table, providing additional guidance and kickback protection
- ACCESSORY SLOT: Router table insert plate accepts featherboards and 3/4 in. optional accessories such as a miter gauge
- STORAGE POCKET: Allows storage of router accessories and router tools
- CORD-WRAP STORAGE: Router tables store 6 ft. of power cord
- POWER-CORD LOCK: Helps prevent unauthorized use


As an Amazon Associate we earn from qualifying purchases. Product prices and availability are accurate as of the date/time indicated.
Frequently Asked Questions
What size router do I need for raising panel doors?
A router with at least 2.25 horsepower provides adequate power for sustained raised panel routing. Smaller 1.75-horsepower routers struggle with the continuous cutting demands. Larger 3-horsepower routers offer more power reserve but are heavier and more difficult to control. For most woodworkers, a quality 2.25 to 2.5-horsepower router mounted in a dedicated table provides the ideal balance of power, control, and cost.
Can I use a handheld router instead of a table for raised panels?
Handheld routing is possible but produces inconsistent results and safety risks. The table’s fixed bit and moving workpiece provide superior control and repeatability. Hand-routing requires significant skill to maintain consistent depth and profile across all four edges. For anything beyond occasional projects, a router table investment pays dividends in time saved and quality improved. Tables cost between $200 and $800 depending on features and quality.
How fast should I feed wood through the router table?
Feed speed depends on bit diameter, wood species, and profile complexity. Generally, move the workpiece at a steady pace that produces a smooth router sound without excessive strain. If the router sounds like it’s struggling, slow down. If the bit leaves scorch marks, you are moving too slowly. With practice, you develop a feel for proper speed. Test on scrap wood before routing final panels to establish the correct pace for your specific setup.
What causes chatter marks on routed edges?
Chatter marks indicate the bit is bouncing or vibrating during the cut. Common causes include loose bits, worn bearings, dull bits, or inadequate featherboard pressure. Verify the bit is seated fully in the collet and tightened securely. Check that featherboards hold the workpiece firmly. Dull bits require more force and cause vibration. Replace bits that are chipped or worn. Router table vibration also causes chatter—ensure the table is level and all components are tight.
How do I prevent grain tearout on end grain edges?
Reduce tearout by using sharp bits, slower feed speeds, and lighter cutting depths. Back-cut end grain edges by feeding the wood opposite to normal rotation direction, but keep hands completely clear of the bit. Sand tearout smooth with 120-grit paper before final finishing. Consider routing end grain edges first, then sanding before routing side grain edges. Test your technique on scrap wood before routing expensive hardwood panels.
Can raised panel doors be made from plywood or MDF?
Yes, plywood and MDF work well for raised panel doors. MDF produces cleaner routed edges than plywood because it has no grain. Plywood requires careful bit selection and slower feed speeds to avoid splintering veneers. Both materials must be edge-banded before routing to hide the layered interior. Paint finishes work better on MDF and plywood than stain. These engineered materials provide stability and cost savings compared to solid hardwood panels.
How Can You Troubleshoot Common Router Table Problems?
Even experienced woodworkers encounter router table challenges. Understanding common problems and their solutions saves frustration and ruined panels. Burning indicates excessive heat from dull bits, inadequate feed speed, or insufficient power. Replace dull bits immediately—they are the most common cause of burning. Increase feed speed slightly if the router has adequate power. Tearout results from grain direction, dull bits, or excessive depth. Reduce depth of cut and slow feed speed. Use sharp bits and consider the wood species’ grain characteristics.
Inconsistent profile depth across different panels suggests fence movement or bit height changes. Mark your fence position with painter’s tape and verify the bit height hasn’t shifted. Check that featherboards maintain consistent pressure. Vibration and chatter indicate loose bits, worn bearings, or inadequate workpiece support. Tighten all components and verify the table is level. A wobbly table causes inconsistent results—place shims under legs if necessary. These common issues have straightforward solutions once identified.
Quick Troubleshooting Reference
- Burning on edges: Replace dull bits, increase feed speed, verify adequate router power.
- Tearout and splintering: Reduce depth of cut, slow feed speed, use sharp bits, check grain direction.
- Inconsistent profile depth: Verify fence hasn’t moved, check bit height, inspect featherboards.
- Chatter marks: Tighten loose bits, check for worn bearings, increase featherboard pressure, verify table is level.
- Kickback or binding: Verify correct feed direction, reduce workpiece pressure, check for warped wood.
Key Takeaway: Most router table problems have simple solutions—sharp bits, proper setup, and correct feed speed resolve nearly all issues.
What Should You Know About Different Raised Panel Bit Styles?
Vertical panel bits mount perpendicular to the table surface with the panel standing upright. This style works well for panels up to 12 inches wide. The bit profiles the edge while the panel face remains visible, allowing you to see the cut progress. Vertical bits require less table space and work with standard router table setups. They produce traditional raised panel profiles suitable for formal cabinetry and furniture designs. Most woodworkers prefer vertical bits for their versatility and ease of use.
Horizontal panel bits mount parallel to the table surface with the panel lying flat. These bits handle wider panels and produce different visual effects than vertical bits. Horizontal routing requires a different setup and more careful workpiece support. The flat panel orientation makes it difficult to see the cutting action. Horizontal bits excel for production runs where multiple identical panels are routed. For custom one-off projects, vertical bits typically prove more practical and safer for most woodworkers.
Comparing Vertical and Horizontal Raised Panel Bits
- Vertical bits: Panel stands upright, visible cutting, standard table setup, better for most woodworkers.
- Horizontal bits: Panel lies flat, requires special setup, better for production runs, handles wider panels.
- Vertical bits produce traditional profiles suitable for formal furniture and cabinetry.
- Horizontal bits allow different profile options and better support for very wide panels.
- Vertical bits require less setup time and fewer specialized fixtures.
- Horizontal bits demand more space and more complex featherboard arrangements.
Key Takeaway: Vertical raised panel bits suit most woodworkers’ needs, while horizontal bits excel for production work and specialized applications.
Conclusion: How Can You Master Router Table Raised Panel Routing?
Mastering router table raised panel doors combines proper equipment, meticulous setup, and consistent technique. Invest in a quality router table with adjustable fence, dust collection, and safety features. Select appropriate raised panel bits matching your design aesthetic. Establish a careful setup routine verifying fence alignment, bit height, and featherboard positioning before cutting valuable wood. Practice on scrap material until you develop confidence and consistency. Safety must remain paramount—use guards, featherboards, and proper feed direction without exception.
The routing process itself demands attention to detail and steady hand control. Route long grain edges before end grain edges, adjusting feed speed appropriately for each. Sand away tearout before moving to the next edge. Test-fit routed panels into frame grooves to verify proper seating. Allow panels to float in grooves during final assembly, never gluing them. These practices transform raised panel door building from intimidating to manageable. Each project builds your skills and confidence. Within several projects, you will produce professional-quality raised panel doors that rival furniture maker results. The investment in learning router table techniques pays lifelong dividends in woodworking capability and project satisfaction.
Key Takeaway: Systematic setup, careful technique, safety consciousness, and practice transform router table raised panel routing into a reliable, repeatable woodworking skill.







Write Your Review
No reviews yet. Be the first to share your experience!