

How to Cut Curves in Thick Wood with a Band Saw? Quick Answer
Cutting curves in thick wood requires the right blade, proper tension, and controlled feed rate. Select a blade with appropriate tooth count for your material thickness—typically 4 to 6 teeth per inch for hardwoods. Ensure blade tension is correct by checking deflection with thumb pressure. Guide the wood smoothly without forcing, maintaining steady pressure against the table. Thicker stock demands slower speeds and sharper blades to prevent binding and achieve clean, accurate curves.

Band saws excel at curved cuts because their thin, continuous blade reduces waste and allows tight radius work. In August 2026, modern band saws feature improved motor control and blade tracking systems that enhance precision. Understanding wood grain direction, blade selection, and feeding techniques transforms your ability to create professional curved cuts in stock up to 8 inches thick or more.
What Type of Band Saw Blade Works Best for Thick Wood Curves?
Blade selection determines your success with thick wood curves. The blade must balance cutting speed with durability under sustained pressure. For thick hardwoods, a 3/8-inch or 1/2-inch wide blade with 4 to 6 teeth per inch provides optimal performance. Wider blades resist deflection during long cuts, while narrower blades handle tighter radius curves.
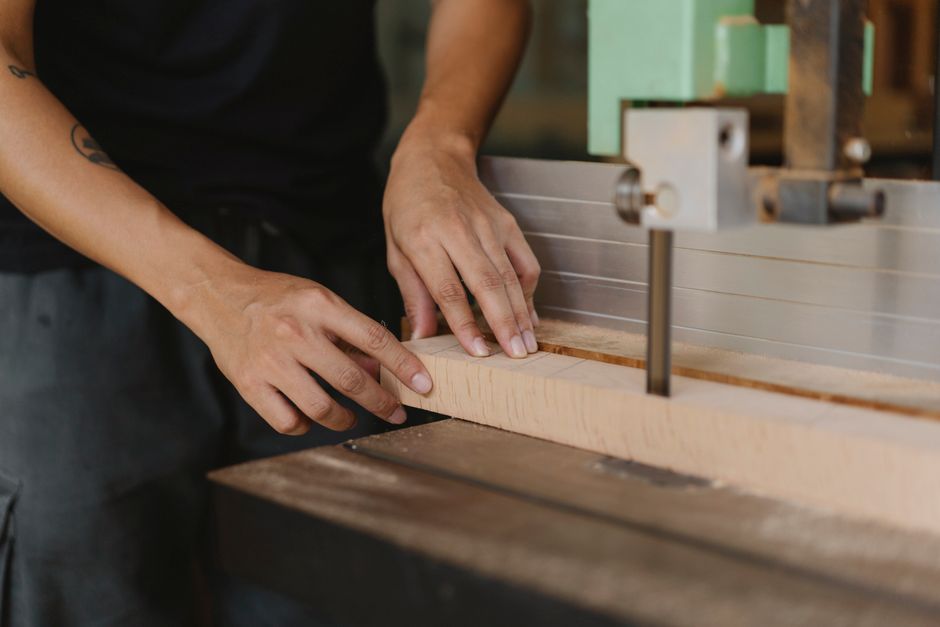
Tooth geometry matters significantly. Hook-tooth blades cut aggressively and remove sawdust efficiently, making them ideal for thick stock. Standard-tooth blades offer smoother finishes. Wavy-set teeth distribute load evenly across the blade, reducing strain during extended cuts through dense material.
Blade Specifications for Different Wood Types
- Hardwoods (oak, maple, walnut): 4-6 TPI, 1/2-inch width, hook or standard tooth.
- Softwoods (pine, fir): 6-10 TPI, 3/8-inch width, standard or wavy-set tooth.
- Exotic woods (teak, rosewood): 3-4 TPI, 1/2-inch width, hook-tooth for efficient cutting.
- Laminated or plywood: 10-14 TPI, 1/4-inch width to minimize tearout.
Blade material composition affects longevity. Bi-metal blades combine steel teeth with flexible backs, resisting breakage in thick stock. Carbon steel blades cost less but require more frequent replacement. Carbide-tipped blades last longest but demand precise tracking and tension.
Key Takeaway: Match blade width and tooth count to your material thickness and desired curve radius for optimal results.
How Do You Set Up Proper Blade Tension and Tracking?
Incorrect tension is the leading cause of poor cuts and blade failure. Proper tension keeps the blade running true and prevents deflection during feeding. Most band saws include a tension indicator or scale on the frame. For thick wood curves, aim for the upper range recommended by your manufacturer.
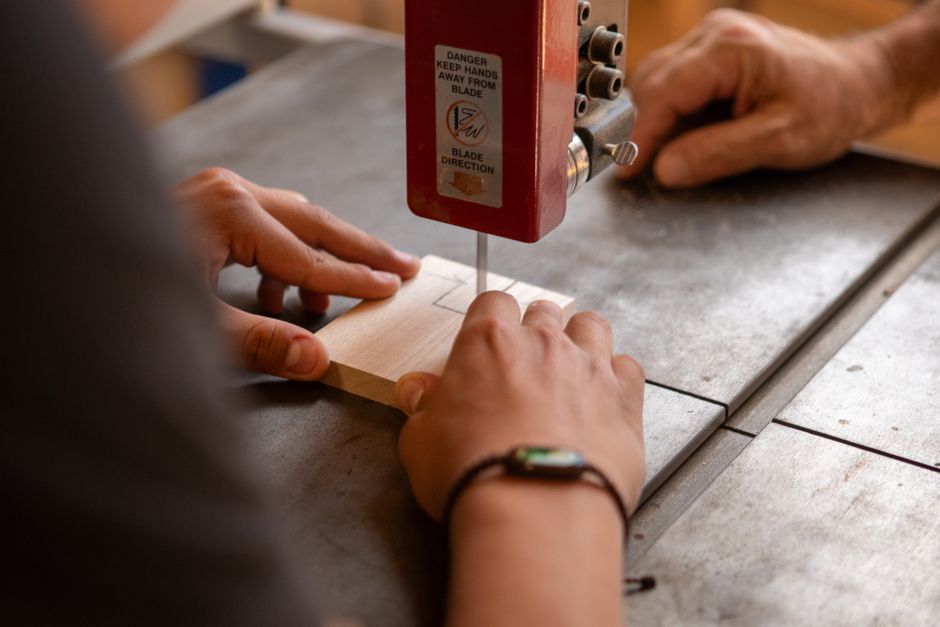
Check tension manually by pressing the blade sideways midway between wheels with your thumb. Deflection should be minimal—roughly 1/4 inch under moderate pressure. Over-tensioning stresses bearings and wheel rims; under-tensioning causes blade wander and curved cuts that drift off line.
Step-by-Step Tension and Tracking Process
- Release tension completely before threading a new blade.
- Install the blade with teeth pointing downward toward the table.
- Tighten the upper wheel tension knob gradually while rotating the wheel by hand.
- Use the tension indicator to reach the recommended setting for your blade width.
- Adjust the tracking knob to center the blade on both wheel rims.
- Run the saw at low speed for 30 seconds, making micro-adjustments as needed.
Tracking ensures the blade runs centered on both wheels without rubbing flanges. Misaligned blades wear prematurely and produce inaccurate cuts. Check tracking daily when cutting thick stock, as sustained pressure can shift alignment. Wheel flatness also affects tracking—inspect wheels regularly for wear or damage.
Key Takeaway: Proper tension and tracking prevent blade drift and extend blade life significantly.
What Techniques Produce the Cleanest Curves in Thick Material?
Feed rate is critical when cutting curves in thick wood. Push the stock steadily but never force it—the blade should cut at its own pace. Forcing accelerates blade wear, generates excessive heat, and produces rough edges. For hardwoods thicker than 4 inches, reduce feed speed by 30 to 50 percent compared to thin stock.
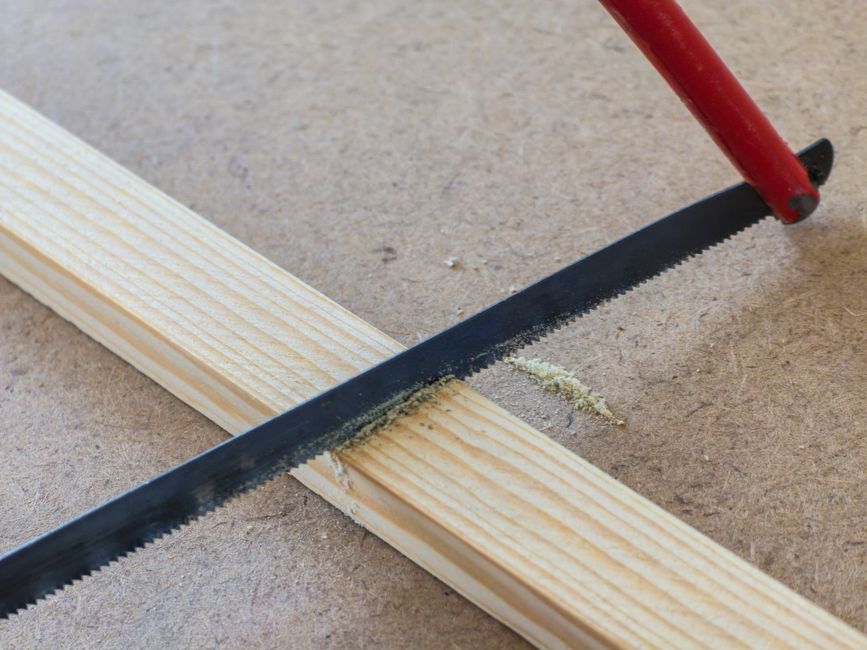
Hand positioning affects cut quality and safety. Keep both hands on the workpiece, never reaching near the blade. Guide the wood with light pressure, allowing the blade to do the work. For tight radius curves, rotate the workpiece gradually rather than pushing it forward aggressively.
Feeding Techniques for Different Curve Types
- Gentle curves (6-inch radius or larger): maintain steady forward pressure with moderate speed.
- Tight curves (2-4 inch radius): slow feed rate, rotate stock carefully, use narrower blade.
- Serpentine cuts: pivot the workpiece smoothly, avoid stopping mid-cut to prevent marks.
- Thick hardwood curves: reduce speed by 40%, use hook-tooth blade, make test cuts first.
Grain direction influences cut quality. Cutting with the grain produces smoother edges than against the grain. When possible, orient your pattern to follow grain direction. For complex curves where grain direction varies, accept slightly rougher edges on some sections or plan for post-cut sanding.
Support the workpiece properly to prevent binding. Use the table fence or guide blocks to stabilize large pieces. For thick curved cuts, the wood’s weight creates downward force that can cause the blade to catch. Ensure adequate clearance between the blade and support structures.
Key Takeaway: Smooth, controlled feeding with proper support produces superior curves in thick wood.
How Should You Prepare Your Workpiece Before Cutting?
Preparation determines cut accuracy and safety. Start with material that’s flat and stable—warped or twisted stock leads to binding and unpredictable blade paths. Acclimate wood to your workshop for several days before cutting to minimize movement from humidity changes.
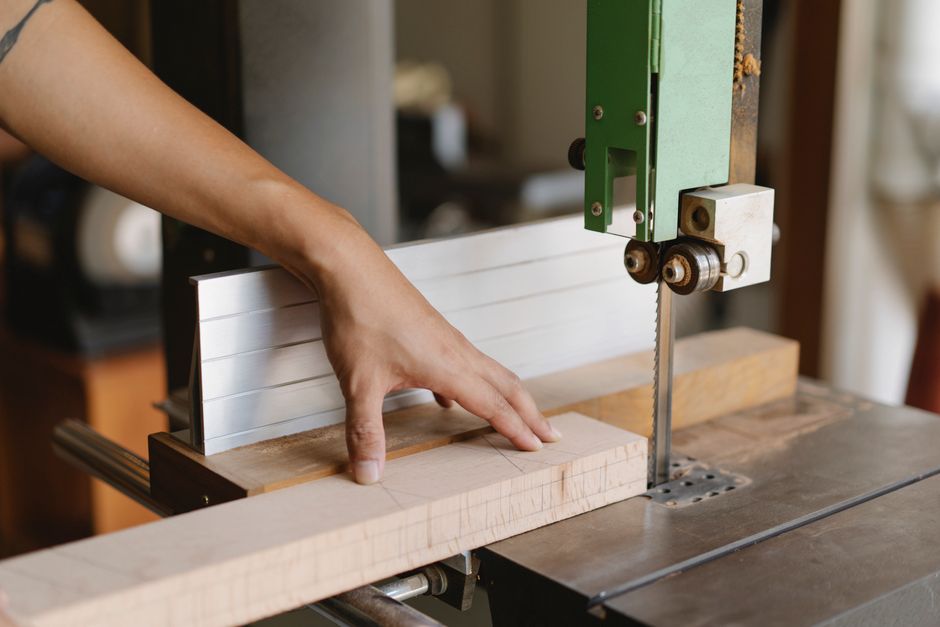
Mark your cut line clearly with a sharp pencil or marking knife. For intricate curves, transfer patterns using carbon paper or print templates directly onto the wood. Clear, visible lines help you follow the path accurately without stopping to recheck position.
Pre-Cut Preparation Checklist
- Inspect the wood for knots, cracks, or defects that might cause binding.
- Ensure the workpiece is dry—moisture causes blade slippage and rough cuts.
- Mark cut lines with a sharp tool for visibility.
- Verify blade is sharp and properly tensioned before starting.
- Clear the work area of obstacles and ensure adequate lighting.
- Wear safety glasses and hearing protection.
For thick stock, consider making relief cuts perpendicular to the curve. These shallow cuts from the edge toward the curve line reduce material strain and help the blade navigate tight turns more smoothly. Relief cuts are particularly valuable for curves with radii under 3 inches in hardwoods thicker than 6 inches.
Key Takeaway: Proper workpiece preparation and marking ensure accurate, safe curved cuts.
What Safety Precautions Are Essential When Cutting Thick Curves?
Band saw safety depends on respecting the blade and maintaining focus. The continuous blade moves at high speed, making hand contact dangerous. Never reach over or under the blade while it’s running. Keep hands at least 3 inches away from the blade path during operation.
Thick wood curves require sustained pressure and attention. Fatigue reduces focus, increasing accident risk. Take breaks when cutting multiple pieces or lengthy curves. Ensure adequate lighting to see your cut line clearly—poor visibility leads to hand placement errors.
Essential Safety Practices
- Always wear safety glasses to protect from flying sawdust and debris.
- Use hearing protection—band saws generate sustained noise above 85 decibels.
- Keep the blade guard positioned 1/4 inch above the workpiece.
- Never force the wood or reach near the blade during operation.
- Stop the saw before removing scrap pieces or adjusting the workpiece.
- Inspect the blade before each use for cracks, damage, or dull teeth.
- Ensure the table is clean and free from loose material.
Blade breakage, while rare with proper tension, can occur suddenly. Ensure you’re positioned to the side of the blade path, not directly behind it. A broken blade releases tension suddenly and may snap toward the operator. Modern band saws include brake systems that stop the blade within seconds of release.
Key Takeaway: Consistent safety practices prevent injuries and extend equipment life.
How Can You Troubleshoot Common Cutting Problems?
Curved cuts that drift off the marked line typically indicate blade deflection or improper feeding. Check blade tension first—insufficient tension allows the blade to flex sideways. If tension is correct, the blade may be dull. Dull blades require excessive pressure, causing deflection. Replace the blade and verify your feed rate isn’t too aggressive.
Rough or splintered edges suggest several possible causes. Dull blades produce ragged cuts in thick wood. Feeding too quickly accelerates this problem. Verify the blade has adequate teeth for your material—too few teeth per inch causes tearout. For hardwoods, consider using a finer-tooth blade and slower feed rate.
Common Issues and Solutions
- Blade wanders from line: check tension, verify tracking, reduce feed pressure, sharpen blade.
- Rough edges: use finer-tooth blade, slow feed rate, ensure blade is sharp.
- Blade binding or stalling: reduce feed speed, check for knots, verify blade tension.
- Blade breaks frequently: reduce tension, check wheel alignment, verify blade width suits curve radius.
- Excessive heat or smoke: dull blade, too-fast feed rate, inadequate coolant (if using).
Blade binding during thick wood cuts often results from forcing the feed. The blade heats up, expands slightly, and grips the wood. Reduce pressure and let the blade cut at its natural pace. For very dense woods, allow the motor to cool between cuts. Some woodworkers apply cutting fluid to the blade, but most band saws operate dry—check your manual before using coolant.
Key Takeaway: Systematic troubleshooting identifies blade and technique issues quickly.
What Advanced Techniques Enhance Curved Cutting Performance?
Experienced woodworkers use several advanced methods to improve results with thick stock. One technique involves making multiple shallow passes instead of one deep cut. For stock thicker than 6 inches, cut from one side, flip the piece, and complete the curve from the opposite side. This reduces blade stress and produces cleaner edges.
Another approach uses the blade’s natural tendency to follow grain. By analyzing wood grain direction before cutting, you can orient your pattern to minimize tearout. Grain that slopes toward your feed direction produces smoother cuts than grain sloping away.
Advanced Strategies for Optimal Results
- Two-sided cutting: reduce blade stress on thick stock by cutting from both sides.
- Grain analysis: orient patterns to follow favorable grain direction.
- Relief cuts: use perpendicular cuts to reduce material strain on tight curves.
- Blade speed variation: adjust wheel speed if your saw permits—slower speeds for dense woods.
- Pattern templates: use hardboard templates for repeating curves to ensure consistency.
Pattern templates are invaluable for production work or matching multiple pieces. Create templates from 1/4-inch hardboard using your original design. Attach the template to your workpiece with spray adhesive, then follow the template edge with the blade. This method maintains consistency across multiple pieces and reduces marking errors.
Some modern band saws feature variable speed controls. Lower speeds (under 2000 feet per minute) reduce heat and produce smoother cuts in dense hardwoods. Higher speeds work better for softwoods and thin stock. Check your saw’s manual for recommended speeds for different materials.
Key Takeaway: Advanced techniques unlock superior results in challenging thick wood applications.
How Does Post-Cut Finishing Enhance Your Curved Work?
Band saw cuts, even quality ones, benefit from finishing. The blade leaves subtle marks and slight roughness on edges, particularly in thick hardwoods. Strategic sanding removes these marks while preserving your carefully cut curve shape. Start with 80-grit sandpaper for rough edges, progressing to 120 and 150-grit for smoothness.
Hand sanding with the grain produces the best results on curved edges. Power sanders can round over sharp edges unintentionally. For intricate curves, use sanding sponges or flexible sanding blocks that conform to the shape. Take care not to over-sand—you want to preserve the precise curve you cut.
Post-Cut Finishing Steps
- Inspect edges under good lighting for rough spots or splinters.
- Sand with 80-grit paper using light pressure, following grain direction.
- Progress to 120-grit, then 150-grit for smooth finish.
- Use sanding sponges for tight curves to avoid rounding edges.
- Wipe with tack cloth to remove dust before staining or sealing.
If your curved cuts have tearout on specific sections, consider scraping with a cabinet scraper before sanding. Scrapers remove rough fibers without rounding edges like sandpaper does. This technique works particularly well on figured woods where grain direction changes frequently around the curve.
Key Takeaway: Thoughtful finishing transforms good cuts into professional-quality results.
What Frequently Asked Questions Help Clarify Band Saw Curve Cutting?
Can a band saw cut curves in wood thicker than 8 inches?
Most band saws have maximum cutting depths between 4 and 8 inches, determined by blade length and wheel size. Check your manual for maximum capacity. Some heavy-duty industrial models cut deeper, but residential saws typically max out at 6 to 8 inches. For thicker material, use the two-sided cutting method—cut from one side, flip, and complete from the other.
How often should I replace my band saw blade?
Blade life depends on usage intensity and material type. A sharp blade cutting softwoods might last 40-60 hours of use. Hardwoods and exotic woods reduce blade life to 20-30 hours. Replace blades when they produce rough edges despite proper tension and feed rate, or when you notice visible tooth wear. Dull blades create safety hazards and poor cut quality.
Should I use a wet or dry cutting method for thick wood?
Most band saws operate dry, as designed by manufacturers. Water can damage motor bearings and electrical components. However, some specialty saws include coolant systems for metal cutting—check your manual before applying liquid. For thick hardwoods, reduce heat by using a sharp blade and slower feed rate instead of adding coolant.
What’s the tightest radius curve a band saw can cut?
Blade width limits minimum radius. A 1/4-inch blade can navigate curves with 1/2-inch radius. A 3/8-inch blade handles roughly 1-inch radius. A 1/2-inch blade works for 2-inch radius and larger. For very tight curves in thick stock, use a narrow blade and make multiple shallow passes rather than one deep cut.
Why does my blade keep breaking when cutting thick hardwood?
Excessive tension, forcing the feed, or blade misalignment cause breakage. Check tension against your manual specifications—over-tensioning stresses the blade. Verify tracking is correct and wheels are clean. Reduce feed pressure and allow the blade to cut at its own pace. Inspect wheels for flatness; warped wheels cause premature breakage.
Can I cut curves in wet or green wood with a band saw?
Wet wood is difficult to cut accurately because it’s heavier and prone to binding. Green wood also contains resins that gum up blades. Dry your wood to 10-15% moisture content before cutting curves. If you must work with green wood, expect slower progress, more frequent blade cleaning, and reduced cut quality. Allow extra drying time after milling.
How Should You Approach Curved Cutting Projects in 2026?
Modern woodworking in August 2026 benefits from improved band saw technology and better blade materials. Contemporary saws feature more precise tracking mechanisms and improved motor control than older models. If you’re investing in a new band saw, look for models with digital tension indicators and variable speed drives—these features significantly enhance your ability to cut thick wood curves accurately.
Digital design tools have transformed curve cutting preparation. You can now print full-scale templates directly onto wood or transfer designs with precision using modern marking methods. This eliminates guesswork and ensures your cuts match your design intent. Combined with proper blade selection and technique, these tools produce professional results even for complex curved projects.
Start with practice cuts on scrap material matching your project wood. Test your blade, tension settings, and feed rate before committing to finished stock. This approach reveals potential issues and builds confidence in your technique. For intricate curves in valuable hardwoods, investing time in preparation always pays dividends in final results.
Remember that band saw curve cutting is as much art as technique. Experienced woodworkers develop intuitive feel for proper feed rate and pressure through practice. Don’t rush the learning process. Each project teaches you something about how different woods respond to your saw and technique. Over time, you’ll develop the judgment needed to produce consistently excellent curved cuts in thick material.
Key Takeaway: Combining modern tools, proper technique, and thoughtful preparation enables professional-quality curved cuts in thick wood.







Write Your Review
No reviews yet. Be the first to share your experience!