

How to Set Up a Table Saw for Ripping Boards: Quick Answer
Setting up a table saw for ripping boards requires three critical steps: align the blade perpendicular to the table, set the fence parallel to the blade at your desired width, and adjust blade height to approximately one-quarter inch above the board. Proper setup ensures straight cuts, reduces kickback risk, and improves safety. Start by unplugging the saw, then use a combination square to check blade alignment. Measure the distance from the blade to the fence at both the front and back of the blade to confirm parallel alignment. Finally, raise the blade so it clears the top of your workpiece by about one-quarter inch. This simple three-part process takes just five to ten minutes but dramatically improves cut quality and operator safety.
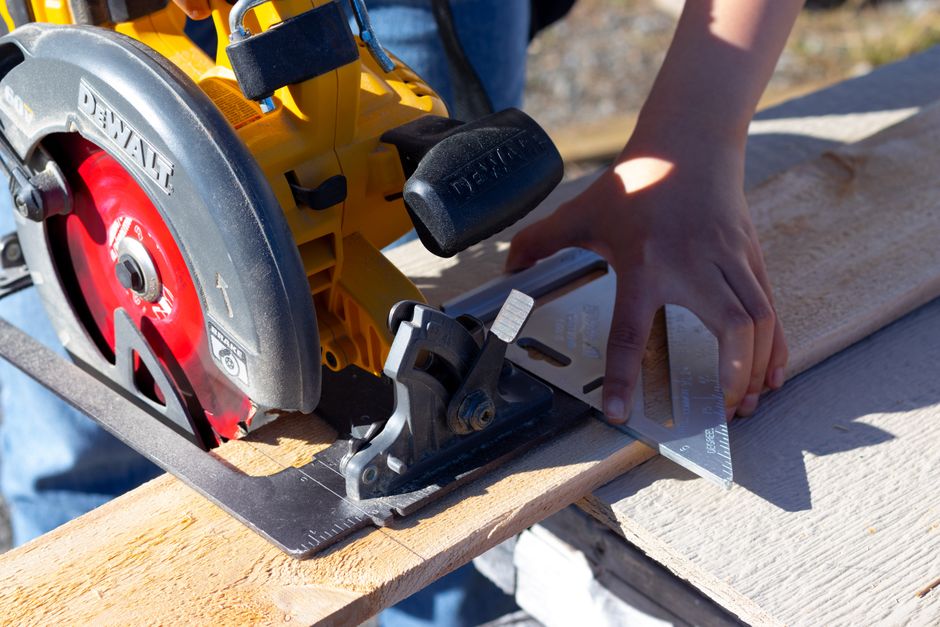
Table saw ripping is one of the most fundamental woodworking operations. A rip cut runs parallel to the wood grain, producing long strips or narrower boards from wider stock. Proper setup prevents dangerous kickback, ensures consistent widths, and produces cleaner edges. Whether you’re working on a home improvement project or a furniture build, mastering this setup will save time and reduce mistakes. The investment in correct setup pays dividends across every project you tackle.
Key Takeaway: Proper table saw setup for ripping takes minutes but prevents hours of wasted material and serious safety incidents.
Why Is Blade Alignment Critical for Ripping?
The blade must run perfectly perpendicular to the table surface. Even a slight angle causes binding, uneven cuts, and dangerous kickback. When the blade tilts, the back edge catches the wood, forcing it violently backward toward the operator. This is the leading cause of table saw injuries. Professional woodworkers check blade alignment before every major project.
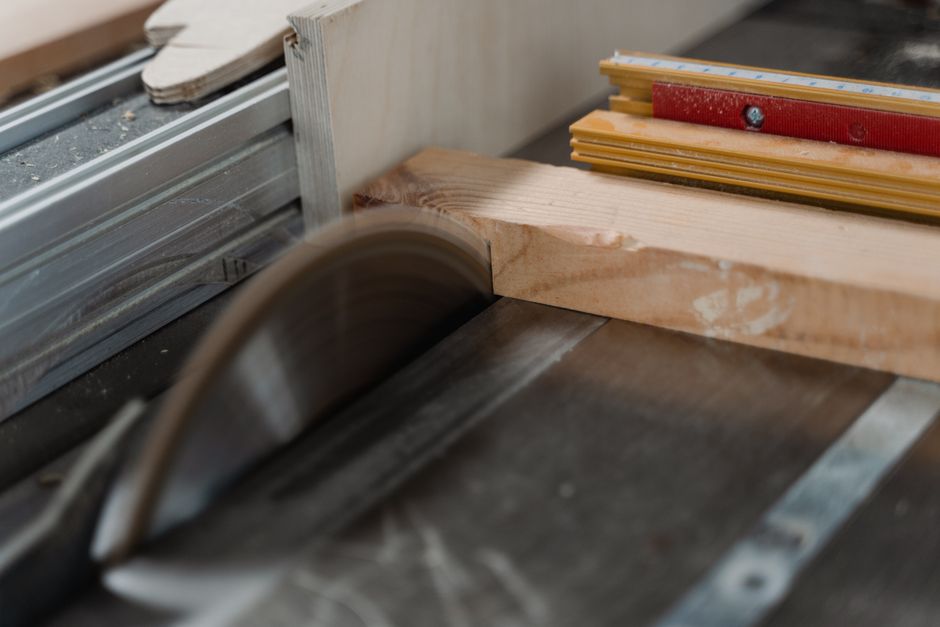
Use a combination square or dedicated blade alignment tool to verify perpendicularity. Place the square against the blade teeth at table height. The square should sit flush without gaps. Rotate the blade by hand to check multiple teeth—consistency matters. If the blade tilts, consult your saw’s manual for adjustment procedures, which typically involve loosening bolts on the blade arbor assembly.
- Check blade angle at three different blade positions during rotation.
- Verify alignment after changing blades or moving the saw.
- Use a precision square rated for woodworking, not a framing square.
- Recheck alignment if cuts start binding or pulling sideways.
Key Takeaway: Blade perpendicularity is non-negotiable for safe, accurate ripping cuts.
Understanding Blade Runout
Blade runout refers to wobbling or side-to-side movement as the blade spins. Even new blades can develop runout if the arbor is bent or the blade isn’t seated properly. Runout causes visible marks on cut edges and reduces accuracy. Check runout by spinning the blade slowly and watching the teeth track. They should follow a perfectly straight line.
How Do You Align the Fence Parallel to the Blade?
The fence is your width guide—it must run perfectly parallel to the blade. If the fence angles toward or away from the blade, your cut width will vary along the board’s length. This ruins the entire workpiece. Fence misalignment is one of the most common setup mistakes among beginners.
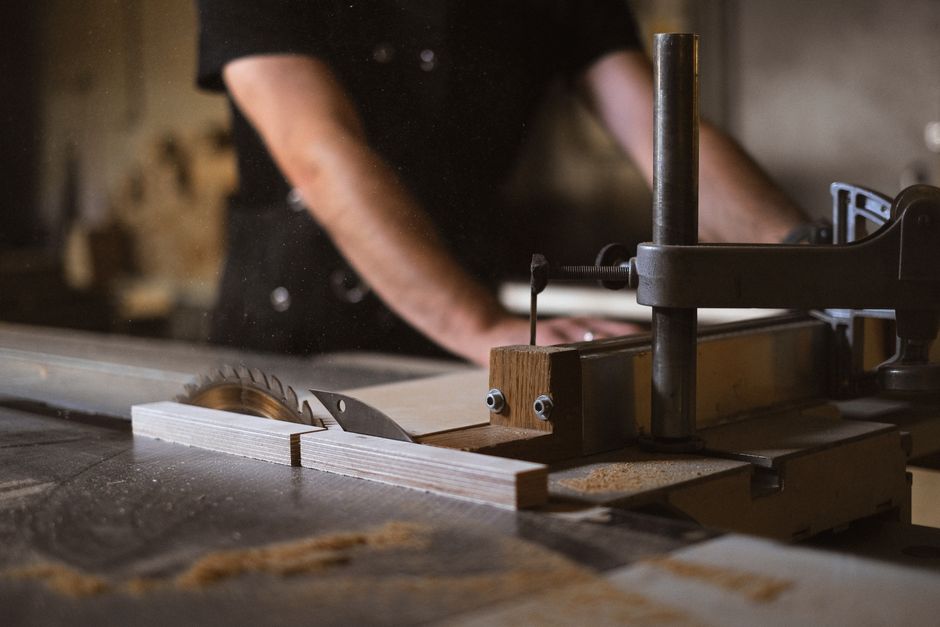
Measure from the blade to the fence at the front and back of the blade using a tape measure or precision ruler. Both measurements must be identical. If the back measurement is closer, the fence angles inward—loosen the fence bolts and adjust. Most saws have adjustment screws or bolts specifically for this purpose. Make small adjustments and recheck. This process typically requires three to five iterations to achieve perfect alignment.
- Measure at the same blade tooth position (front and back).
- Make adjustments with the saw unplugged and blade stationary.
- Check alignment before each major ripping session.
- Use a steel ruler or machinist’s ruler for maximum accuracy.
Key Takeaway: Fence alignment determines cut consistency—measure twice, adjust once.
Fence Position and Width Settings
After aligning the fence parallel to the blade, set it to your desired rip width. Most saws have a scale along the table edge, but verify accuracy with a tape measure. Place the tape from the blade to the fence at table height. Adjust the fence until the tape shows your target width. Lock the fence securely—it should not move during cutting.
What Is the Correct Blade Height for Ripping?
Blade height dramatically affects cut quality, safety, and finish. Set the blade too high and you risk kickback and poor edge quality. Set it too low and the blade labors, creating heat and binding. The optimal height is approximately one-quarter inch above the workpiece surface. This provides enough blade exposure for efficient cutting while minimizing hazards.
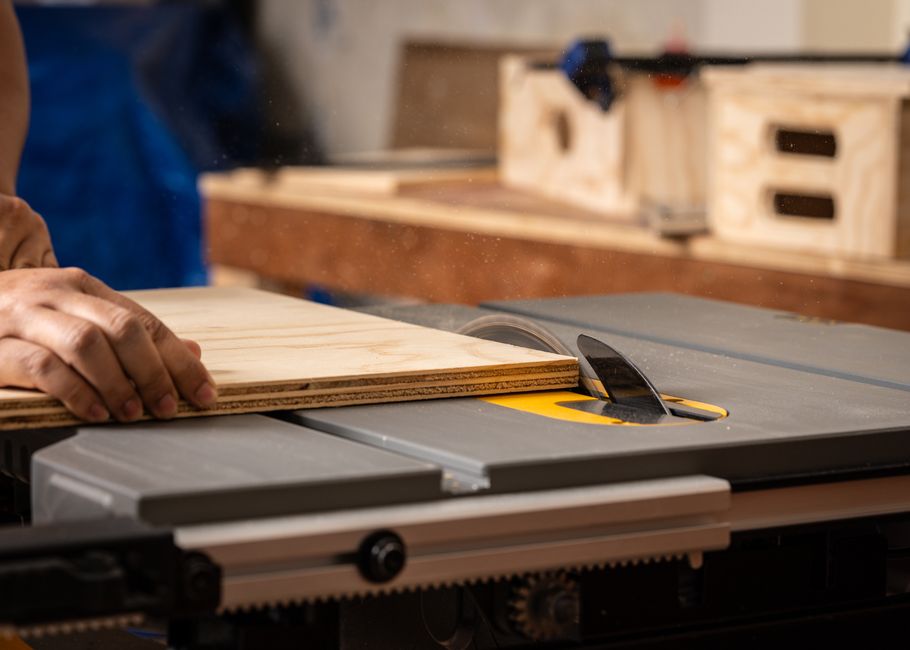
Raise or lower the blade using the height adjustment wheel or crank on your saw’s side. Place a scrap board against the blade and raise the blade until it just clears the top surface by one-quarter inch. This can be verified using a feeler gauge or by eye if you have experience. The blade should spin freely without contacting the wood. Some woodworkers prefer slightly higher settings for hardwoods and slightly lower for softwoods, but one-quarter inch is the safe standard.
- Use the blade height adjustment wheel slowly for precision.
- Check clearance with a feeler gauge or thin shim.
- Lower the blade between cuts to reduce exposure.
- Never operate with the blade below the workpiece surface.
- Verify height before starting the saw.
Key Takeaway: Approximately one-quarter inch blade height above the workpiece is the safety and efficiency standard.
Blade Selection for Ripping
Use a dedicated rip blade for best results. Rip blades have fewer, larger teeth designed to remove material quickly along the grain. Crosscut blades have more, smaller teeth for smooth cuts across the grain. Using the wrong blade type produces rough edges and requires more feed pressure. A 40-tooth rip blade is ideal for most woodworking projects. Always ensure the blade diameter matches your saw’s specifications—typically 10 inches for contractor saws.
How Do You Set Up Safely for Ripping Operations?
Safety setup is as important as mechanical setup. Always use a push stick when ripping narrow boards—never feed boards with your hands close to the blade. Position yourself to the side of the blade, not directly behind it. This prevents injury if kickback occurs. Wear eye protection and hearing protection during operation. Remove loose clothing and tie back long hair.
Install a blade guard and anti-kickback pawls if your saw has them. These devices prevent the blade from ejecting the workpiece. Ensure the table surface is clean and free of debris. Check that the power cord is in good condition and properly grounded. Keep the area around the saw clear of obstacles. Never reach over the blade or reach under the table while the blade is spinning. These precautions prevent the vast majority of table saw injuries.
- Always use a push stick for boards narrower than 6 inches.
- Stand to the side of the blade, never directly behind it.
- Wear safety glasses, hearing protection, and appropriate clothing.
- Keep hands at least 12 inches from the blade during operation.
- Never operate the saw while fatigued or distracted.
- Ensure emergency stop access is clear and unobstructed.
Key Takeaway: Proper safety setup prevents injuries—it’s as critical as mechanical alignment.
Using Push Sticks and Featherboards
A push stick maintains safe distance while guiding the workpiece through the blade. Featherboards hold the board firmly against the fence, preventing drift. Both tools are essential for safe ripping. A push stick should be at least 18 inches long with a notch at the end to grip the workpiece. Featherboards mount to the table or fence at a slight angle, pressing the board inward. These simple tools take seconds to set up and dramatically improve safety.
What Are Practical Steps for Setting Up Your Table Saw?
Follow this systematic approach every time you set up for ripping. Consistency builds good habits and prevents mistakes. This process takes about ten to fifteen minutes initially but becomes faster with practice.
- Unplug the saw and ensure the blade is stationary before making any adjustments.
- Check blade alignment using a combination square at multiple blade positions.
- Verify blade perpendicularity by rotating the blade and confirming the square stays flush.
- Measure fence alignment at the front and back of the blade using a precision ruler.
- Adjust the fence until measurements are identical at both positions.
- Lock the fence securely in place with all bolts tightened firmly.
- Set blade height to approximately one-quarter inch above your workpiece.
- Install safety devices including blade guard and anti-kickback pawls.
- Arrange push sticks and featherboards within arm’s reach before starting.
- Clear the work area of debris and obstacles.
- Plug in the saw only when all setup is complete.
- Test the blade by spinning it briefly to confirm smooth operation.
Before making your first cut, verify all settings one final time. This final check catches most setup errors before they waste material or cause injury. Many professional woodworkers perform this complete setup routine before every major project, regardless of previous setups. This discipline prevents accidents and ensures consistent results.
Key Takeaway: Systematic setup following a checklist prevents errors and builds safe working habits.
How Do You Troubleshoot Common Ripping Problems?
Even with proper setup, problems can occur. Understanding common issues helps you diagnose and fix them quickly. Most ripping problems trace back to setup errors rather than blade or saw defects. Learning to troubleshoot saves time and frustration on future projects.
If your cuts are binding or the saw is laboring, check blade alignment and fence position first. Binding usually means the blade is tilted or the fence is angled. If edges are rough or splintered, the blade may be dull or your feed speed too fast. If the board is pulling away from the fence, the fence alignment is incorrect or your feed pressure is uneven. If kickback occurs, immediately stop the saw and check blade height and fence alignment. These are the most common issues and the easiest to fix with proper diagnosis.
- Binding cuts indicate blade misalignment or fence angle problems.
- Rough edges suggest a dull blade or excessive feed speed.
- Boards drifting from fence indicate fence misalignment or uneven pressure.
- Kickback occurs when blade height is too high or fence angles inward.
- Inconsistent widths mean fence position has shifted during cutting.
Key Takeaway: Most ripping problems trace to setup errors—recheck alignment before replacing components.
Frequently Asked Questions
What type of blade works best for ripping hardwood?
Use a dedicated rip blade with 24 to 40 teeth designed for cutting parallel to the grain. Rip blades have larger tooth geometry that removes material efficiently. For hardwoods like oak or maple, a 40-tooth blade produces the best finish. Ensure the blade is sharp—dull blades generate excessive heat and require dangerous feed pressure. Replace blades when teeth become noticeably worn or chipped.
How often should I check my table saw’s blade alignment?
Check blade alignment before each major ripping project and anytime you change blades. If you use your saw daily, verify alignment at least weekly. Moving the saw to a different location or transporting it requires realignment. Most woodworkers develop the habit of checking alignment automatically—it takes just two minutes and prevents countless problems. Never skip this step, even if the last cut looked good.
Can I use a crosscut blade for ripping?
Technically yes, but results will be poor. Crosscut blades have more teeth optimized for cutting across the grain. Using one for ripping produces rough edges, requires excessive feed pressure, and generates dangerous heat. Always use the appropriate blade type for your cut direction. Having both rip and crosscut blades available is a basic requirement for serious woodworking. Changing blades takes just minutes and produces dramatically better results.
What’s the safest way to rip narrow boards?
Always use a push stick for boards narrower than 6 inches. A push stick keeps your hands at least 12 inches from the blade. Featherboards hold narrow stock firmly against the fence, preventing drift and binding. Never attempt to guide narrow boards by hand—the risk of blade contact is extreme. If you frequently rip narrow boards, consider building a simple table saw sled for additional control and safety.
Why is my fence drifting during cuts?
Fence drift indicates the fence isn’t locked securely or isn’t perfectly parallel to the blade. Verify fence alignment using the measurement method described earlier. Ensure all fence bolts are tightened firmly. If drift continues, the fence may be bent or the locking mechanism damaged. Check the fence for visible damage or warping. Replace damaged fences immediately—they compromise both accuracy and safety during operation.
How can I improve edge quality on ripped boards?
Use a sharp rip blade, set appropriate blade height, and maintain steady feed speed. A dull blade produces rough, splintered edges regardless of other factors. Feed the board at a consistent speed—rushing creates poor finishes. Consider running a jointer plane over the ripped edge for final smoothing. Some woodworkers use a fine-toothed crosscut blade for the final pass if edge quality is critical, sacrificing speed for finish.
How Can You Master Table Saw Ripping in 2026?
Mastering table saw ripping requires understanding the three fundamental setup elements: blade alignment, fence parallelism, and blade height. Each component works together to produce safe, accurate cuts. Proper setup takes just ten to fifteen minutes but prevents hours of wasted material and serious injuries. Invest this time before every major project—it becomes automatic with practice and builds confidence in your work.
The most important skill is systematic verification. Use the same checklist every time you set up for ripping. This consistency prevents mistakes and catches problems early. Keep a simple checklist posted near your saw as a reminder. Many professional woodworkers still reference checklists after decades of experience. This discipline separates quality work from mediocre results and keeps operators safe.
Remember that table saw setup is foundational knowledge applicable across countless projects. Whether you’re building furniture, cutting trim, or preparing stock for other operations, proper ripping technique serves you well. Start with these fundamentals, practice regularly, and continuously refine your technique. Your table saw will become one of your most valuable and reliable workshop tools.
Key Takeaway: Systematic setup, consistent verification, and disciplined safety practices transform table saw ripping from dangerous to reliable.







Write Your Review
No reviews yet. Be the first to share your experience!